A Nail Art/Nail polish blog by a really nerdy software Engineer

Monday 16 November 2020

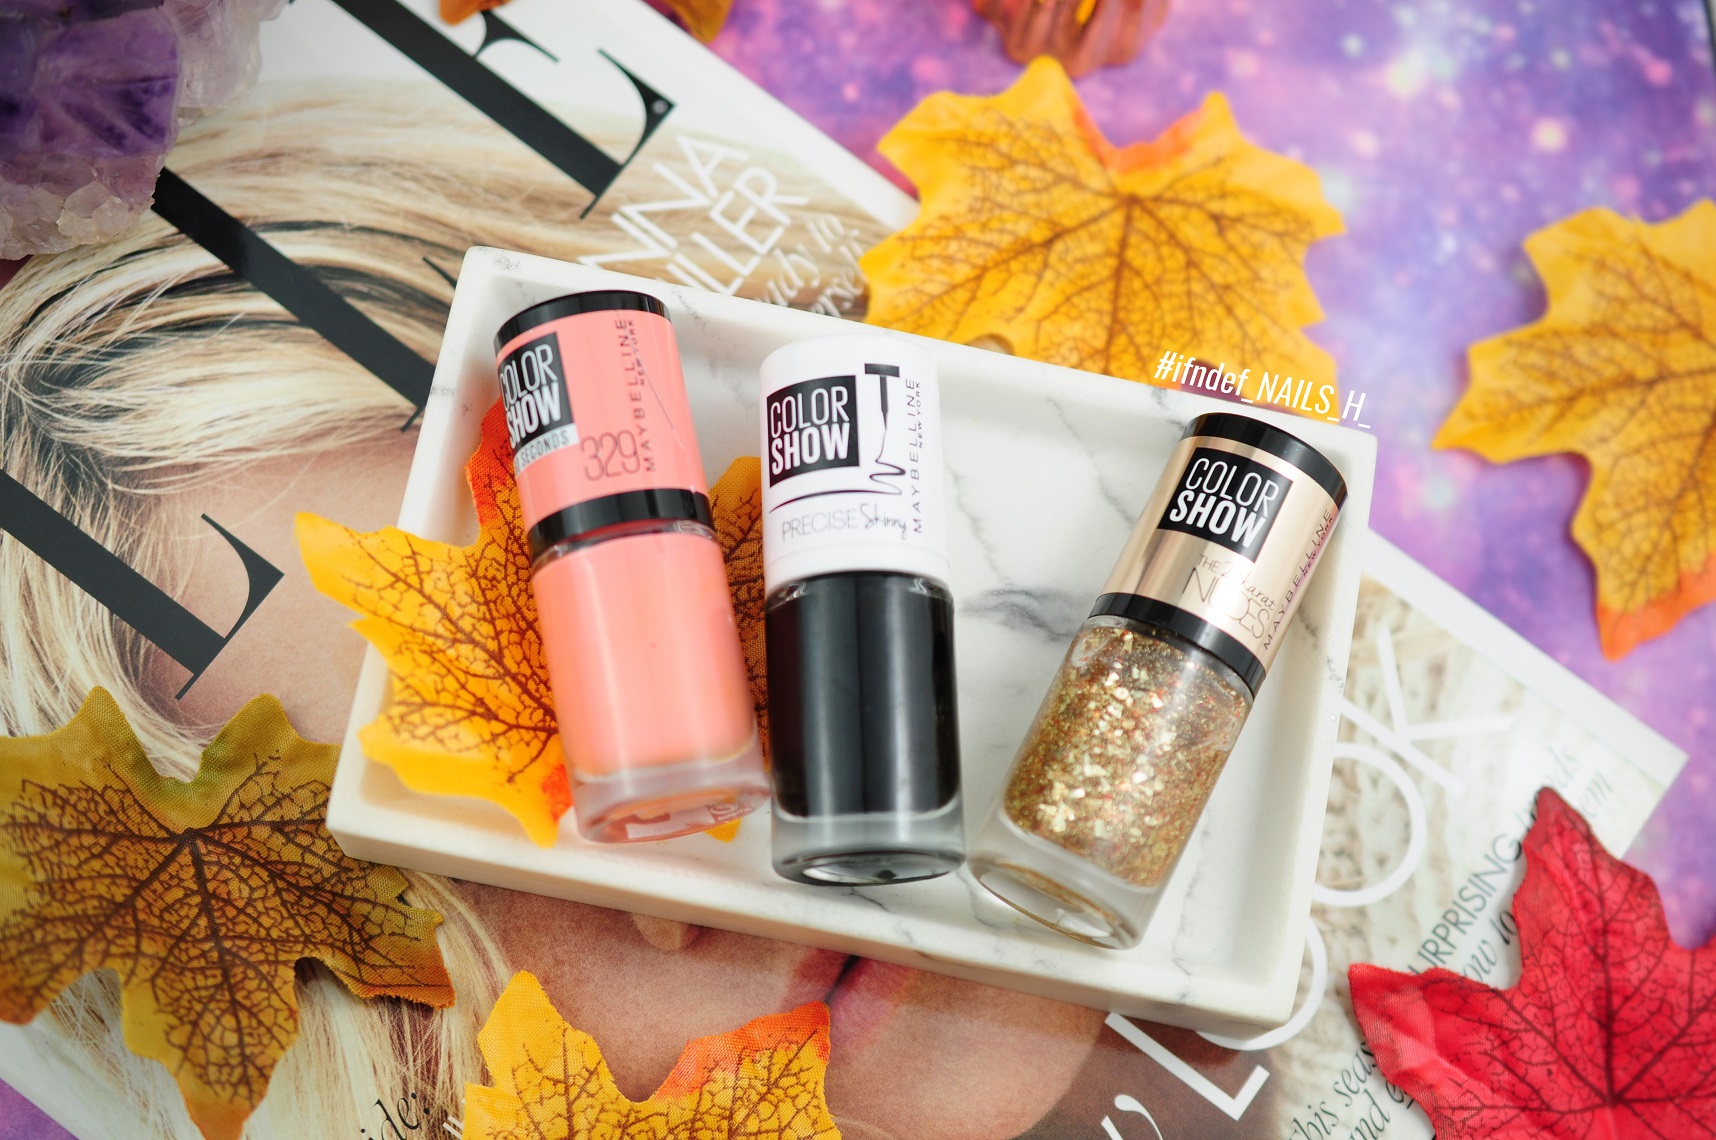
SWATCHES: Maybelline Color Show // Canal Street Coral, Black Edge & Bronze Babe

SWATCHES: Maybelline // Canal Street Coral,  Black Edge & Bronze Babe

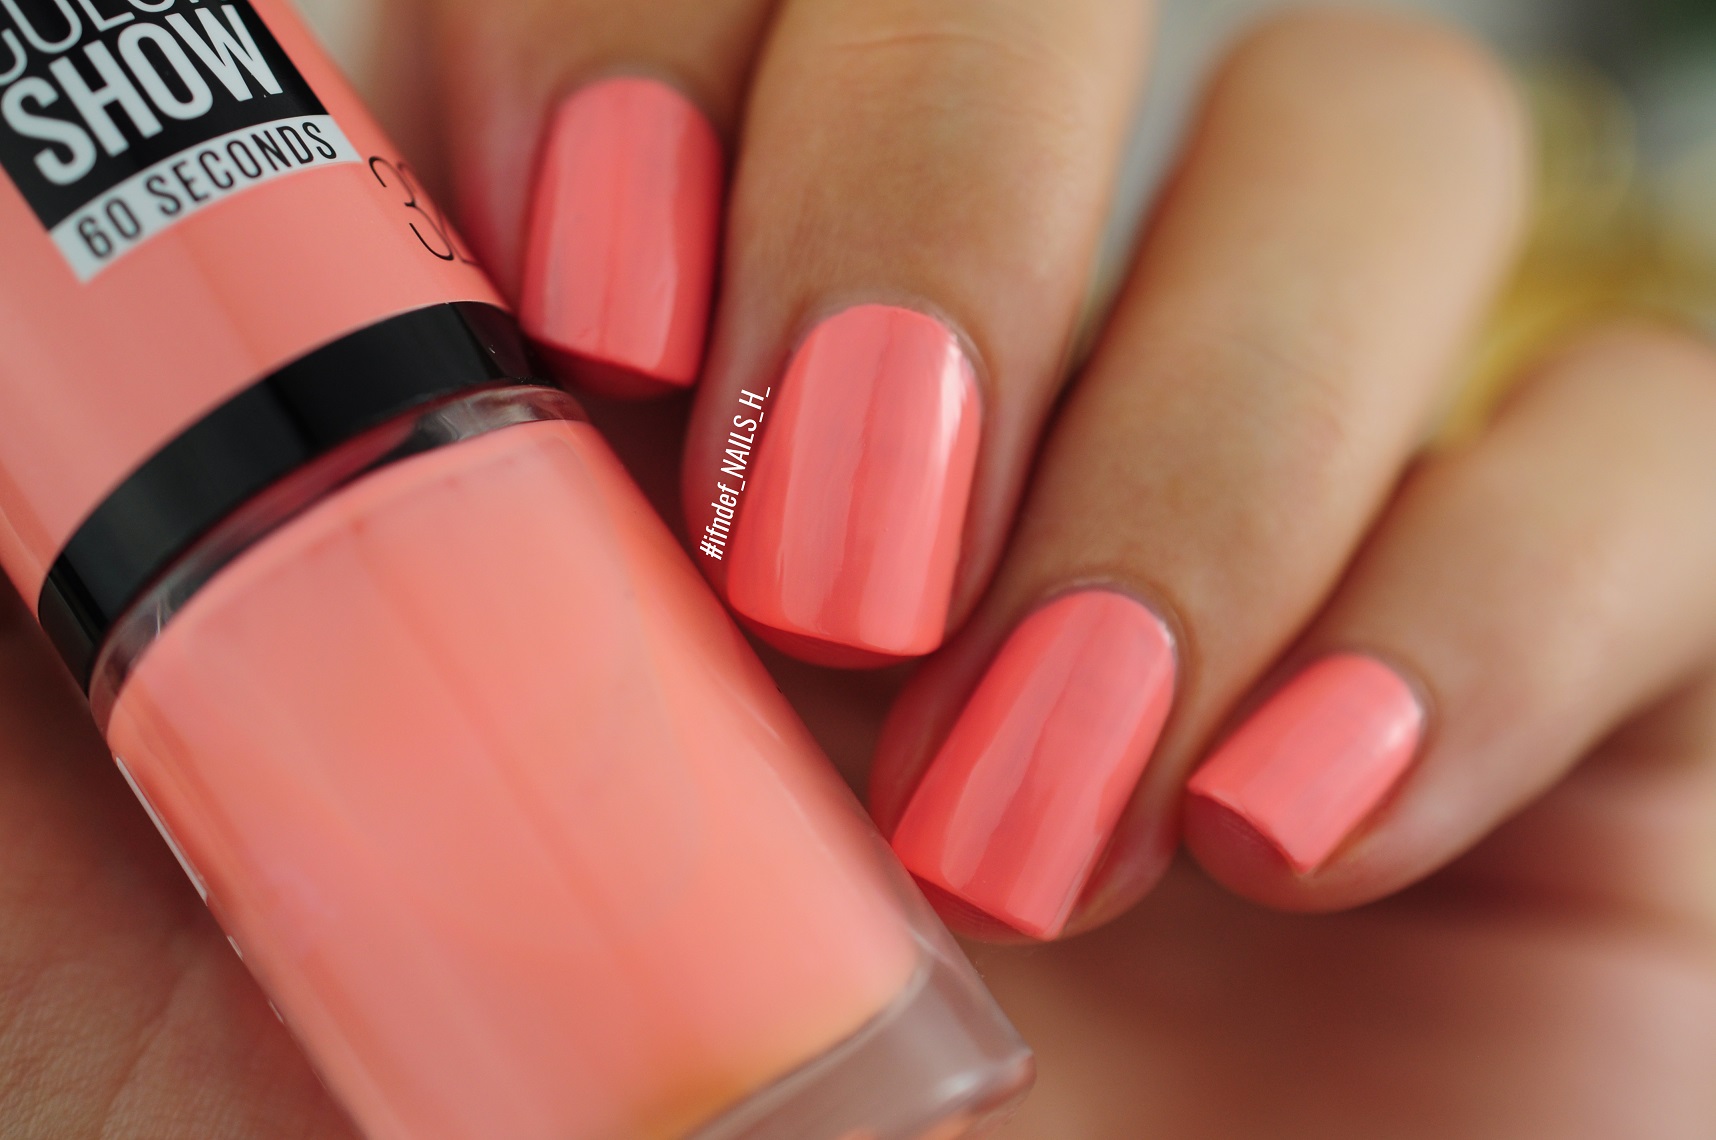
Canal Street Coral // Light Coral Creme
Collection: Color Show 60 Seconds
Release: ??
Coats: 3

Maybelline Color Show Canal Street Coral Swatch

If you search "peach nail polish" on eBay, you will see this polish pop up and it's always out of stock; boo hoo. However, I found it in-stock at my local TK Maxx (where else?) and I immediately bought it because this year is the year of peach/coral/pink shades for me. This one is slightly darker on the nails and has streaks but overall I'm happy with the application.

Black Edge // Black Creme
Collection: Color Show Precise Skinny
Release: ??
Coats: n/a

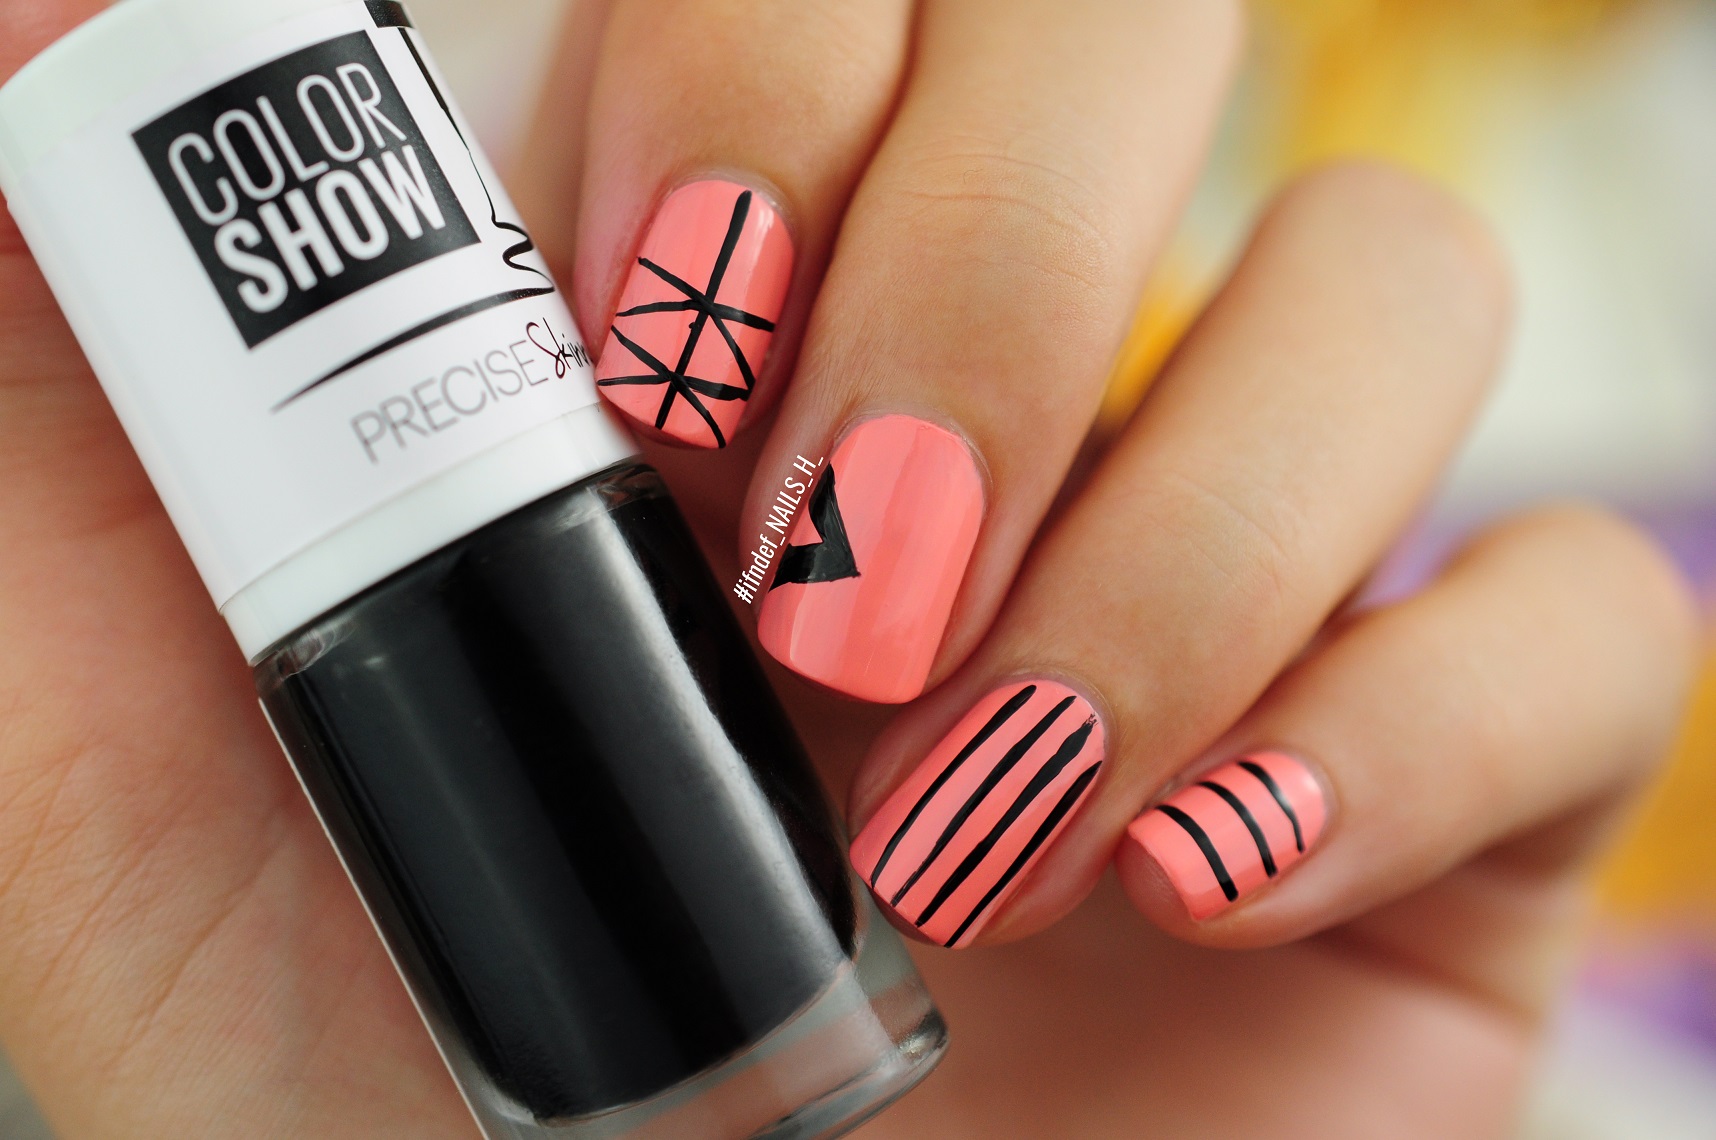
Maybelline Color Show Black Edge Swatch

Maybelline Color Show Black Edge Swatch

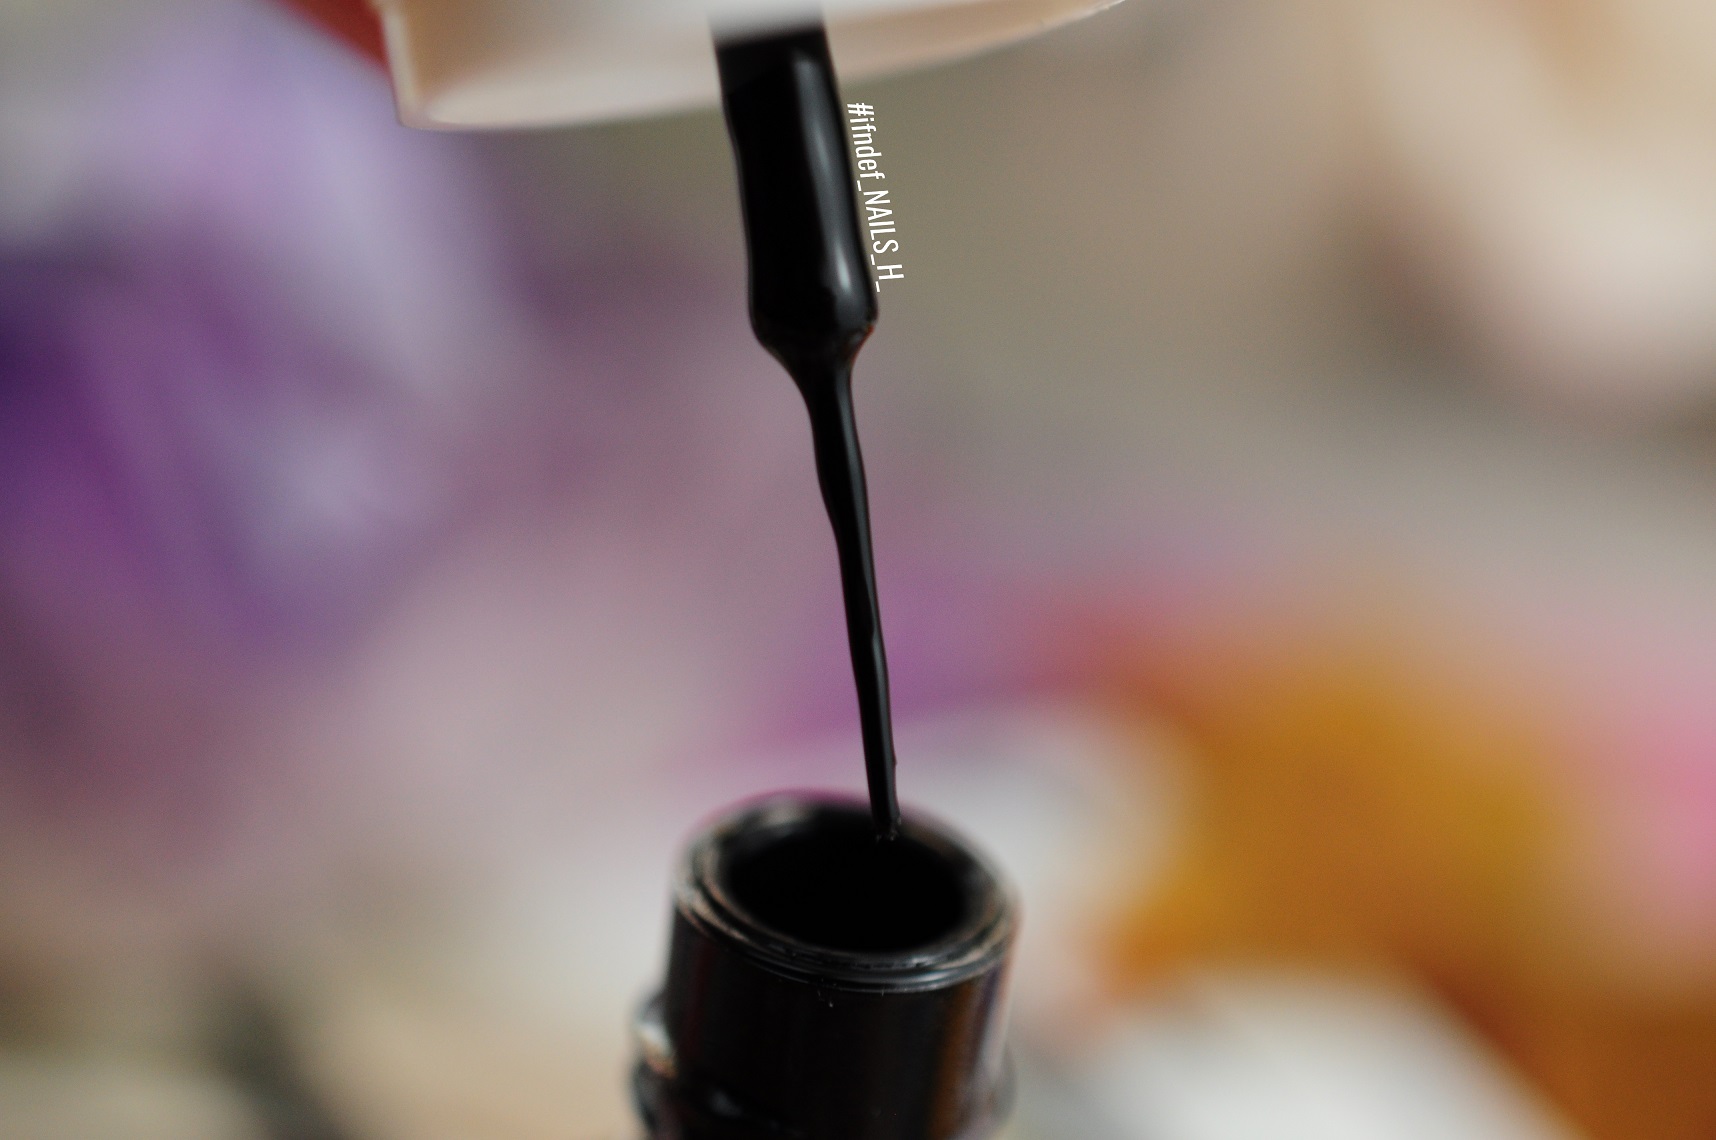
I was interested in this when I saw it because I thought it would be an excellent black stamping polish as it seems to be specifically for details. For that you will need quite a thick, pigmented polish; alas, this is neither thick nor pigmented. I will admit, it does kinda do well at drawing straight black lines which I guess is the point but I wanted a stamping polish.

Also, this polish will dry up very quickly as you leave the lid off whilst trying to perfect those straight black lines. This is why I prefer using acrylic as I don't have to worry about wasting an entire tube of product in the pursuit of detail.

Bronze babe // Gold Flakie
Collection: Color Show The 24 Carat Nudes
Release: ??
Coats: 3

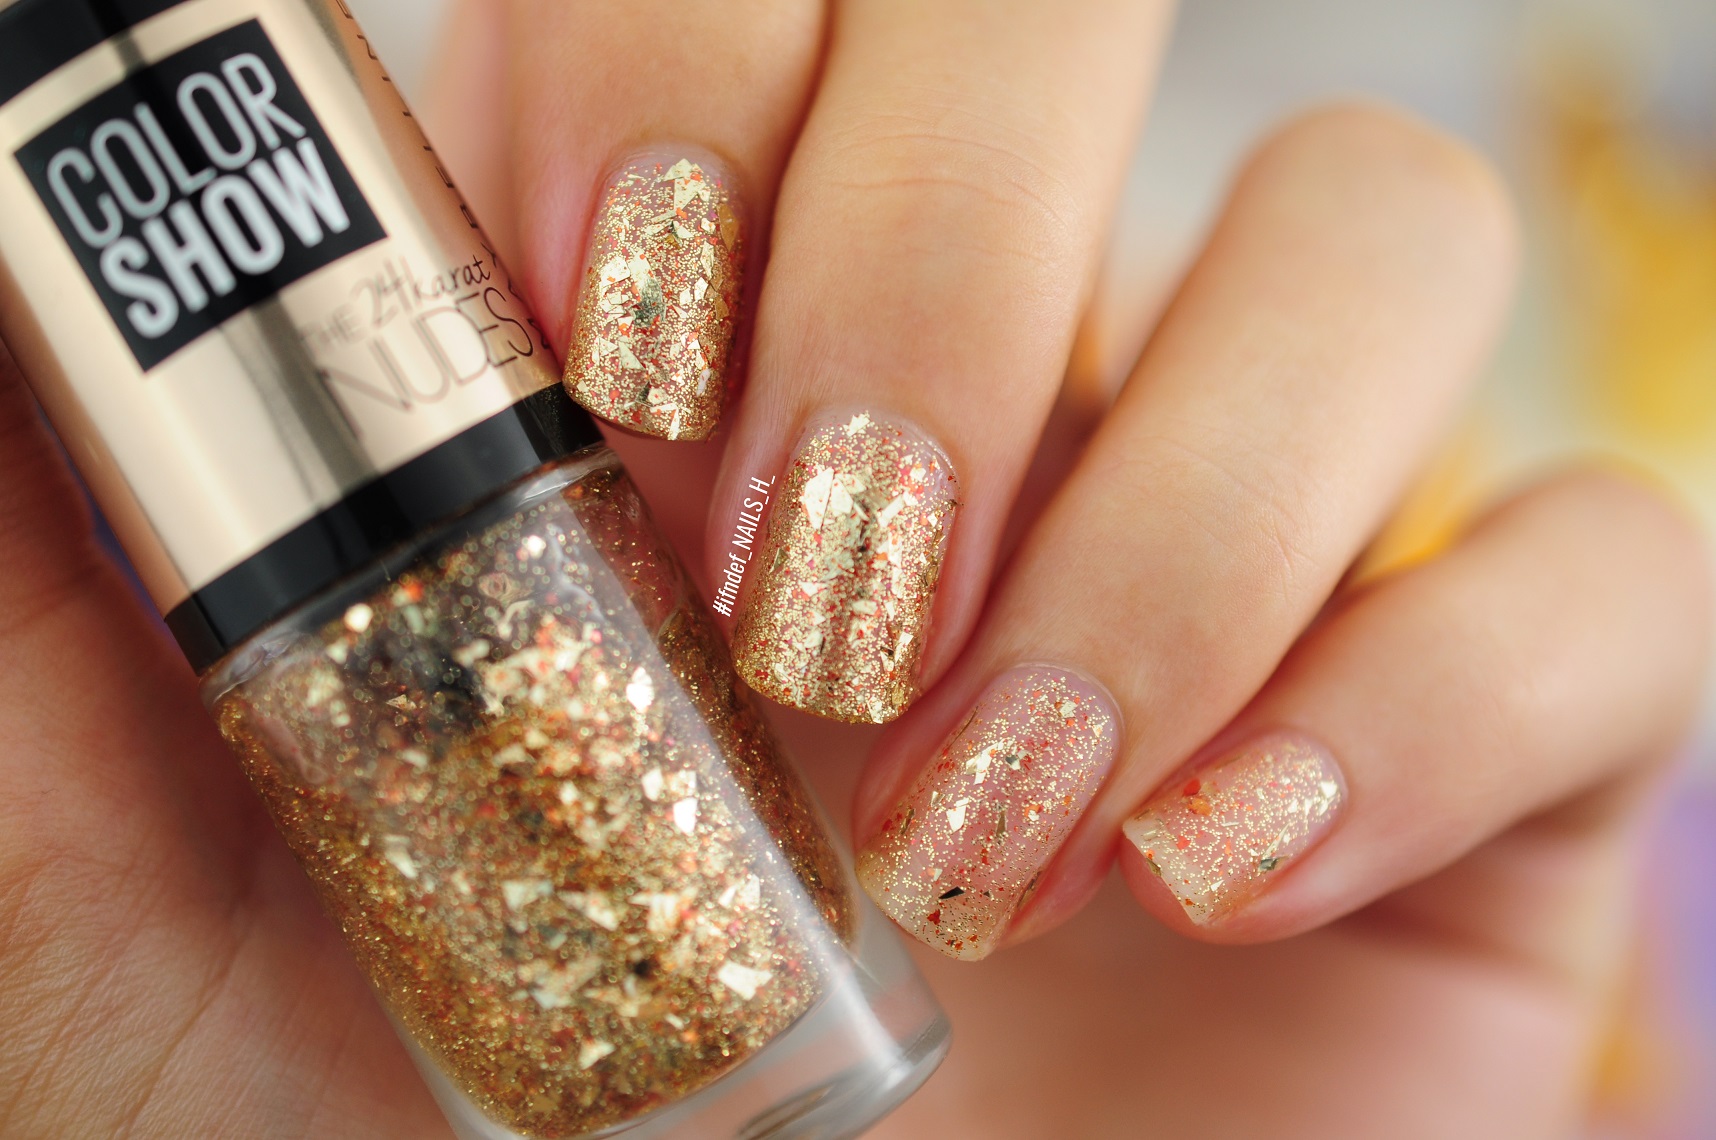
Maybelline Color Show Bronze Babe Swatch

I actually bought this a while back, a good 4 years I think. I'm currently making my way through my entire collection so I have swatch photos for my app so I thought I'd add this to the post as well. I actually really like this shade; it's one of my favourite gold flaky top coats as you actually get flakes and other shimmery bits. In the swatch I'm wearing 3 coats sponged on my index and middle finger and then 3 normal coats on the others.
SHARE:

Saturday 14 November 2020

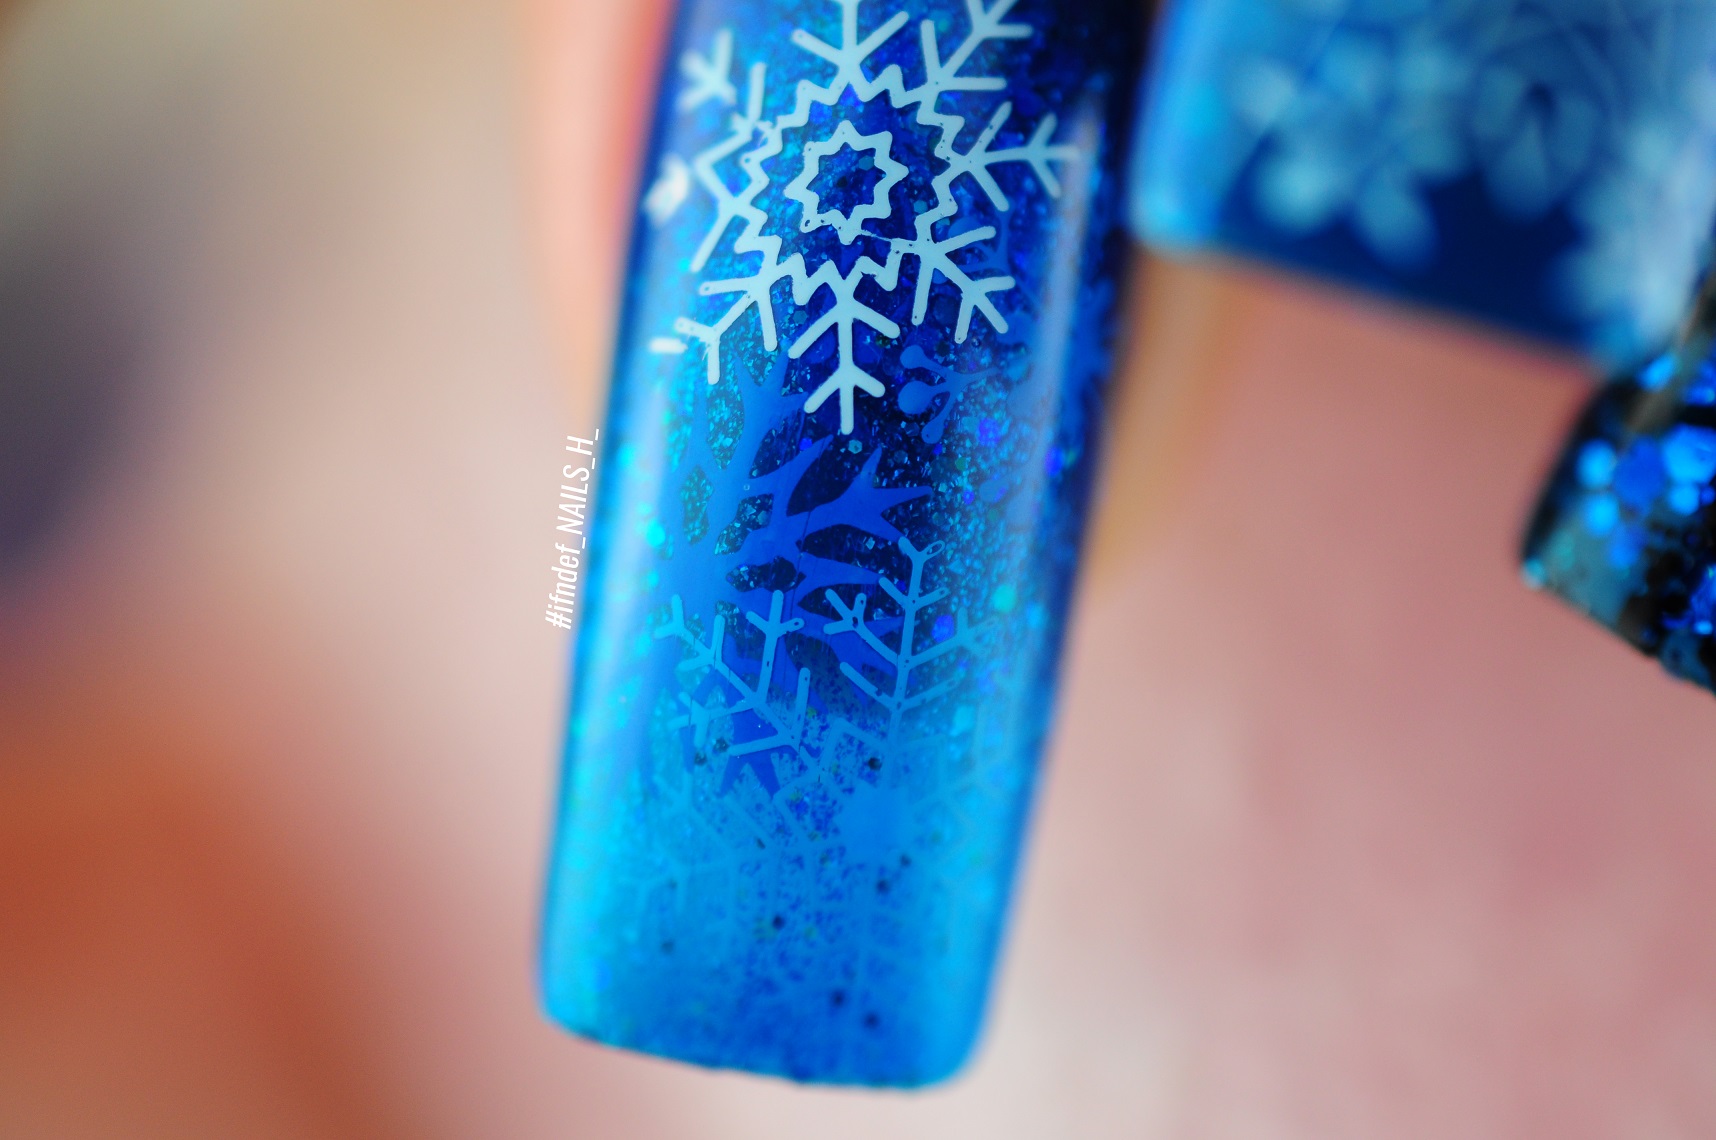
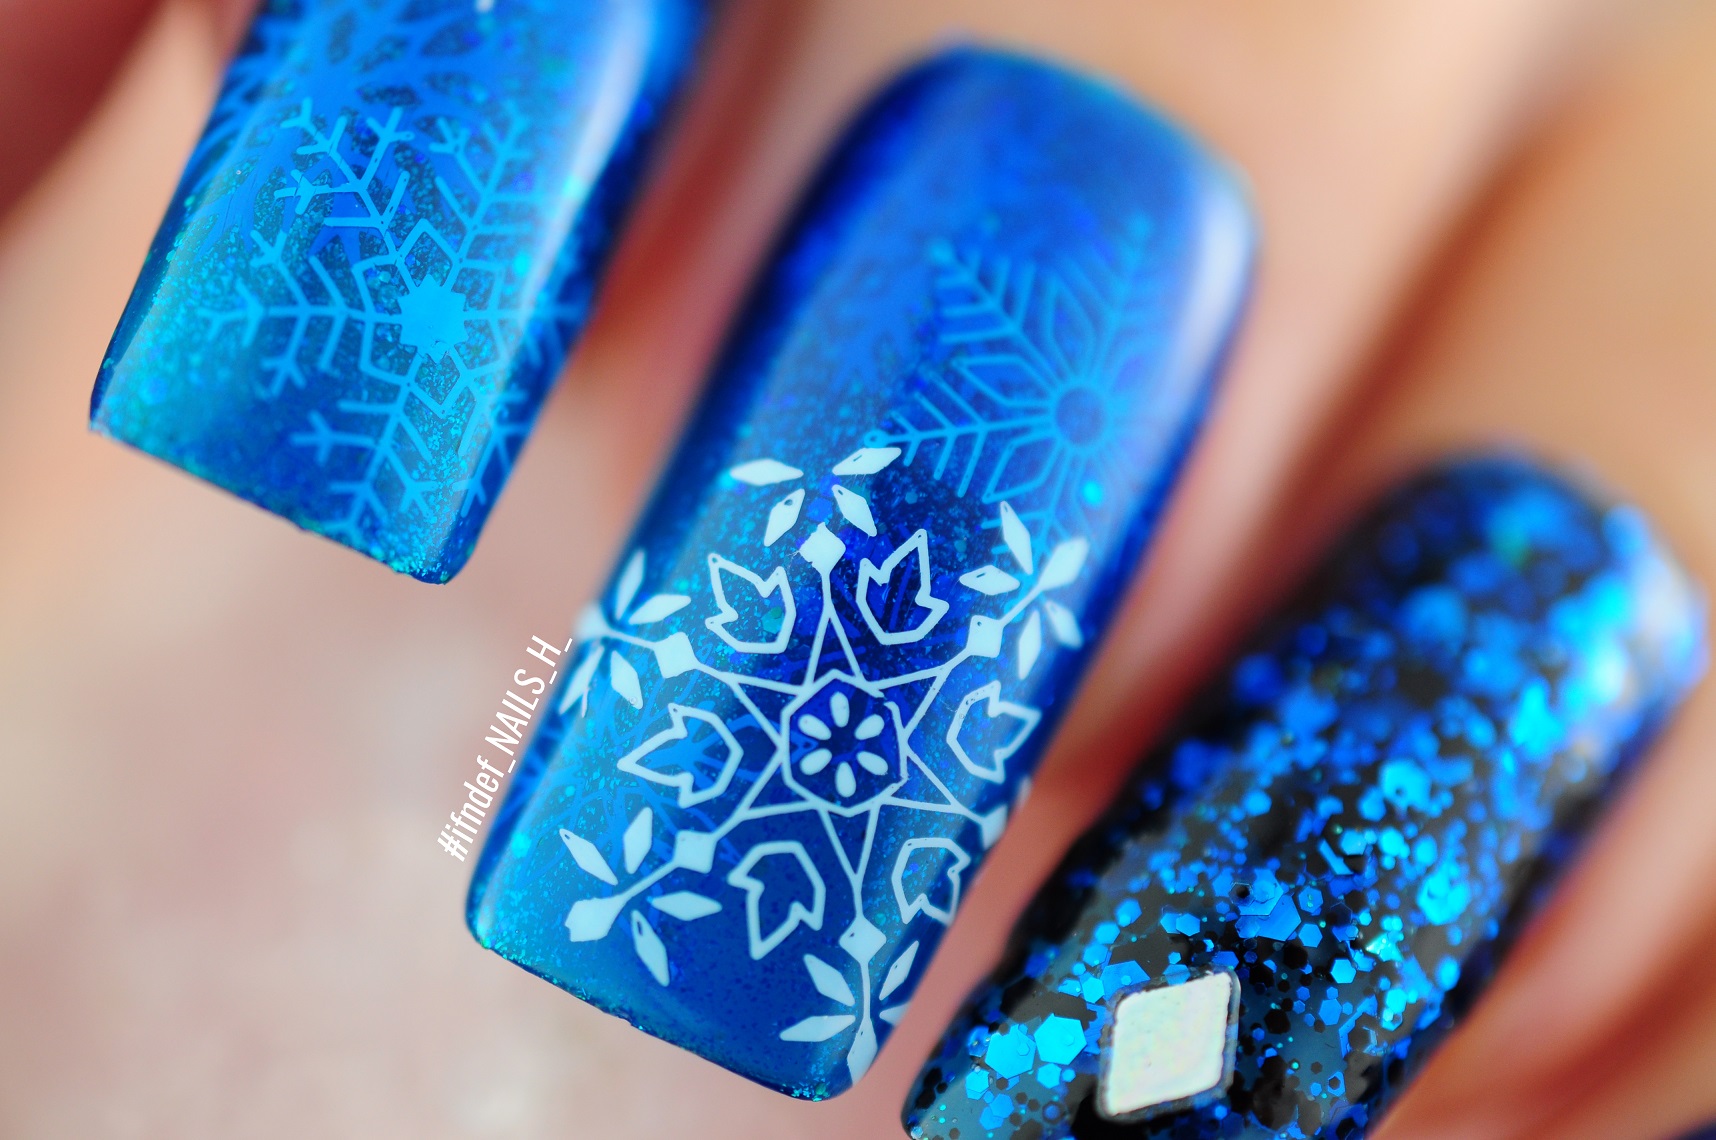
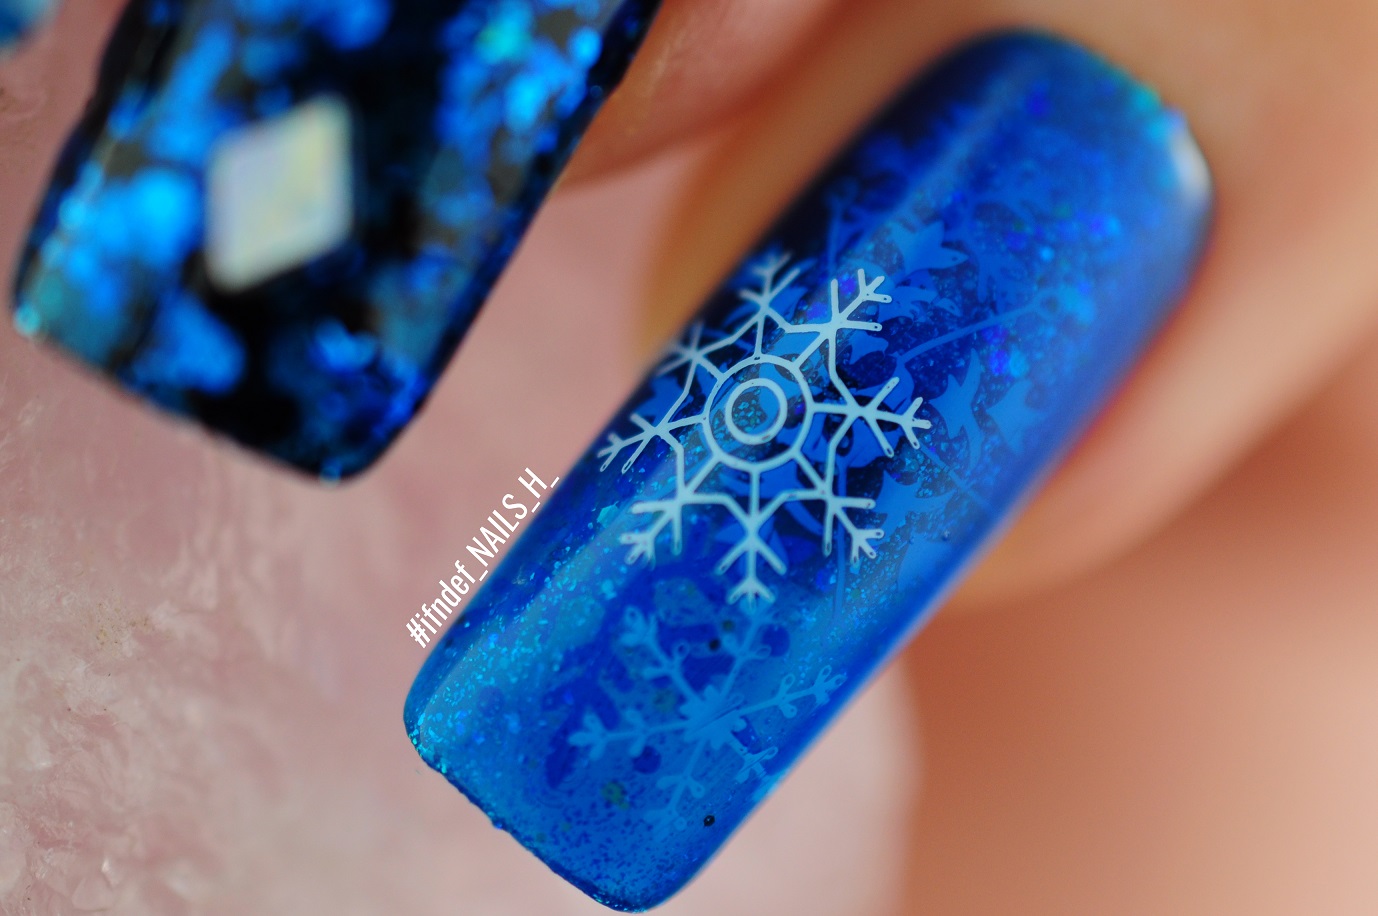
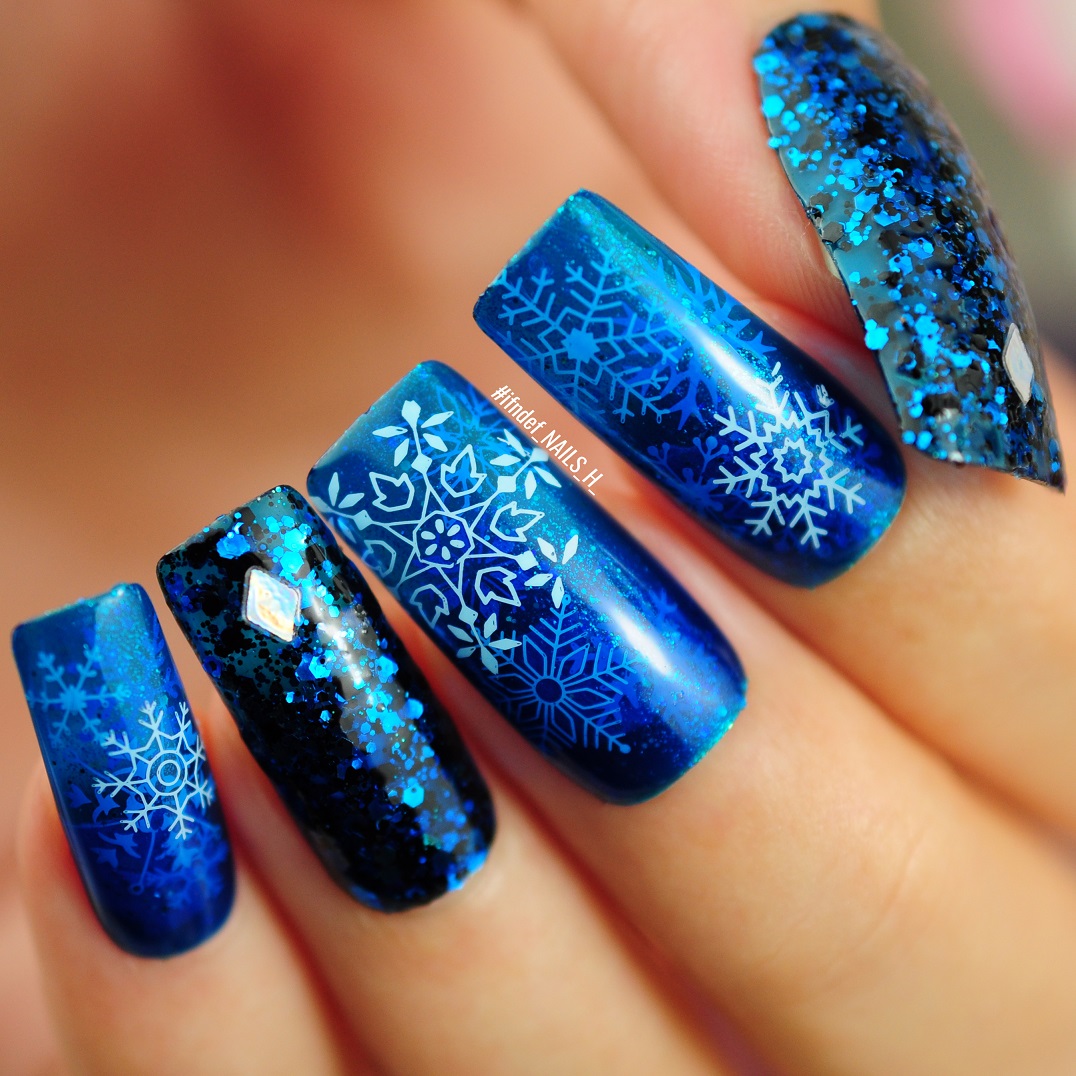
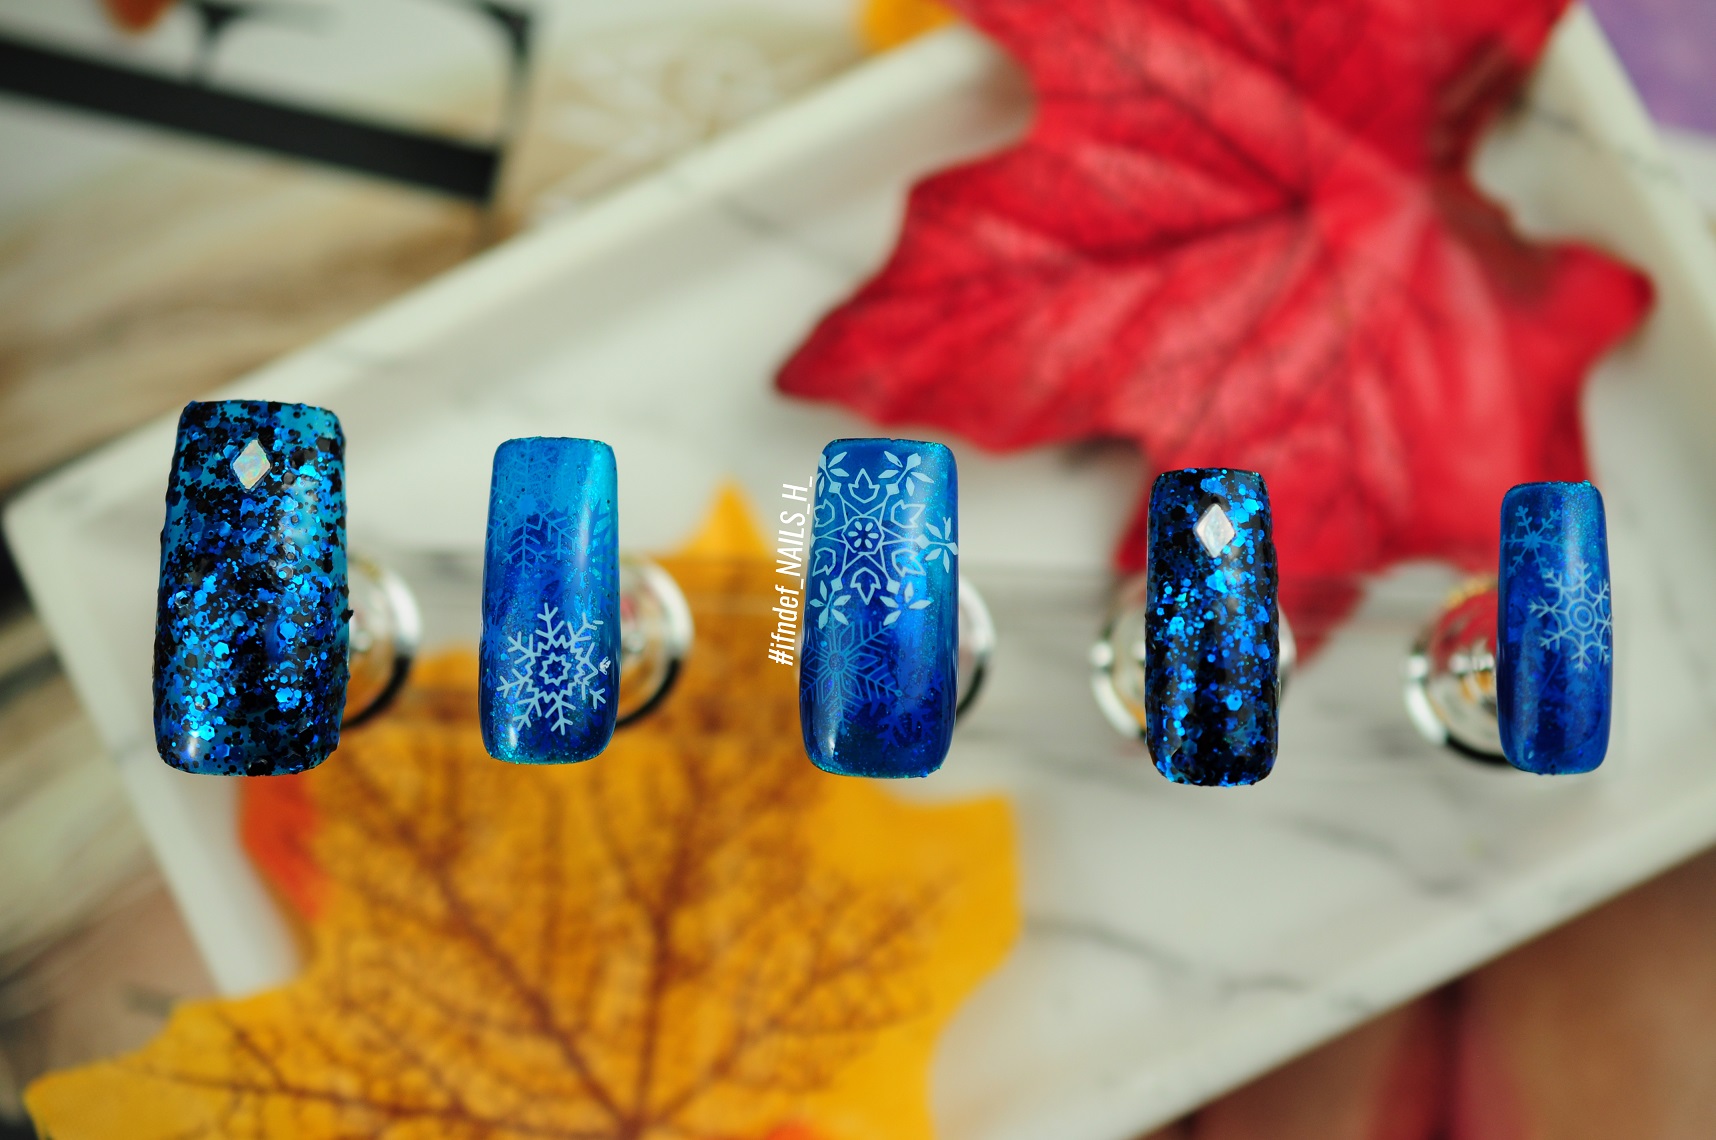
Snowflake Queen // Blue Jelly Winter Look with Glitter

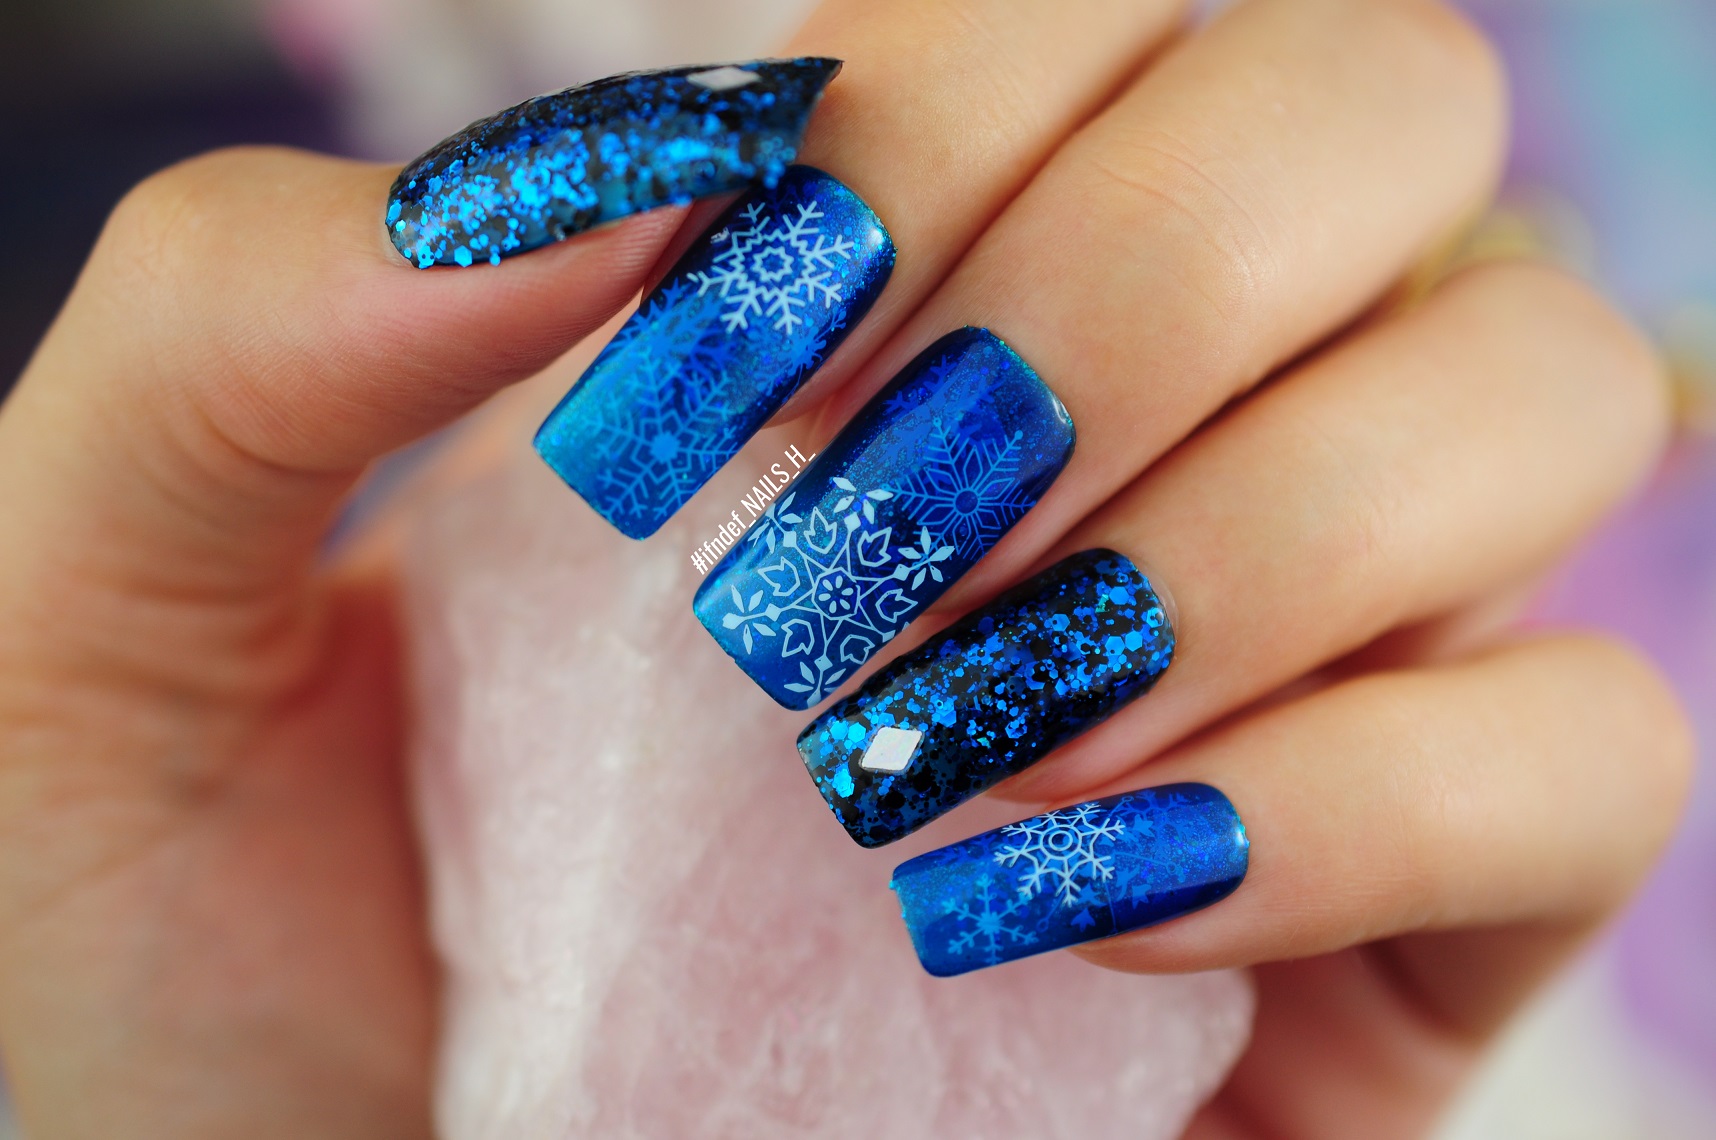
Snowflake Queen Blue Snowflake Jelly Winter Look with Glitter

Ah the jelly sandwich. This was actually my first go and it took so long but it looks great...I probably should've done this with actual gel thanks to all the layers that needed time to dry but fortunately I did this look on false nails and could come back every 30 mins or so to apply another layer.

Snowflake Queen Blue Snowflake Jelly Winter Look with Glitter

I love them though; they're just so sparkly and shiny. They're also very different to what I would normally do; no peach or monstera leaves in sight!

Snowflake Queen Blue Snowflake Jelly Winter Look with Glitter

Layers (Snowflake nails):
1 - Catwalk Queen
2 - Snowflakes
3 - ooh la lolly
4 - Catwalk Queen
5 - Snowflakes
6 - ooh la lolly
7 - Snowflakes
8 - ooh la lolly
9 - Snowflakes
10 - ooh la lolly
11 - Snowflakes
12 - 3D pop tint top coat

Layers (Glitter nails):
1 - ooh la lolly
2 - London Lane (sponged on til most of the nail was covered. This glitter shade did not like being sponged on. Took about 4/5 layers)
3 - ooh la lolly twice
4 - 3D pop tint top coat x2
5 - broken holo nail stickers

Woooo that's a lot of layers. I actually left them overnight and then applied some more top coat the next morning. I'm so glad these are false nails!
Snowflake Queen Blue Snowflake Jelly Winter Look with Glitter

I was going to put some christmas text on one of the nails but I like how these could just be generic winter nails so I left it and just added some more snowflakes for the very top layer. I'll be doing a post on the Essie 3D pop tint soon as well because I love it; I wish I'd bought the others in TK Maxx now.

Snowflake Queen Blue Snowflake Jelly Winter Look with Glitter

Snowflake Queen Blue Snowflake Jelly Winter Look with Glitter

I also felt like the glitter nails were missing something so I added the little holo stickers. I did want to add  more 3D arrow like shape but I only have them in gold. Guess I need to go buy some more nail art wheels in silver!
Snowflake Queen Blue Snowflake Jelly Winter Look with Glitter

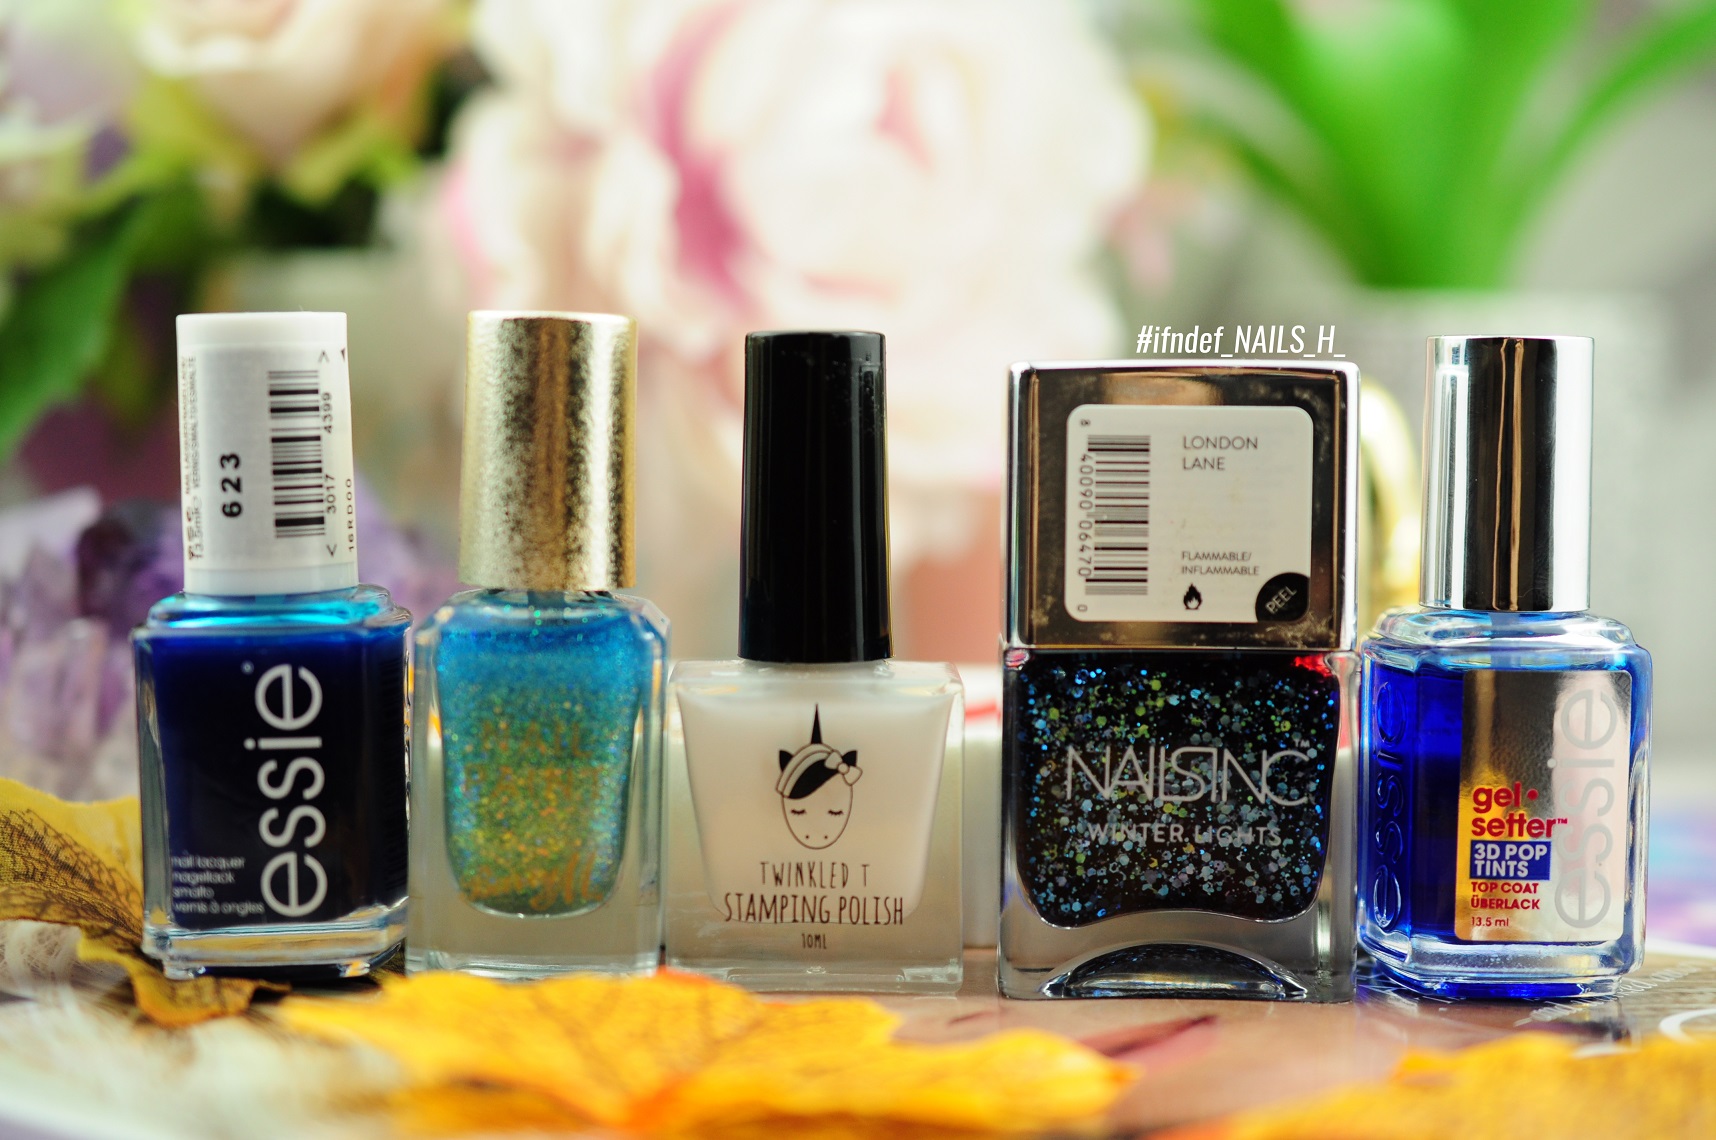
Polishes/Tools used:
- Barry M // Catwalk Queen (blue glitter)
- Essie // ooh la lolly (blue jelly), Gel Setter 3D Pop Tints Top Coat (blue)
- Twinkled T // Glow Up (white)
- Nails Inc Winter Lights // London Lane (chunky blue glitter)
- Harunouta Stamping Plate // L056
- Essence // Broken Holo Nail Stickers
SHARE:

Thursday 12 November 2020

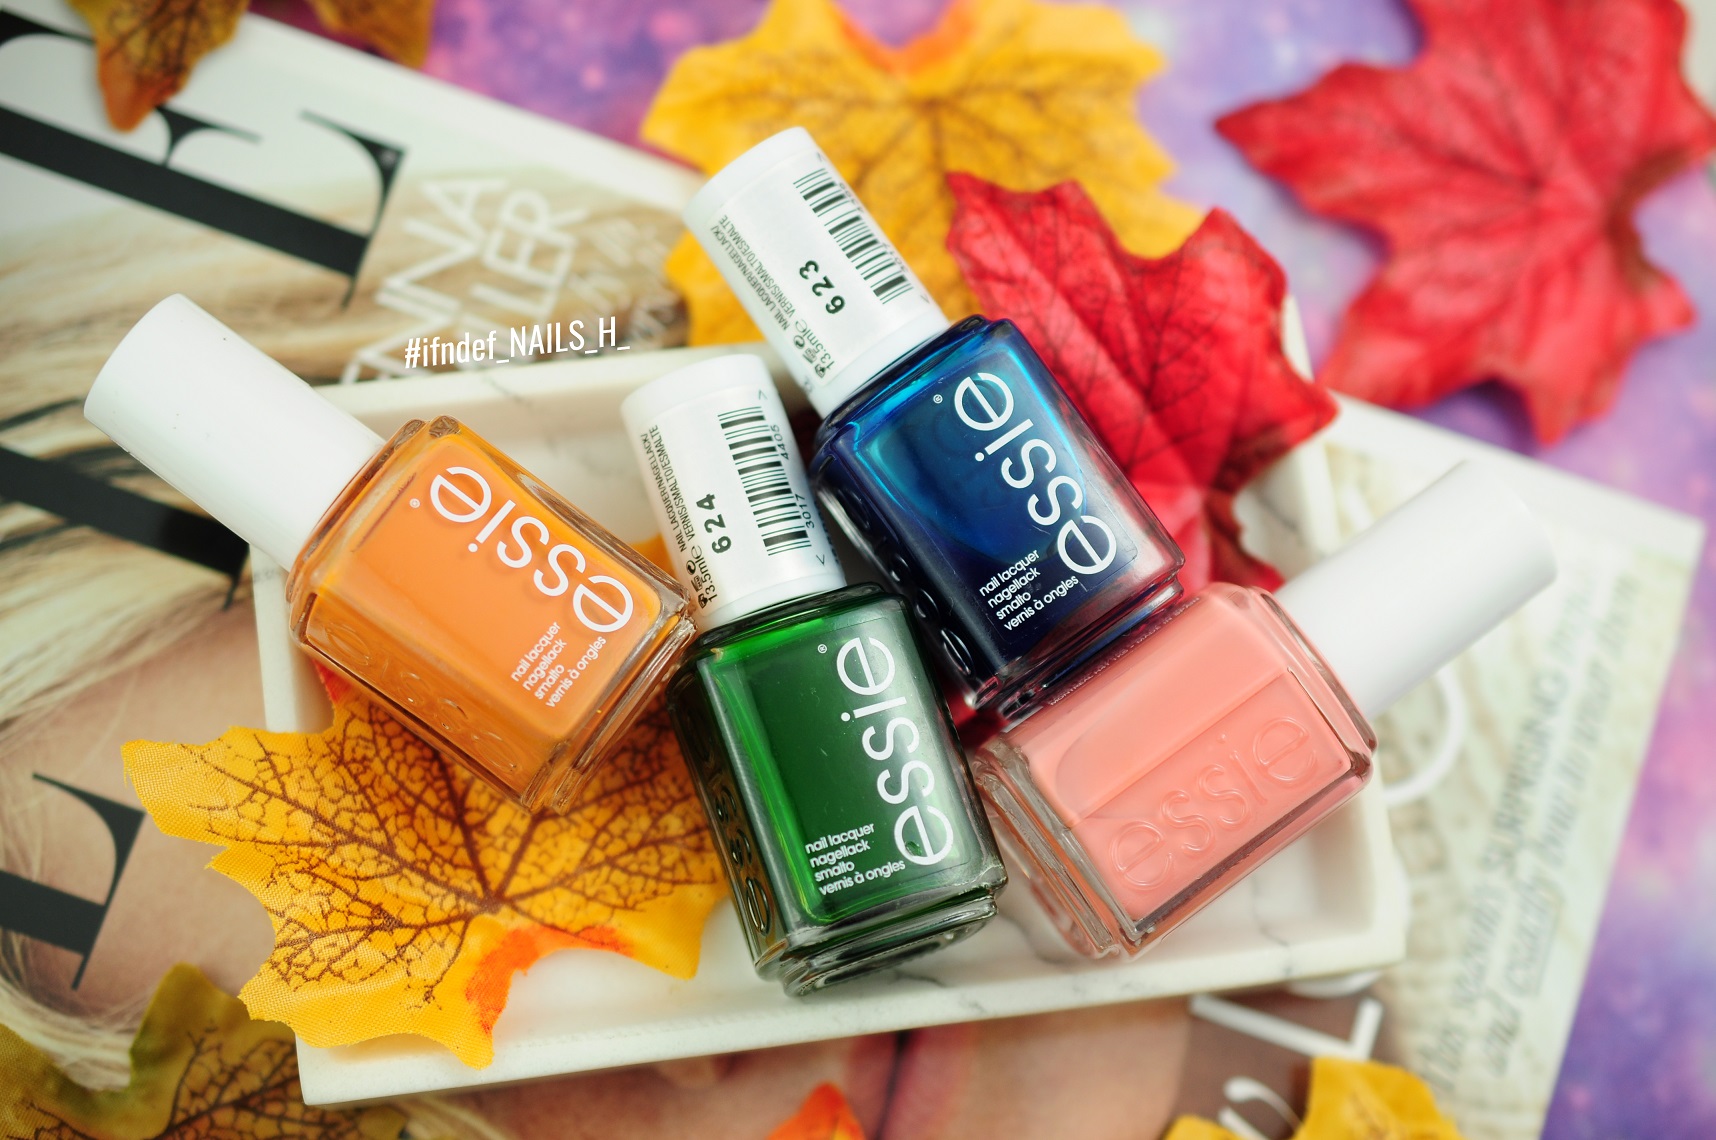
SWATCHES: Essie // Fall For NYC, But First Candy, Ooh La Lolly & Glowing Strong

SWATCHES: Essie // Fall For NYC, But First Candy, Ooh La Lolly & Glowing Strong

More swatches! This time from Essie. I'm not the biggest Essie fan so I tend to ignore them when I see them in TK Maxx but last time there were a few shades that I just couldn't resist throwing in the cart (as well as interesting formulas).

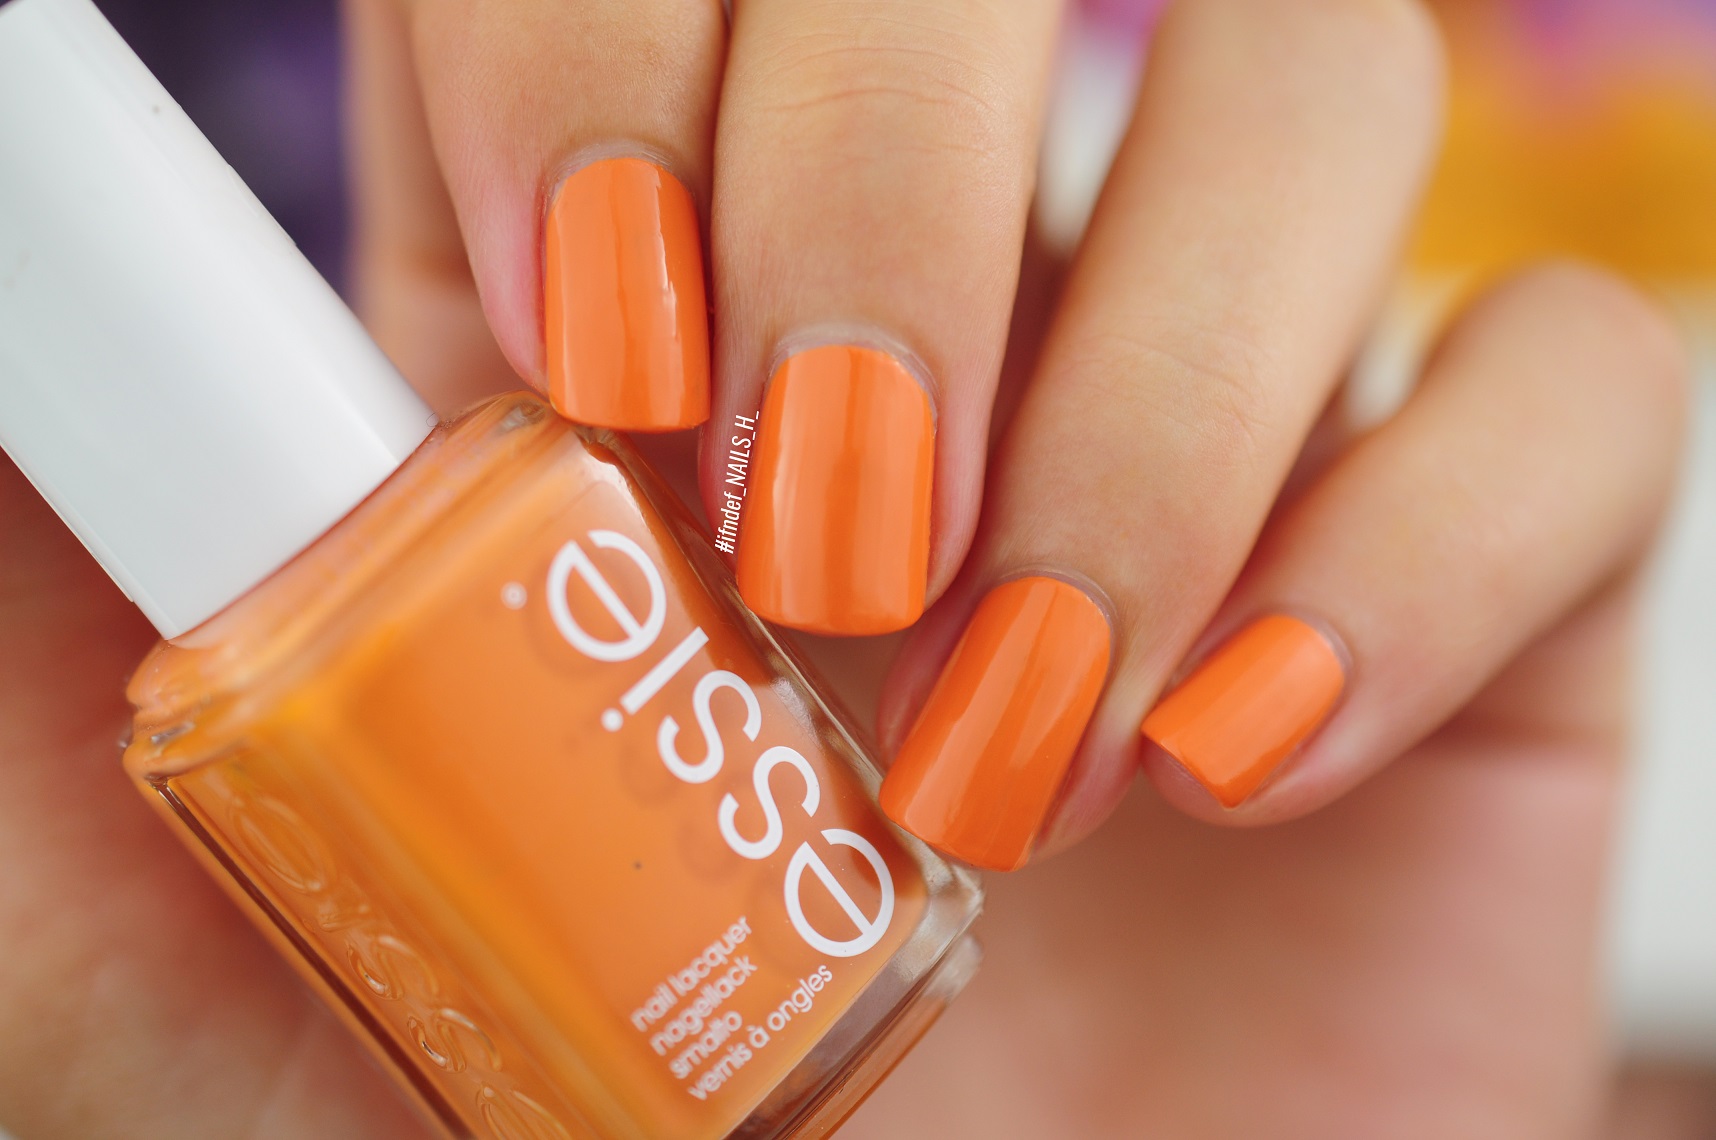
Fall For NYC // orange clay creme
Collection: Fall For NYC
Release: Fall 2018
Coats: 2

Essie Fall For NYC Swatch

I actually remember this collection being released and wanting specifically this shade along with Say It Aint Soho (an orange metallic) but Essie shades are £7.99 here and rarely on sale; the only times I do buy them are from TK Maxx, so I was very happy when this turned up in my local store for £2.99. This is one of those perfect autumn/winter shades. The formula itself is a little streaky and not that shiny but those issues are easily sorted out with a top coat (I just never wear one for swatches).
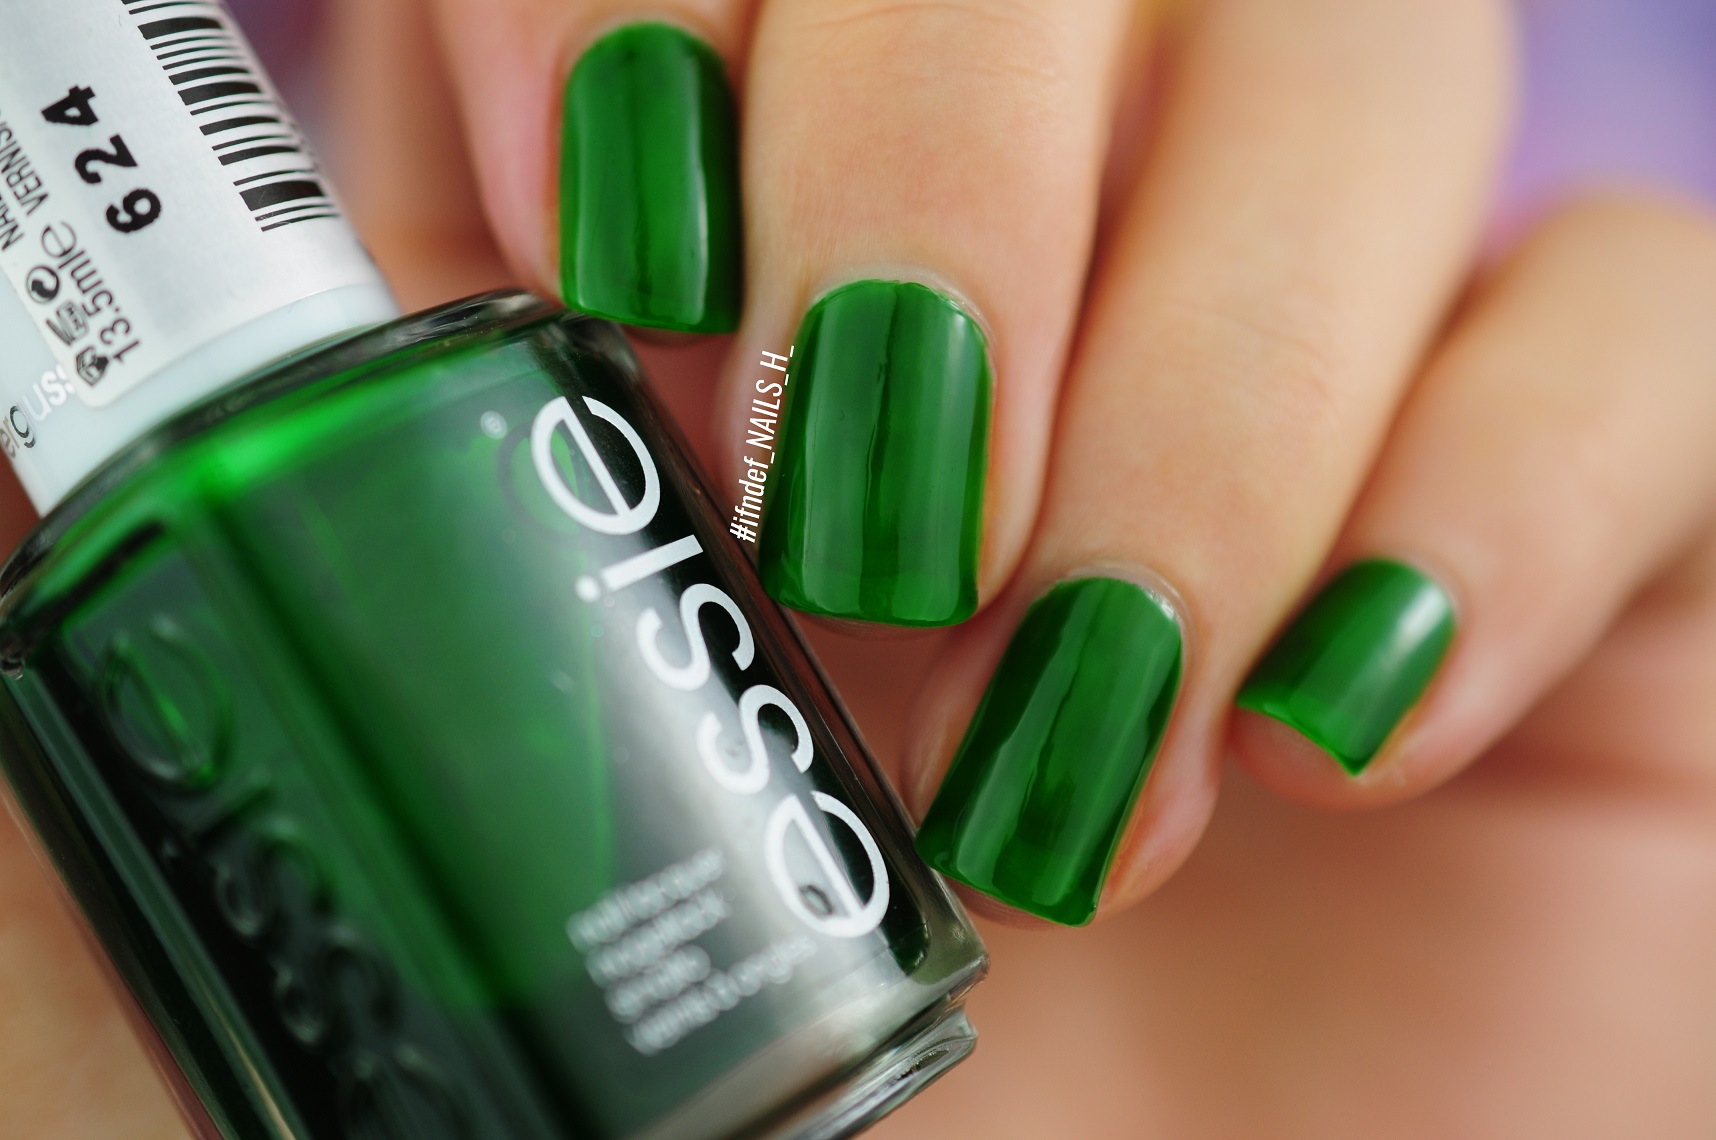
But First, Candy // dark green jelly
Collection: Glazed Days
Release: Summer 2019
Coats: 3

Essie But First, Candy Swatch

Where did this range come from? I had never even heard of it so I was surprised to find it only came out last summer. I have been looking for this exact shade though; a true green jelly, so I was very happy when I saw this and Ooh la lolly in TK.  I wanted them for layering effects however, they appear to be a bit too dark and this one is a little streaky. It also takes forever to dry but that's like most jellies. I stopped at three coats, where it just about lost its transparency and marvelled at the shiny gel-like surface. 

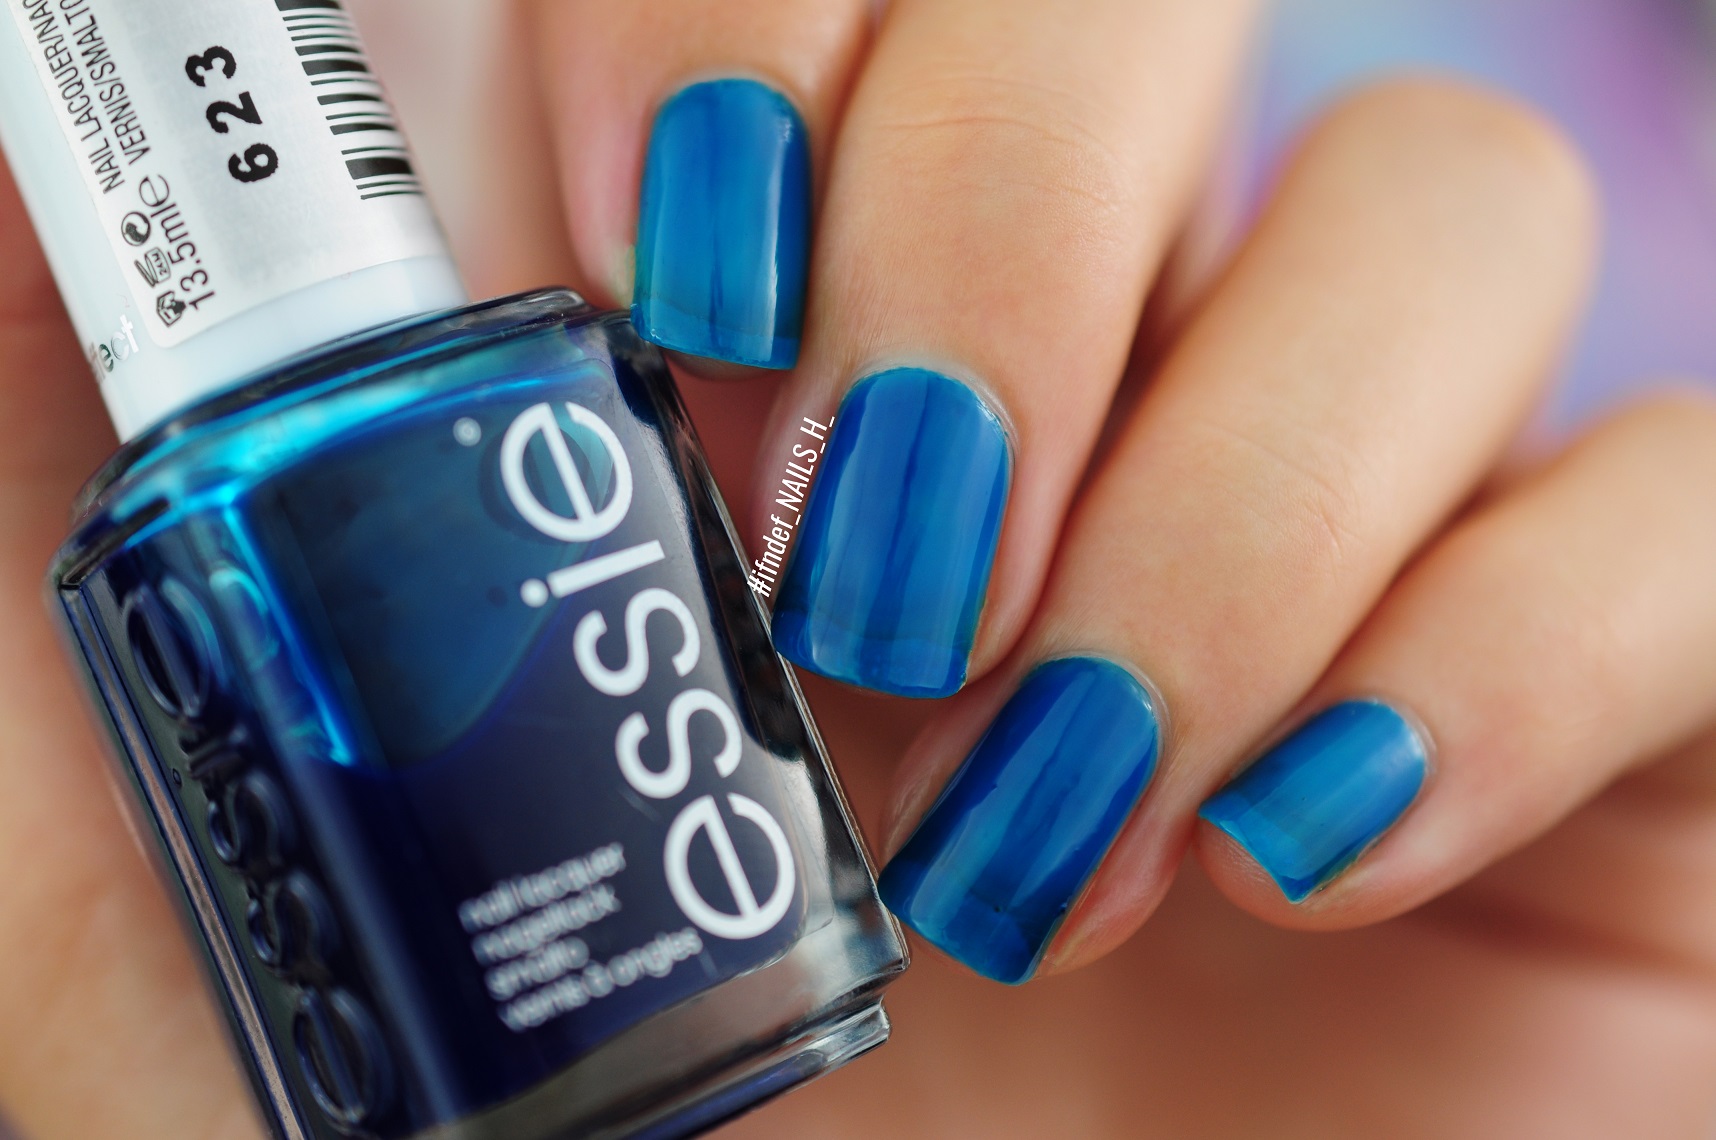
Ooh La Lolly // dark blue jelly
Collection: Glazed Days
Release: Summer 2019
Coats: 3

Essie ooh la lolly Swatch

This is more like the formula I was after; no streaks and builds up nicely but still keeps its transparency. This is going to be perfect for jelly sandwiches (I've already got one planned). Again, it takes a while to dry but I love sticking glitter between the layers for that plastic gel look. Really pleased I managed to get this for £3 as it would've cost me that much anyway after p&p for a jelly polish from born pretty/eBay.

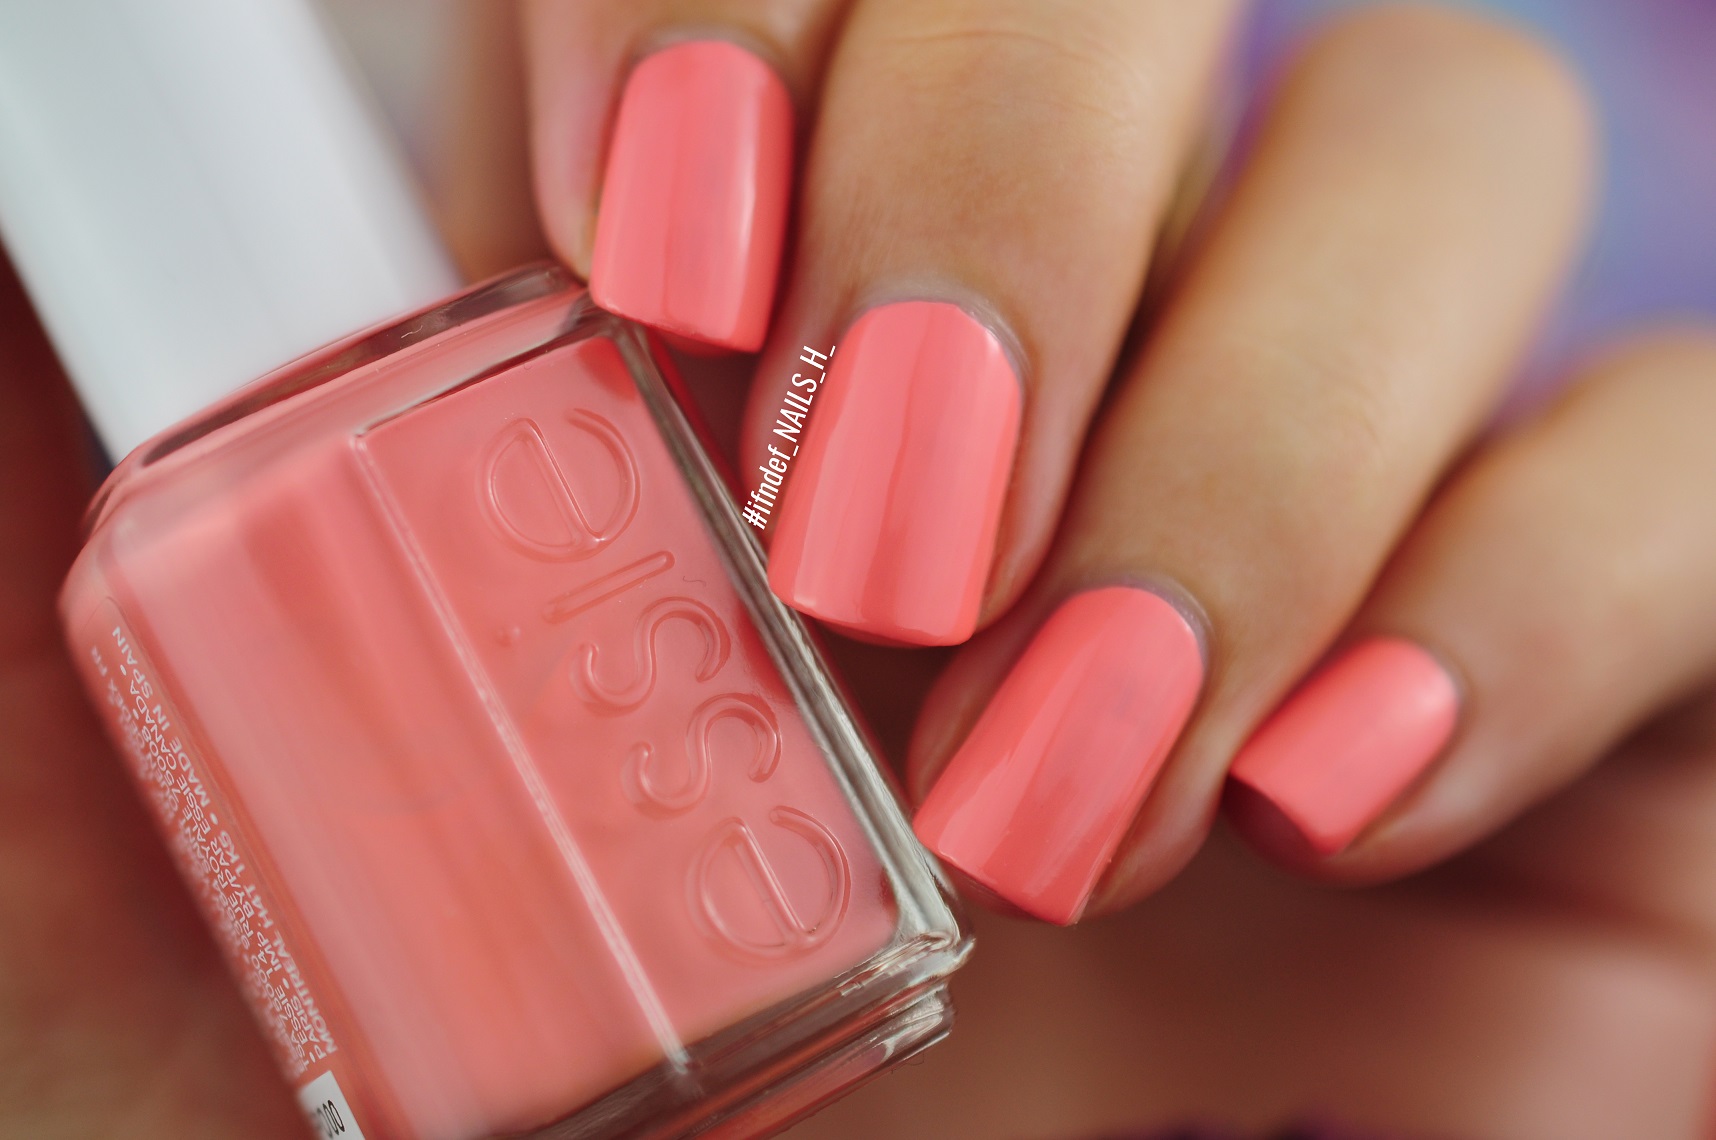
60 Glowing Strong // peach/pink creme
Collection: Treat Love & Color
Release: Winter 2018
Coats: 3

Essie Treat Love & Color Glowing Strong Swatch

Of course I bought the peach/pink shade. For some reason I was expecting this to be a thick and gloopy creme but it's actually quite thin. It took me three coats to get the coverage I was happy with but it was easy to apply and dried relatively quick. This shade just makes me wish is was summer though...I miss the warm weather and being able to cycle without being battered by a 20mph wind.
SHARE:

Sunday 8 November 2020

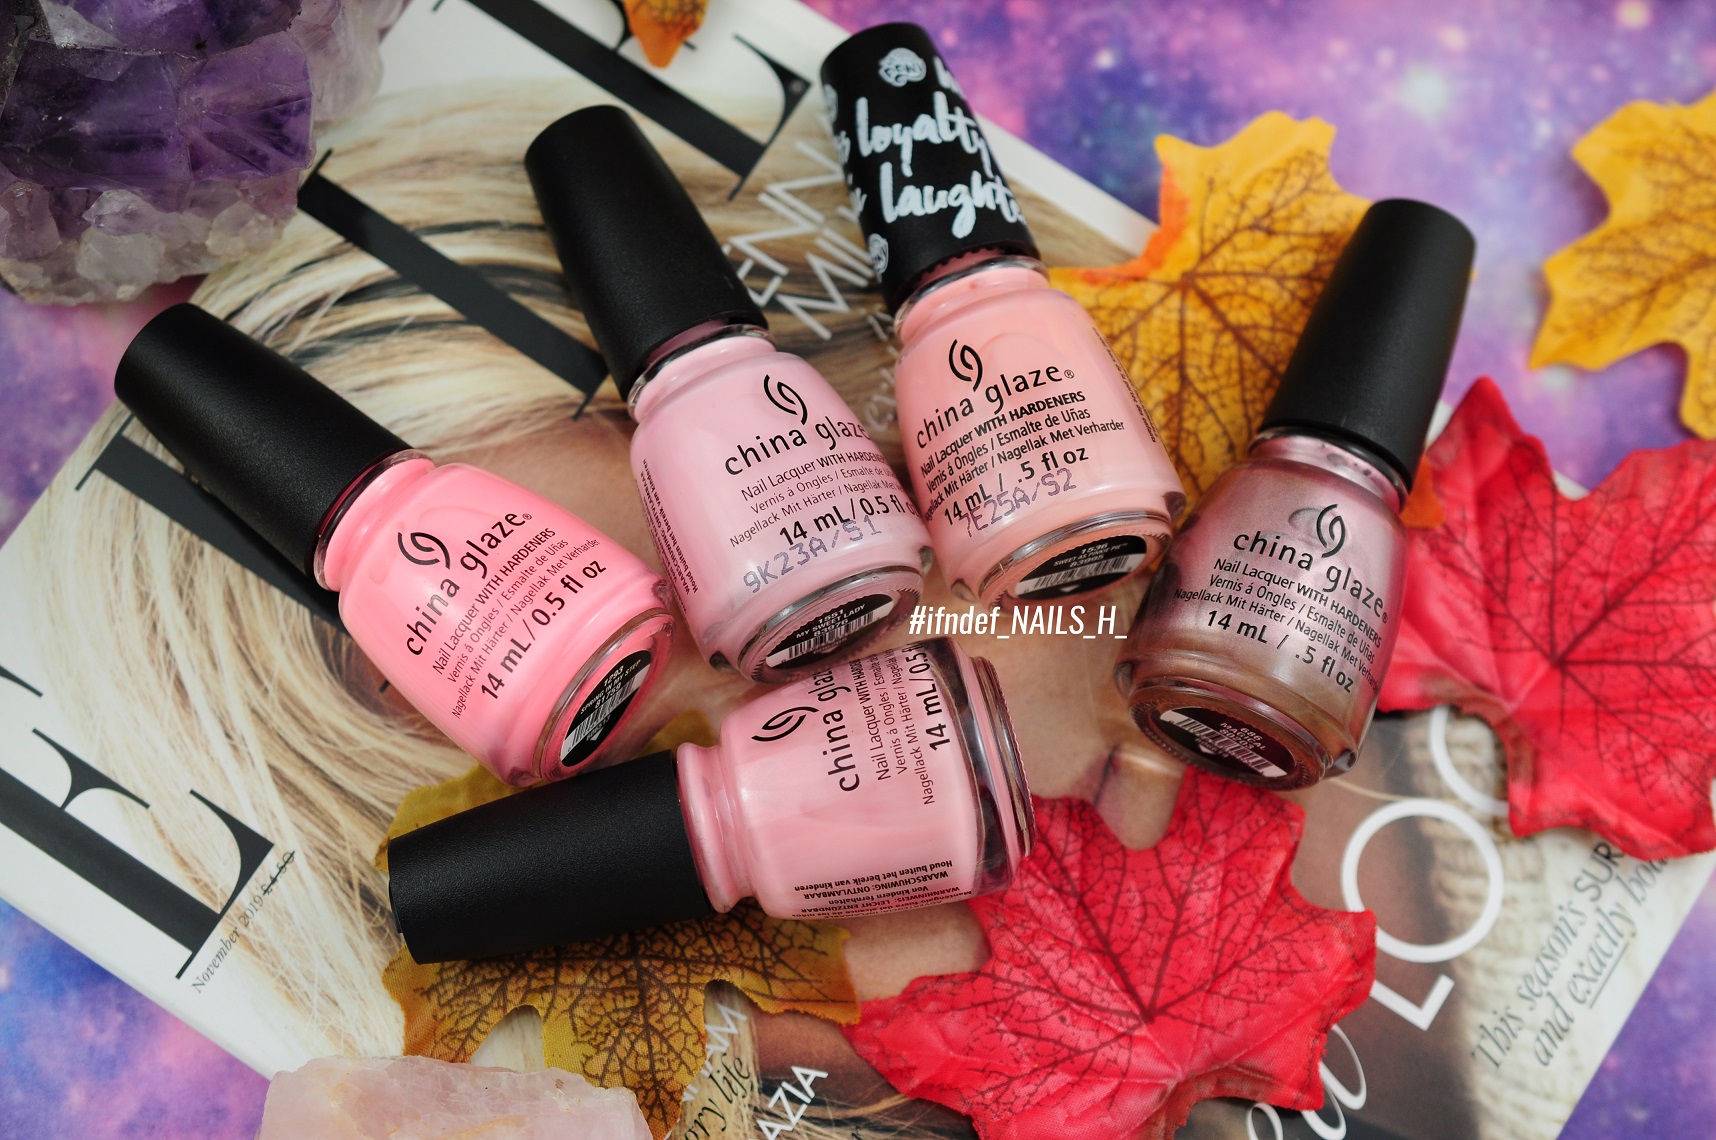
SWATCHES: China Glaze // Diva Bride, Spring In My Step, My Sweet Lady, Sweet As Pinkie Pie & Magical

SWATCHES China Glaze Diva Bride, Spring In My Step, My Sweet Lady, Sweet As Pinkie Pie & Magical

Ok, it's official; I can't stop buying pink polishes. I actually bought these back in June on the first day that TK Maxx re-opened. I have now just got round to swatching them. My desk has become cluttered with a thousand polishes that need swatching, why did I let them build up?

Diva Bride // Sheer Baby Pink Creme
Collection: ??
Release Date: 2010?
Coats: 3

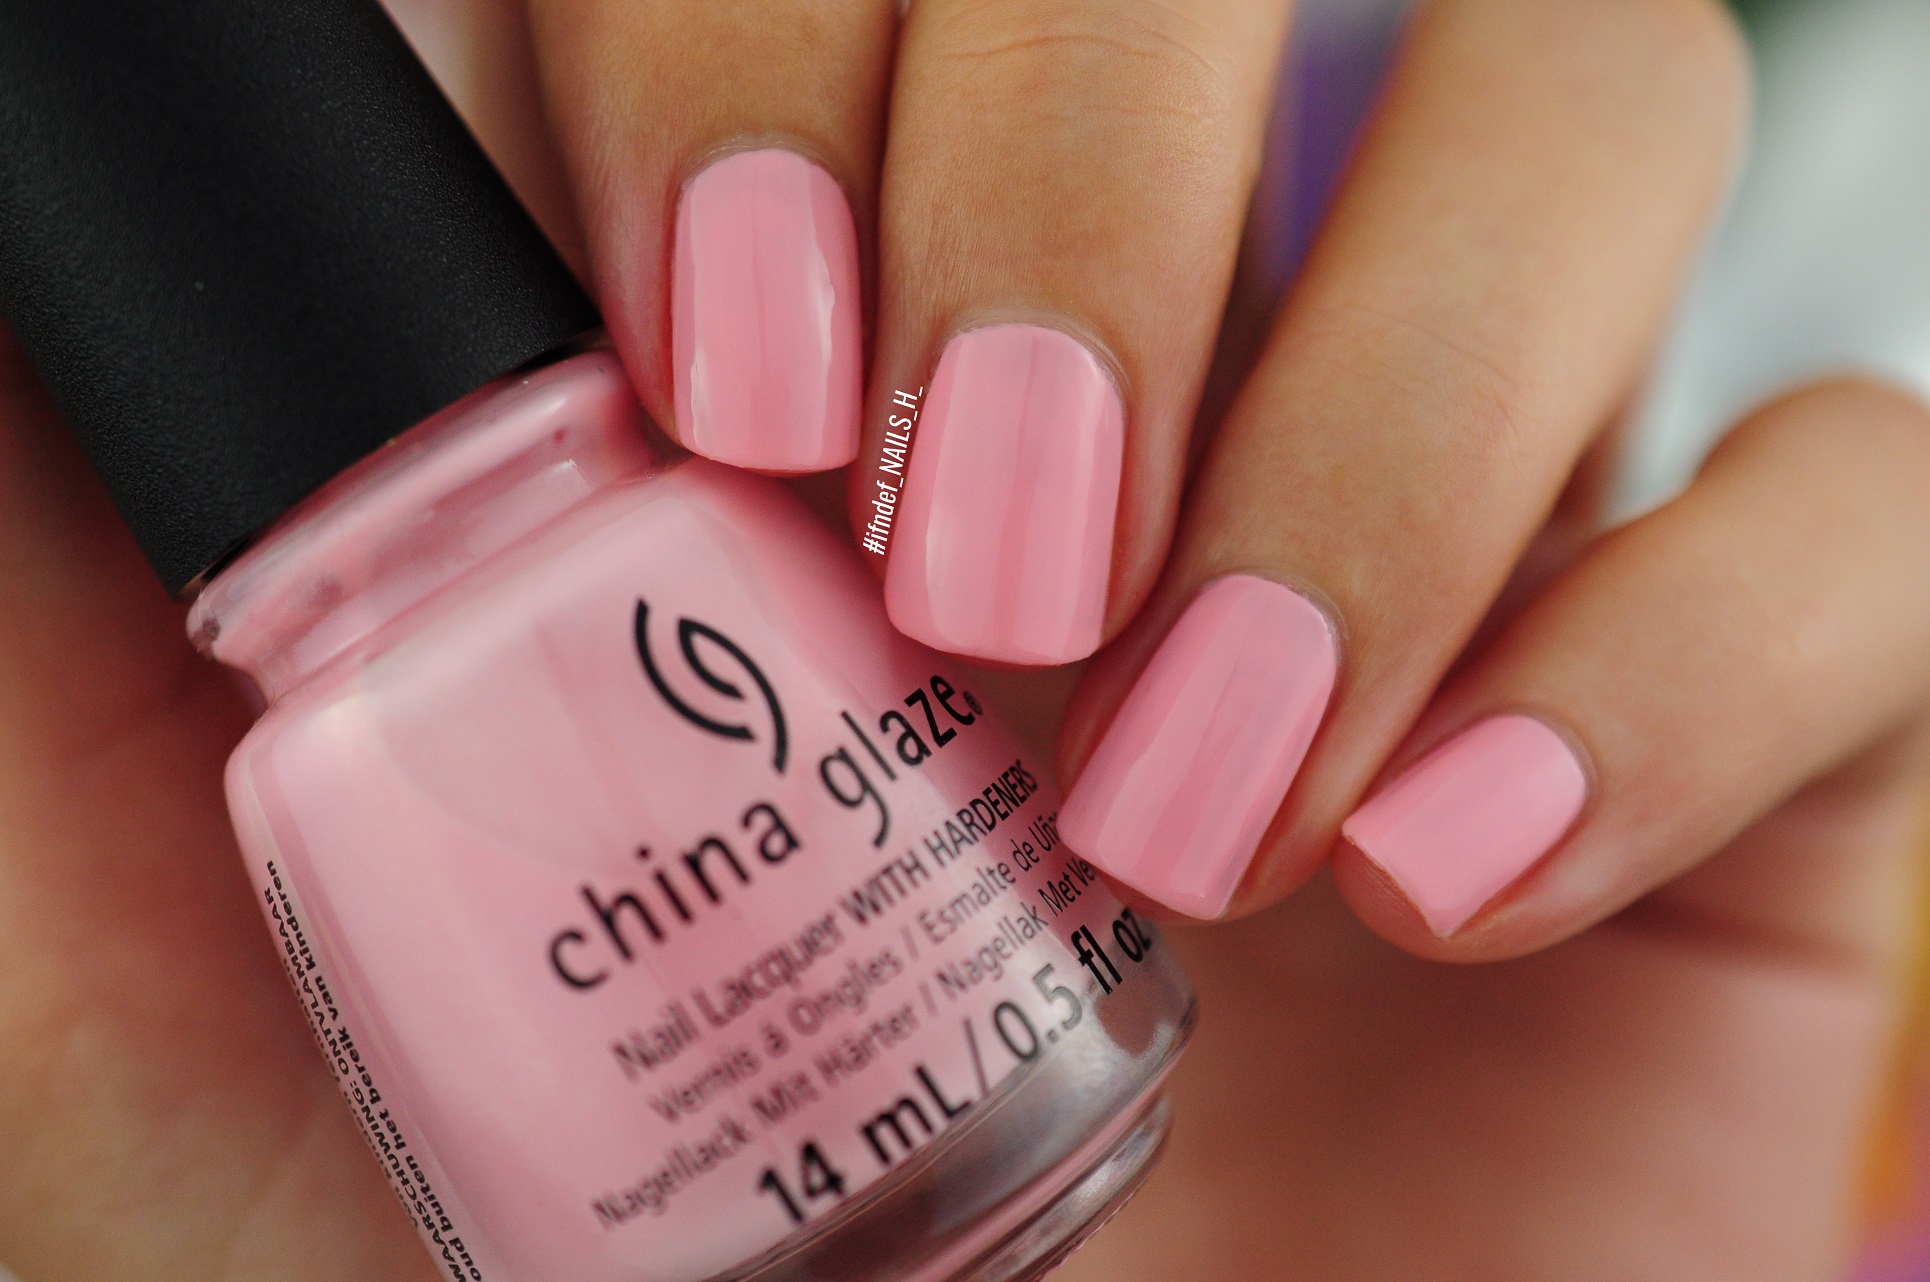
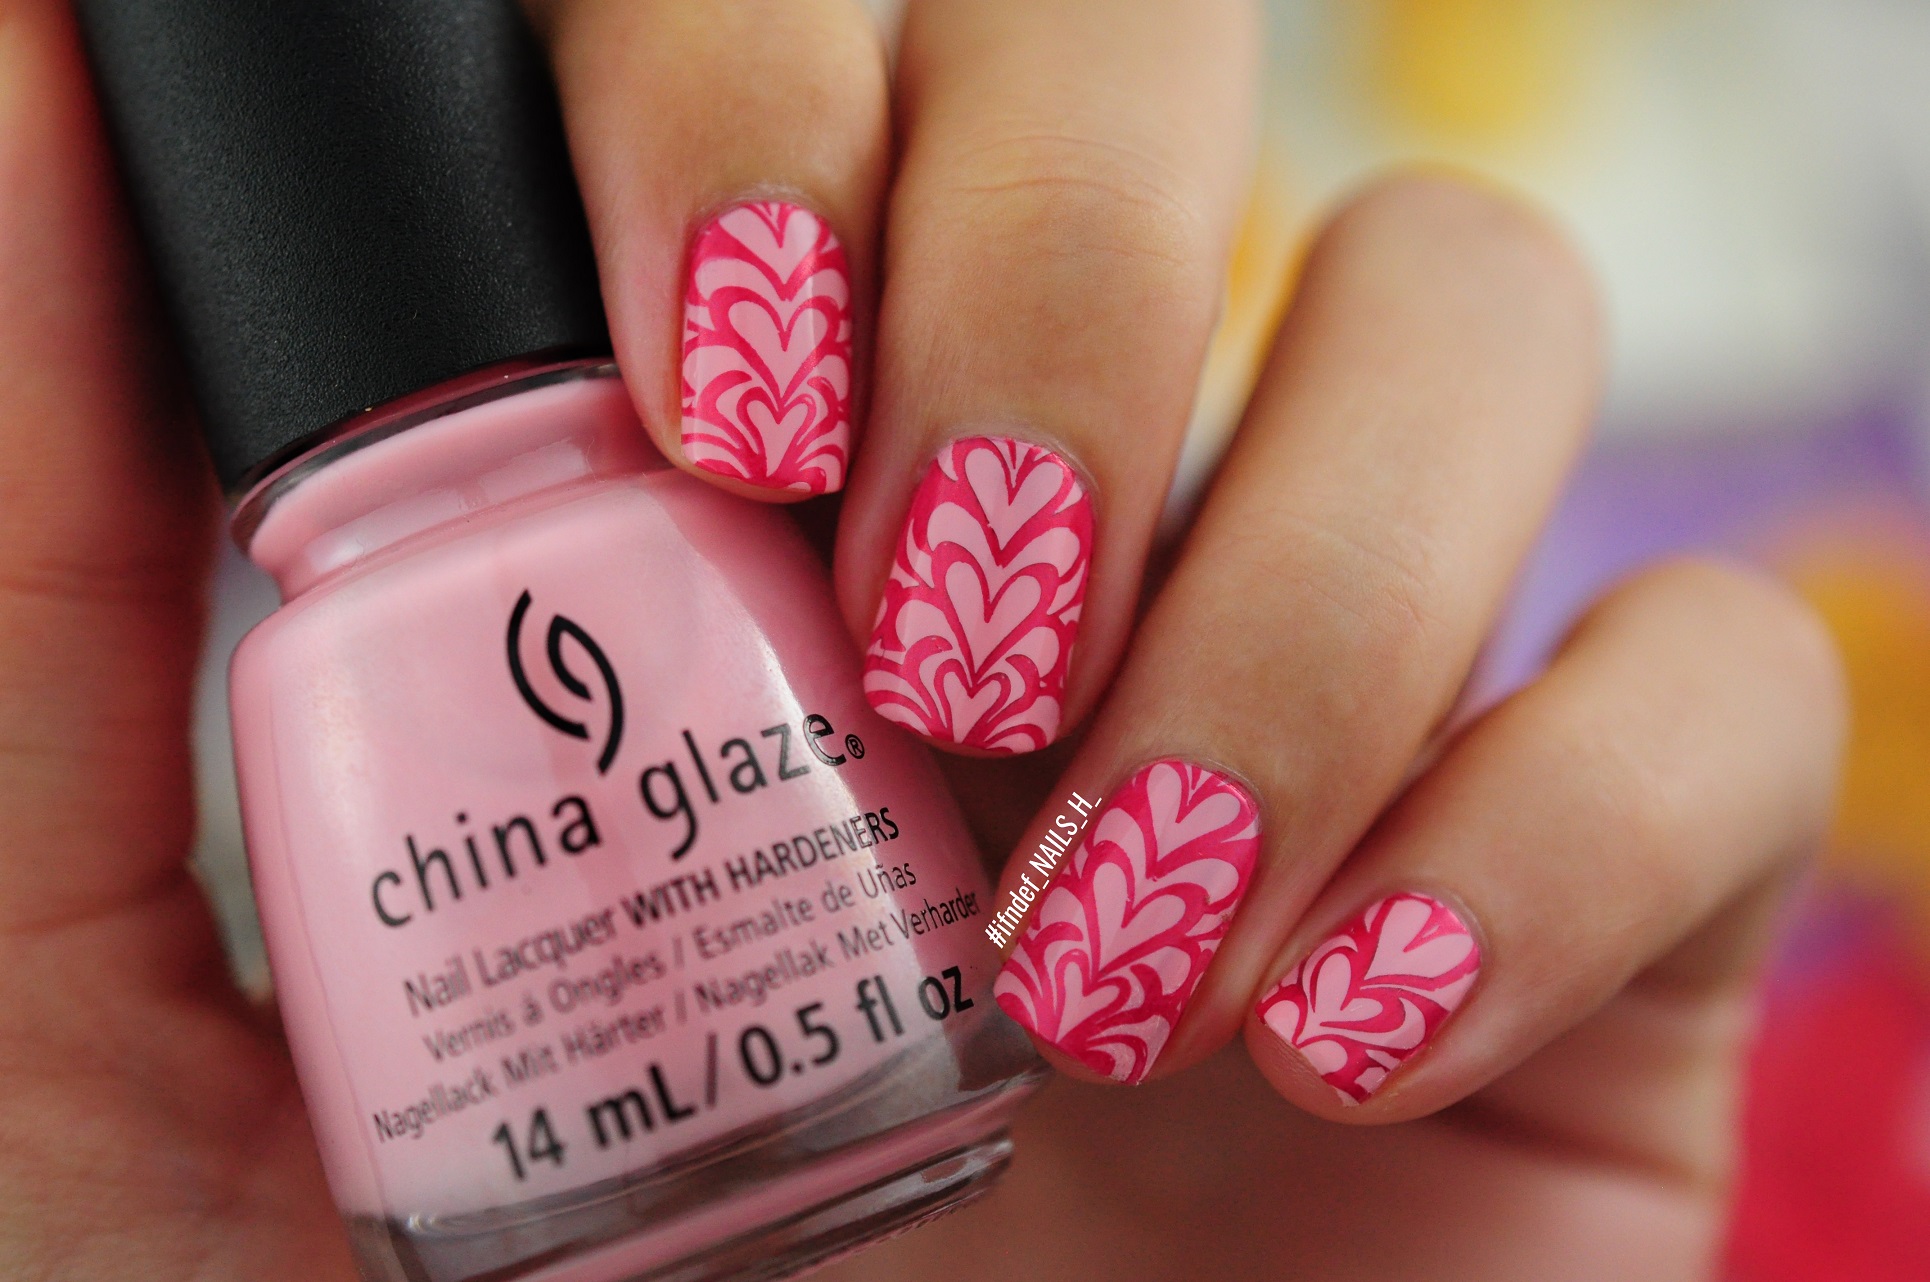
China Glaze Diva Bride Swatch

China Glaze Diva Bride Swatch

This is a wonderful sheer pink that is streaky on the first and second coats but builds up nicely. It's also super shiny and delicate; perfect for wedding nails. This would also be great as the initial base for rose quartz nails. It does need to be applied slowly and carefully in thin layers but it's worth the extra effort. For fun, I added a red watermarble stamp on top; perfect for valentines looks.

Spring In My Step // Neon Pink Peach Satin Creme
Collection: City Flourish
Release Date: 2014
Coats: 4

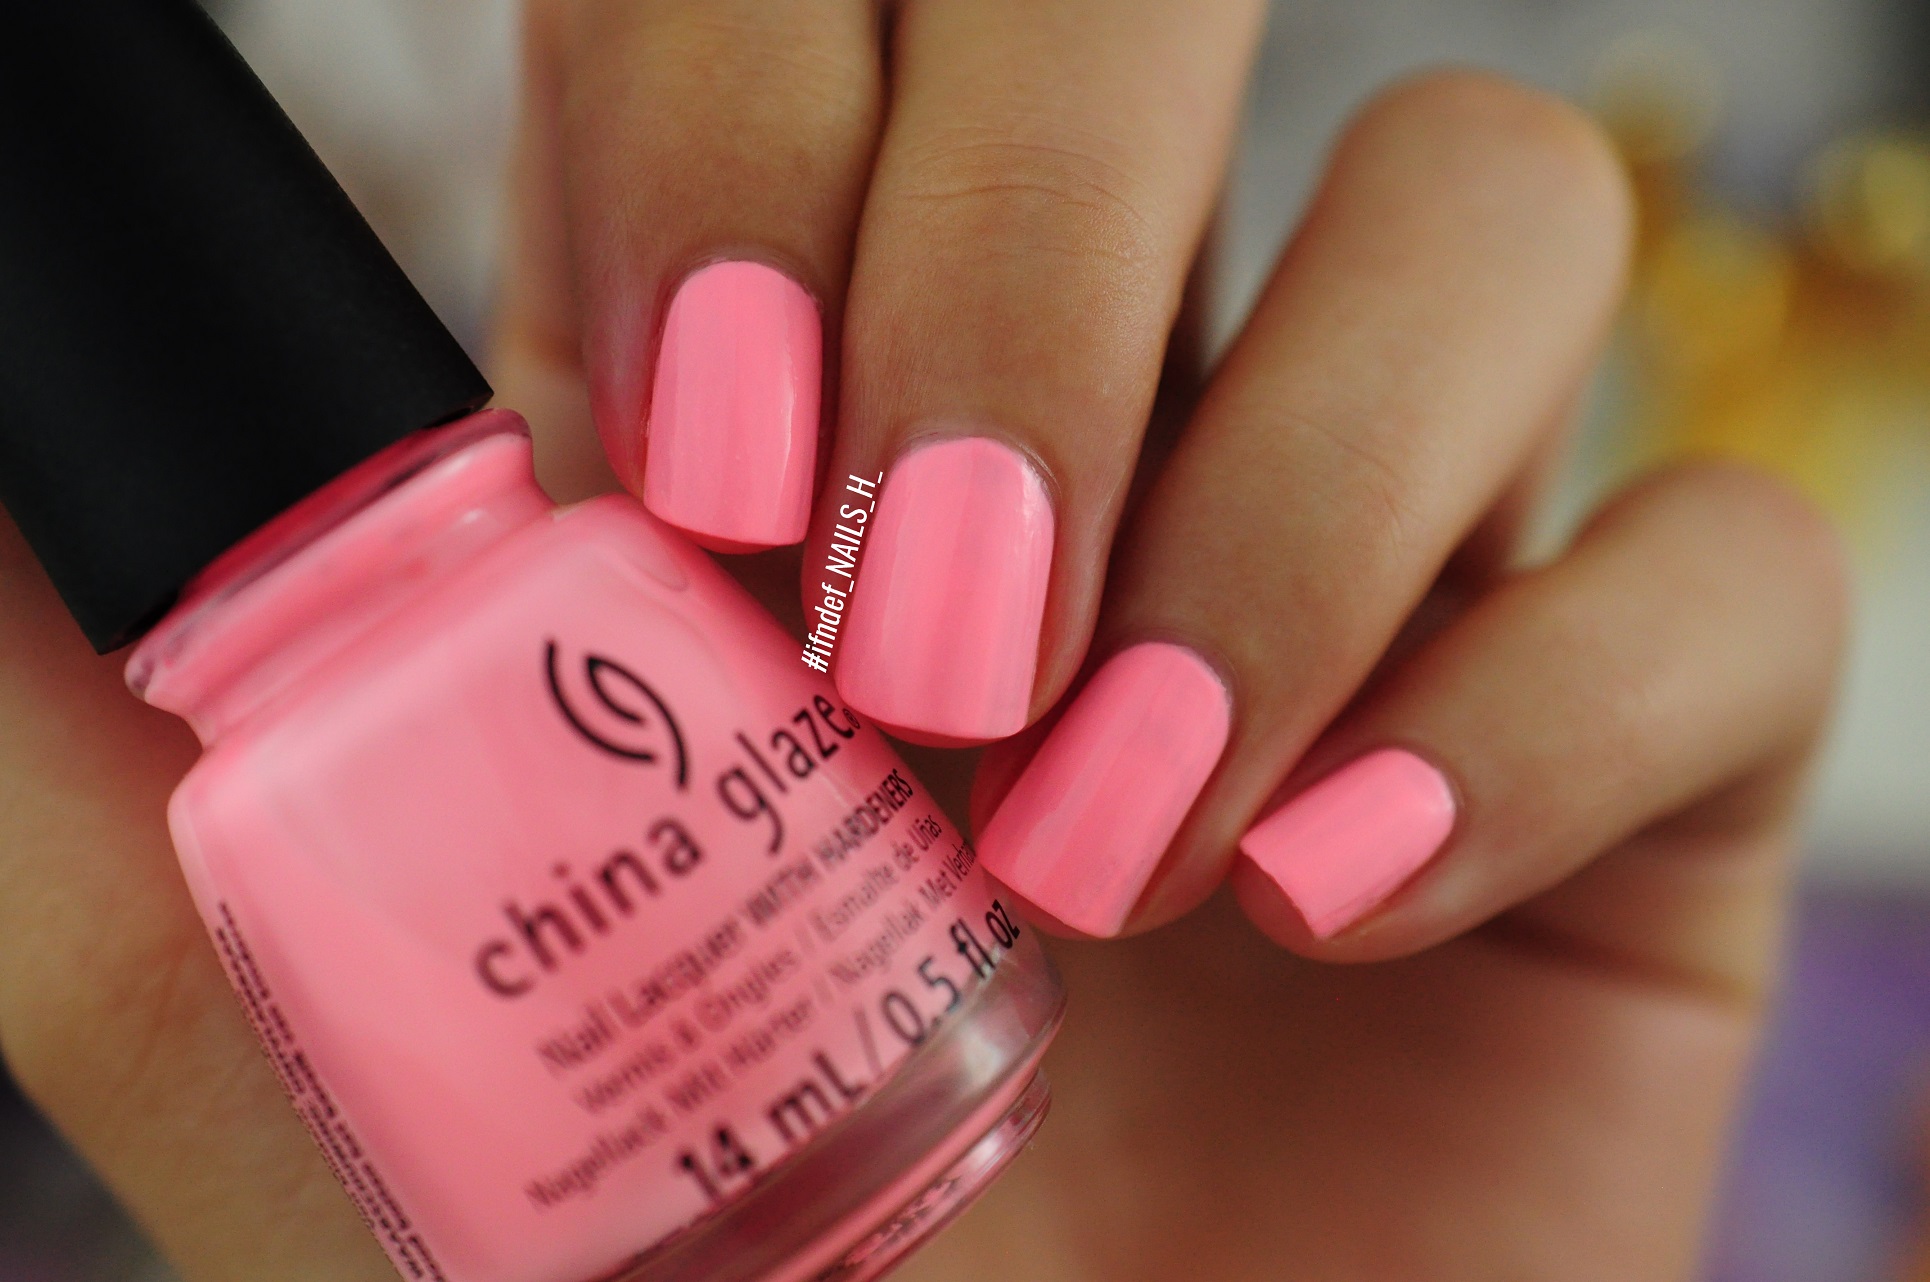
China Glaze Spring In My Step Swatch

This one is incredibly streaky with a satin finish but it does dry extremely fast. I love the shade but even after three coats there are still visible streaks and brush marks. This is not a shade where you can just load up the brush as it will flood the sides immediately. The key is to do two very thin coats, then load the brush up as the polish won't run everywhere. 

I will however let it these issues slide because this is the closest I've come so far to finding a dupe for Deco Miami's 'Cake' shade; my favourite neon peach/pink. It's cheap in the US but an arse to import over here.

Even though it needs four coats, this shade does dry extremely fast so overall I'm quite happy; I just wish it was less streaky.

My Sweet Lady // Soft Peony Pink Creme
Collection: Pastels
Release Date: 2017
Coats: 2

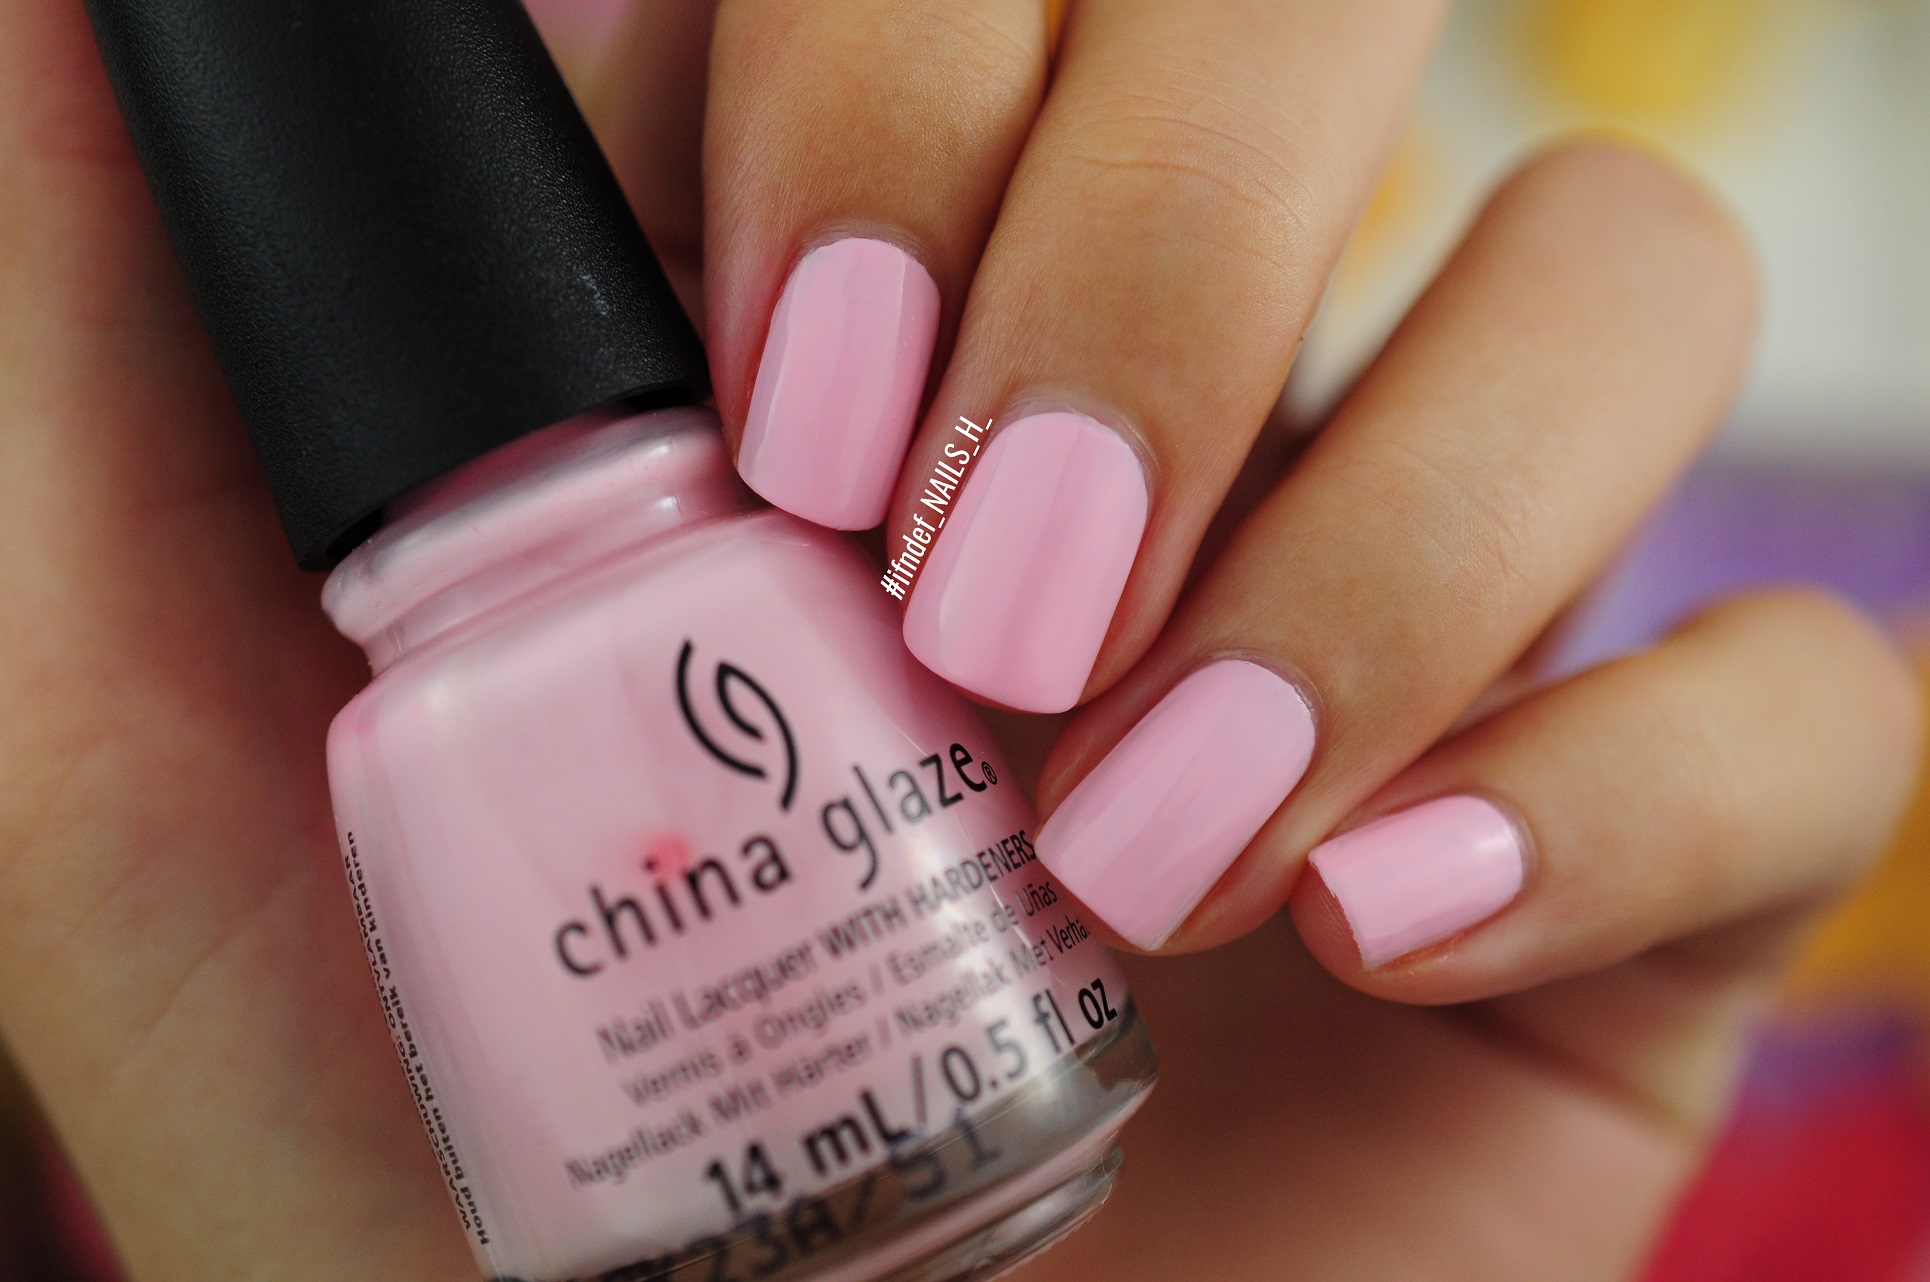
China Glaze My Sweet Lady Swatch

This has the best formula so far; not too thin but not too thick and very easy to apply. The first coat is quite streaky but the second coat evens everything out and leaves it super glossy as well. This is almost like a Barry M Gelly formula (but without the self-levelling magic).

Sweet As Pinkie Pie // Soft Peony Pink Creme
Collection: My Little Pony
Release Date: 2017
Coats: 2
China Glaze Sweet As Pinkie Pie Swatch

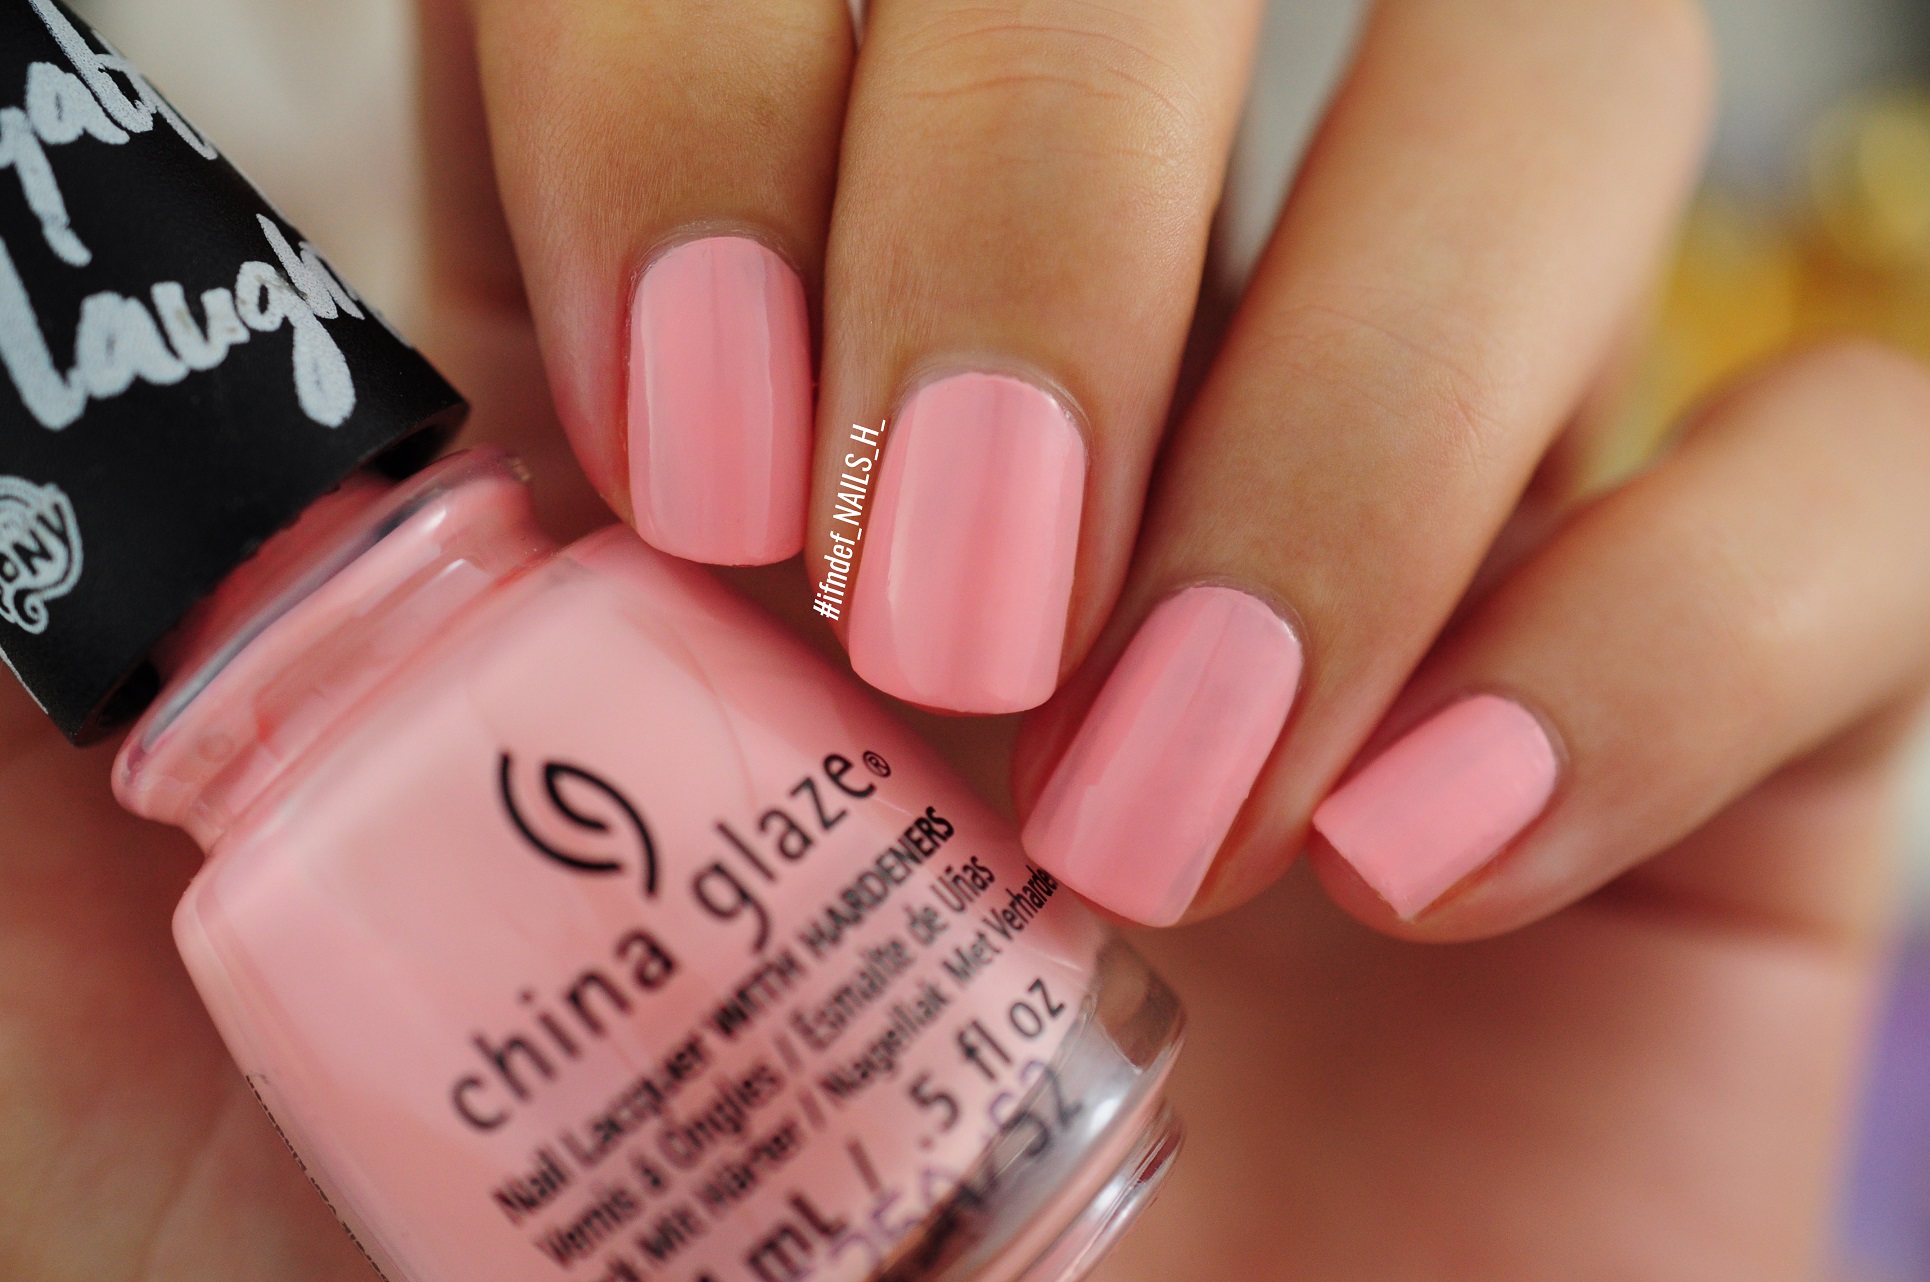
I thought this was from a newer collection but I guess not. It's still a great shade that seems to magically change depending on skintone, lighting, weather, traffic conditions...honestly google swatches for this shade and they range from light pink to dark peach to hot pink. On me this is a light peachy pink similar to OPIs Barking Up The Wrong Sequoia. I do the love the shade though; these peachy pinks are my favourite this year.

Magical // Rose Gold Metallic Shimmer
Collection: Romantique
Release Date: 2009
Coats: 1
China Glaze Magical Swatch

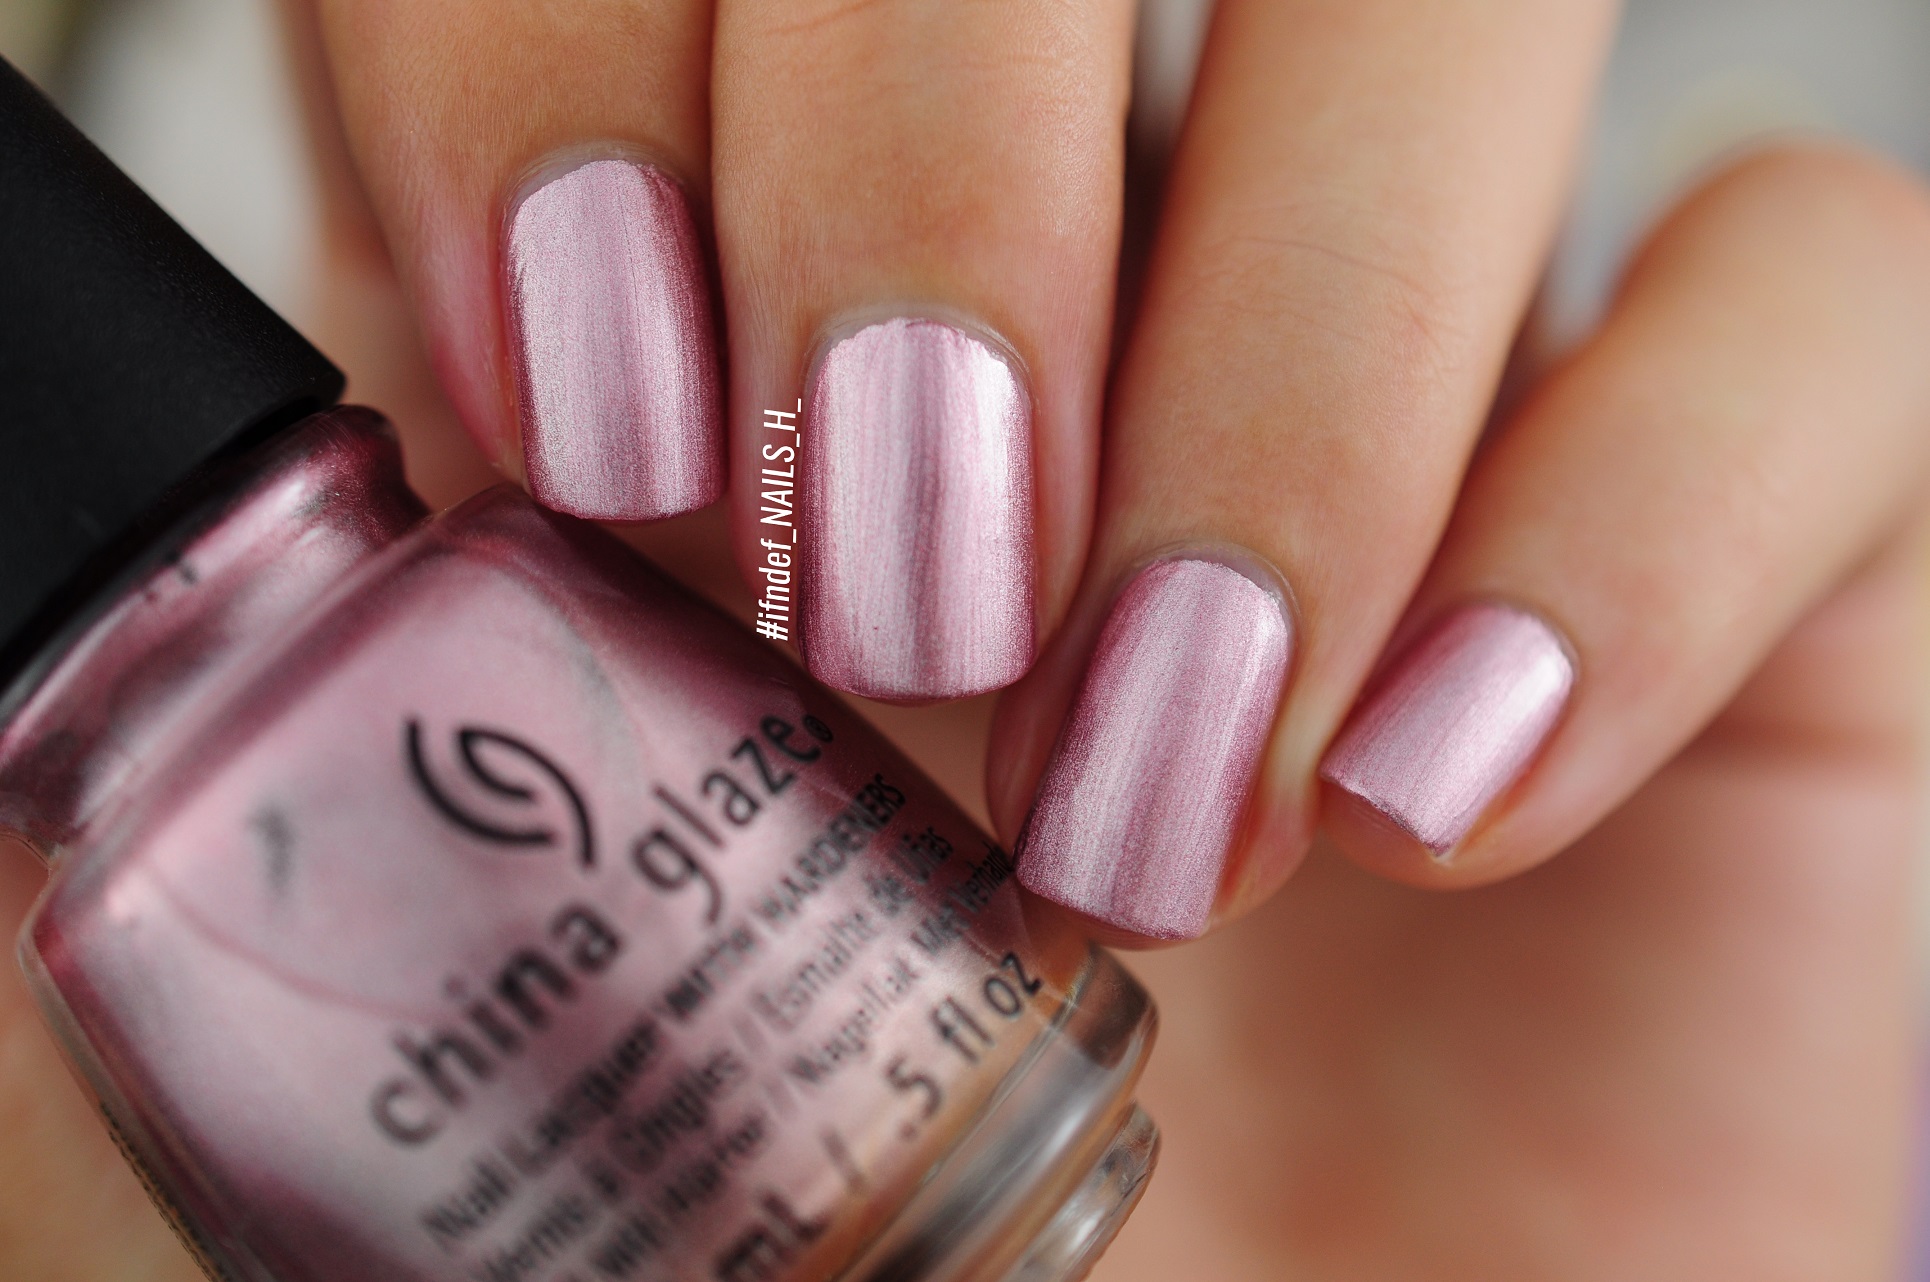
I was hoping this would be a vintage from 2009 however the bottle has four translations on the front and I'm pretty sure the older ones only had 2. Anyway, this is a one coat wonder with minimal brush strokes thanks to its shimmer finish. If this was a straight up chrome, the brush strokes would be pretty bad but all the shimmery pieces hide the lines.

I'm really impressed with this; it also stamps wonderfully as well thanks to it's intense pigmentation. It's similar to Barry M's Liquid Chrome shade in Razzle Dazzle but I much prefer this one.

SHARE:

Thursday 5 November 2020

A Woman's Deer-ivative // Quick Nail Art Looks

 OPI Deer Winter Orange Autumn Nail Art Looks

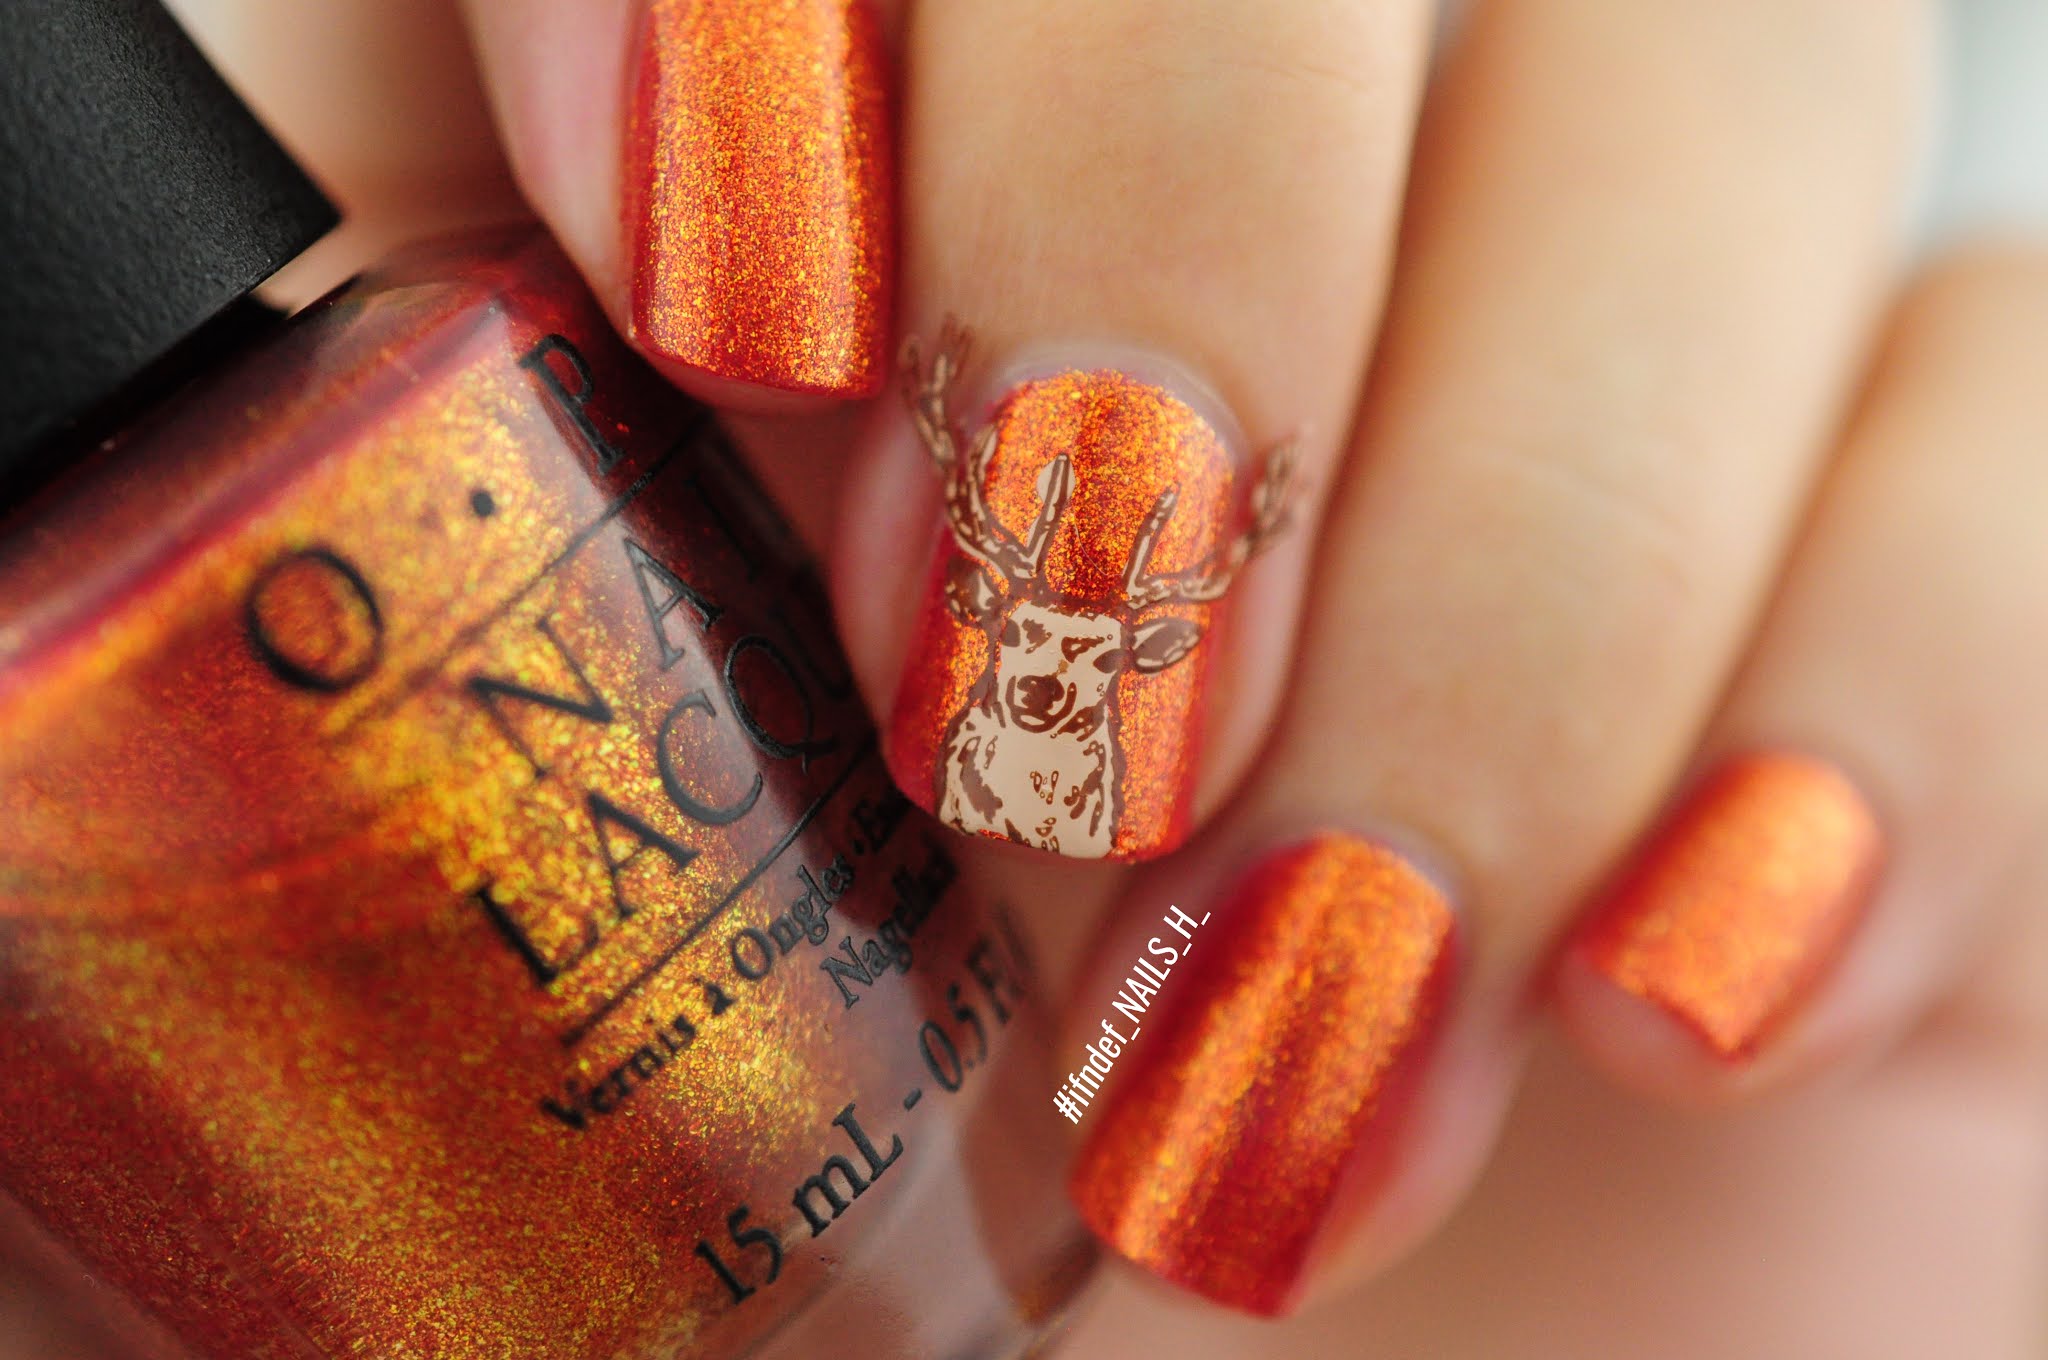
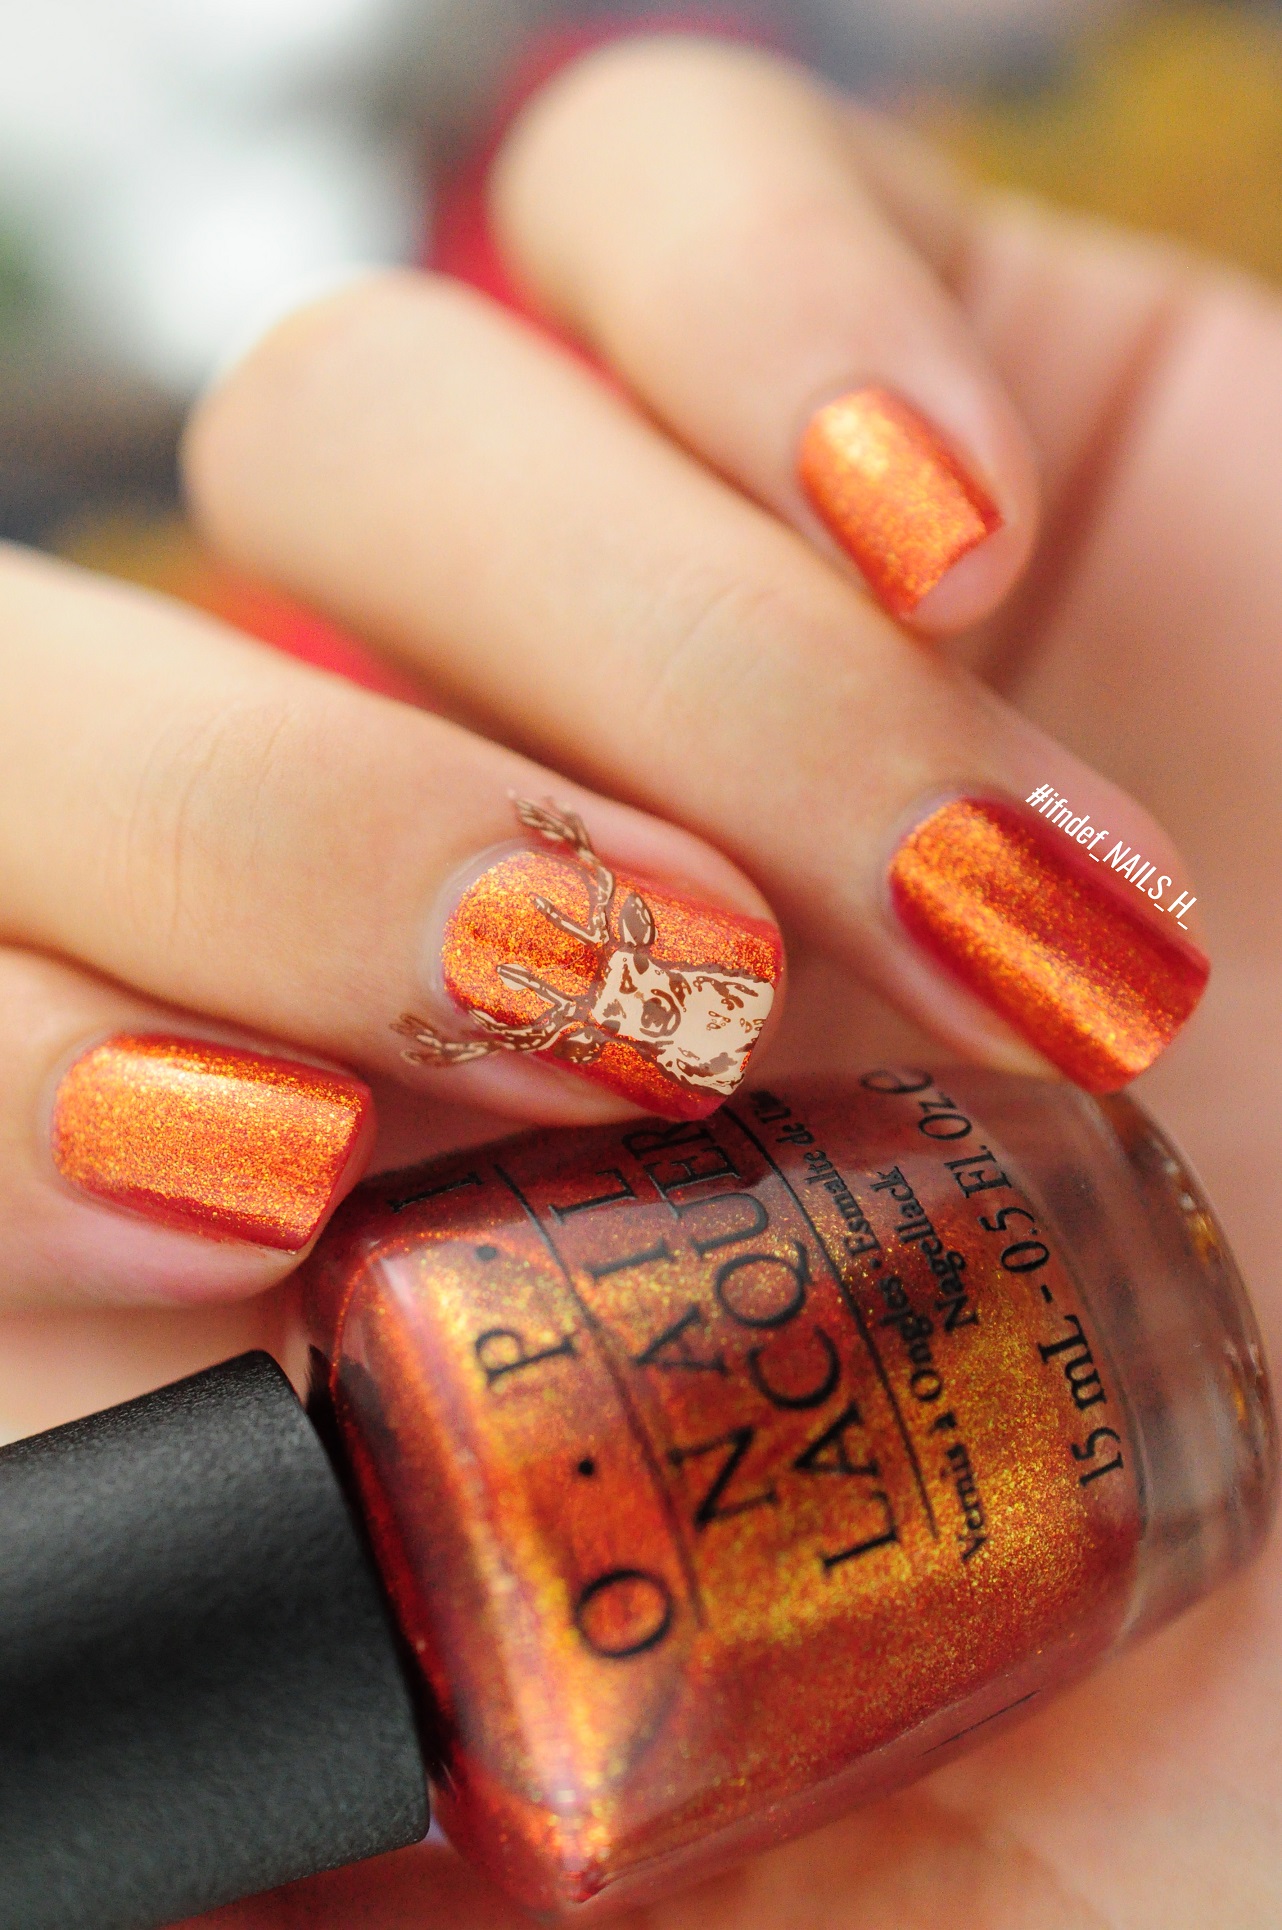
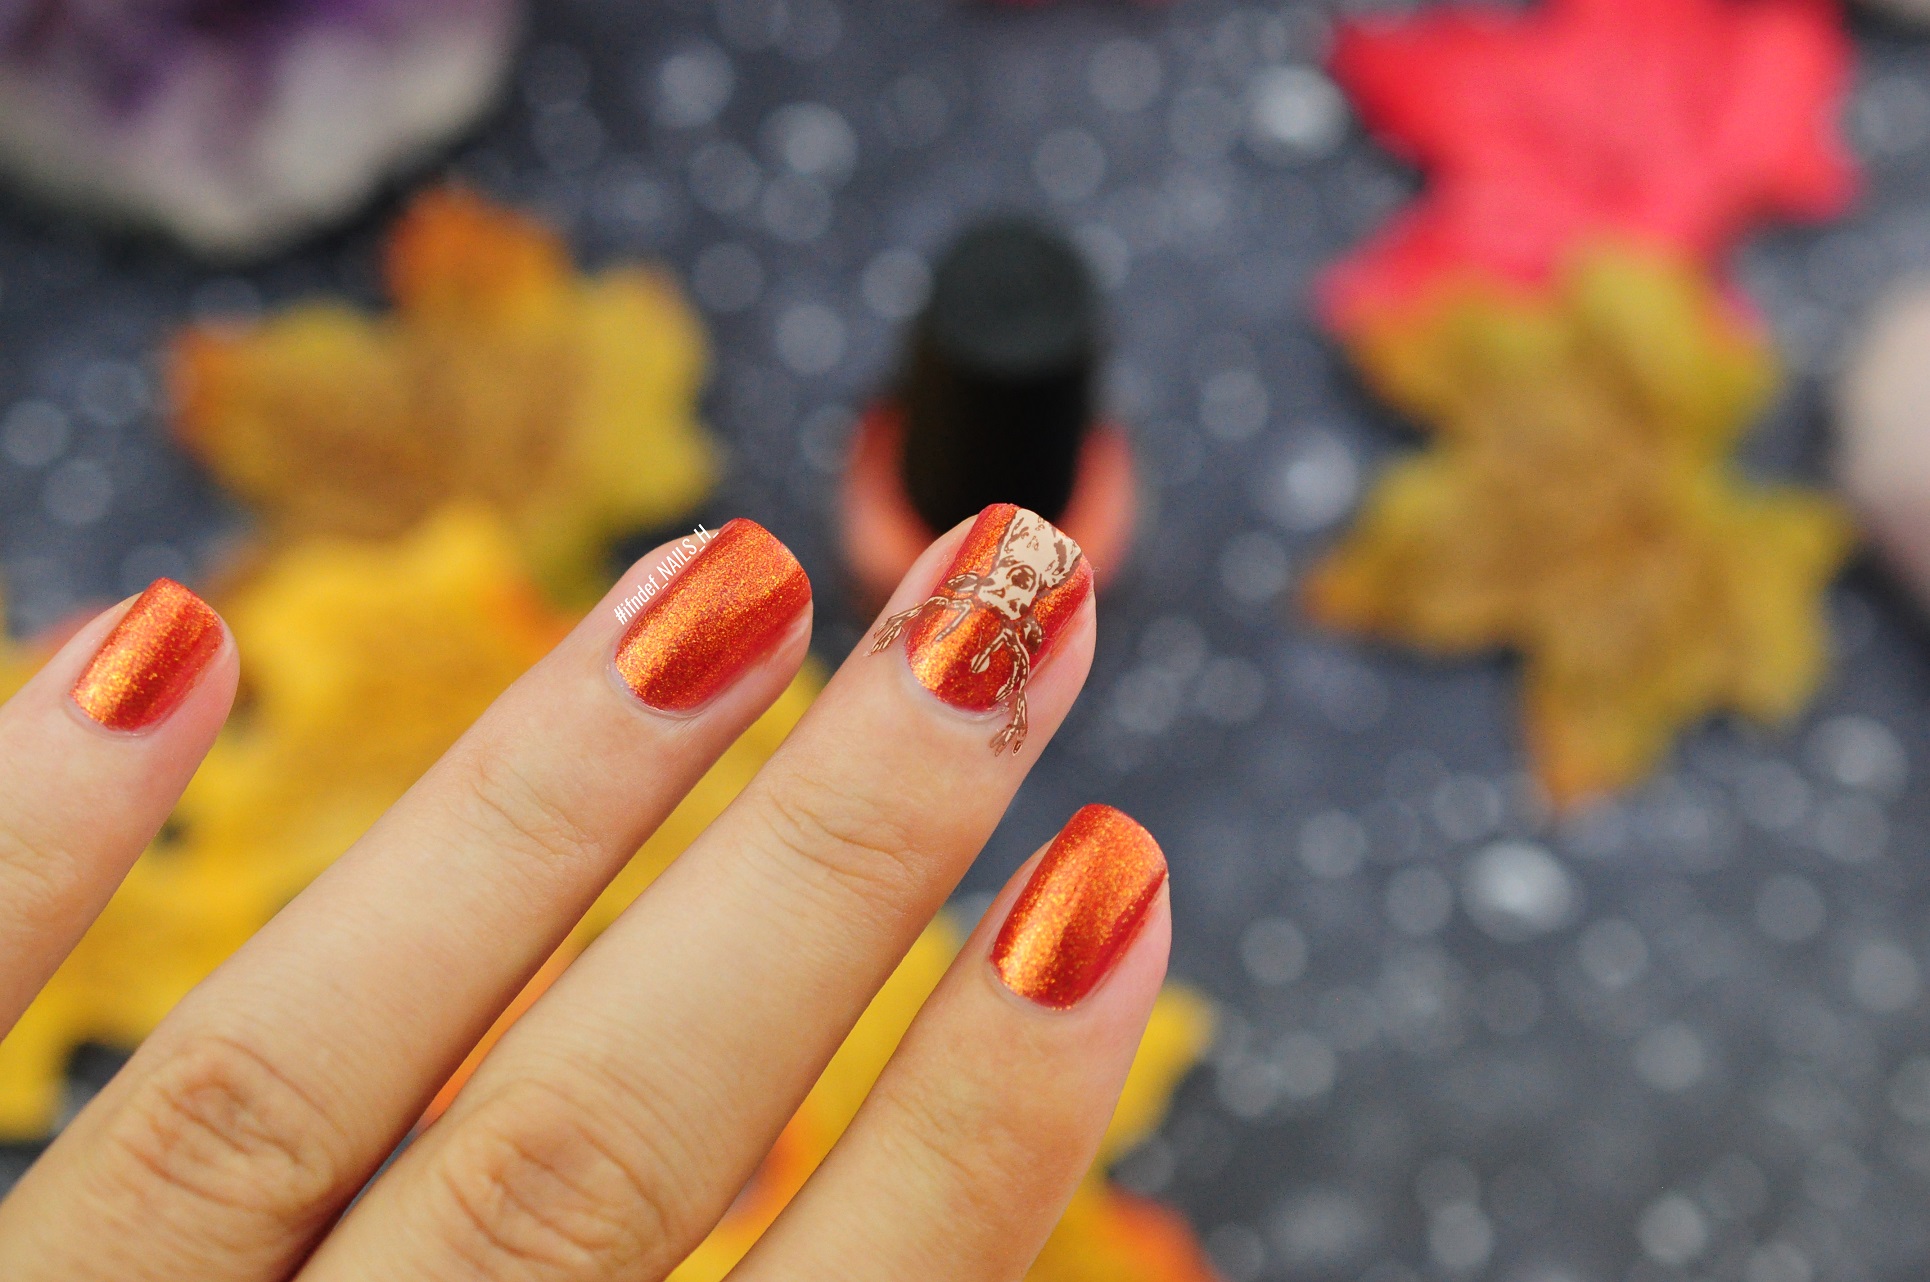
A super quick nail art look today! This wintery/christmas feeling look came about whilst I was swatching some OPI shades and in my head I was like "this is the perfect background for the super detailed images on that Fall In Love plate I bought last year". Inspiration comes from anywhere.

OPI Deer Winter Orange Autumn Nail Art Looks

I even decided to leave the horns on as I couldn't bring myself to remove them; it just looked cute if very impractical. I was going to do more stamps on each nail but I thought it would overwhelm it.

OPI Deer Winter Autumn Nail Art Looks

As I said, this one is super easy; just 3 coats of A Woman's Prague-ative, then I picked up the deer image with Lumberjack and filled in the image with Café au Lait. I applied a layer of quick dry top coat to the chosen nail, let it go tacky and then stamped away.

Polishes/Tools Used:
- OPI // A Woman's Prague-ative (orange shimmer)
- MoYou London // Lumberjack (brown), Café au Lait (cream)
- MoYou London Stamping Plate // Fall In Love 01


SHARE:

Tuesday 3 November 2020

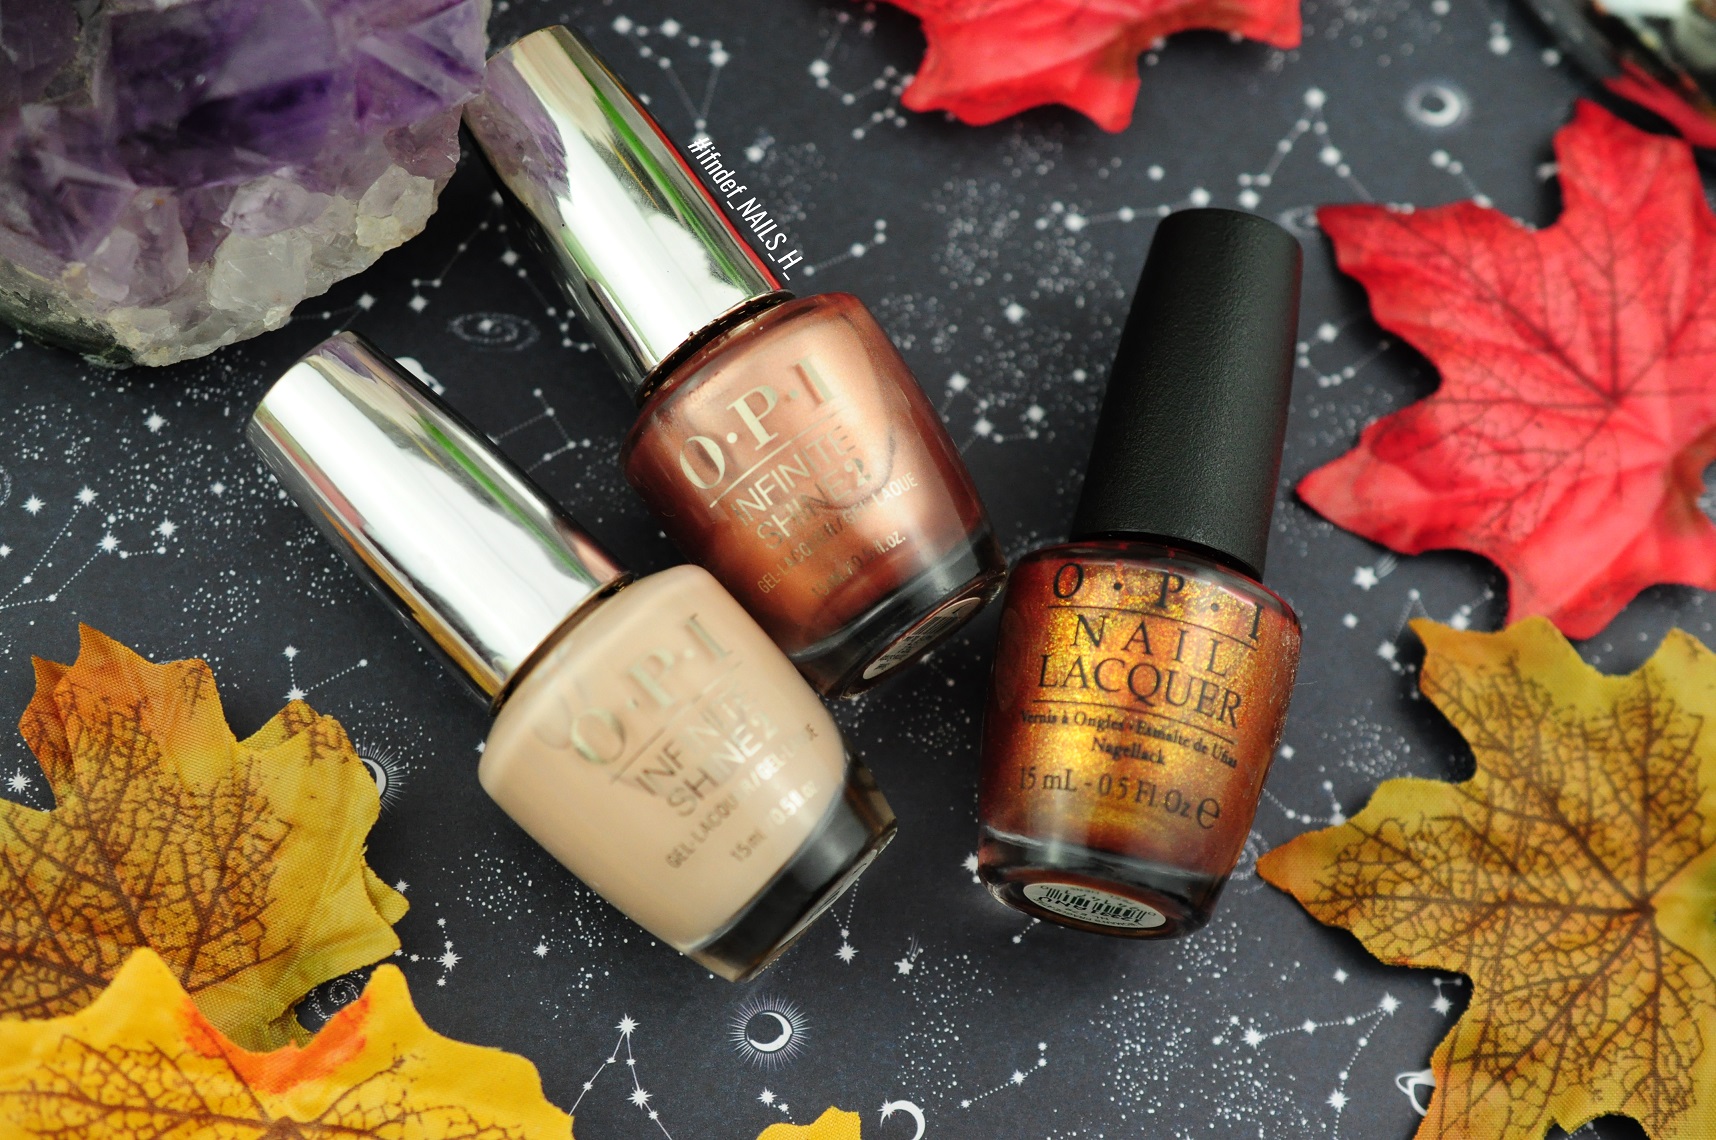
SWATCHES: OPI // Feeling Frisco, Sweet Carmel Sunday & A Woman's Prague-ative

SWATCHES: OPI // Feeling Frisco, Sweet Carmel Sunday & A Woman's Prague-ative

In a previous OPI swatch post I mentioned wanting to get Feeling Frisco and Sweet Carmel Sunday as they were the last two I wanted out of the California Dreaming collection and shortly afterwards I managed to pick them up on eBay for £4 each. Meant to be (even if I am disappointed with them).

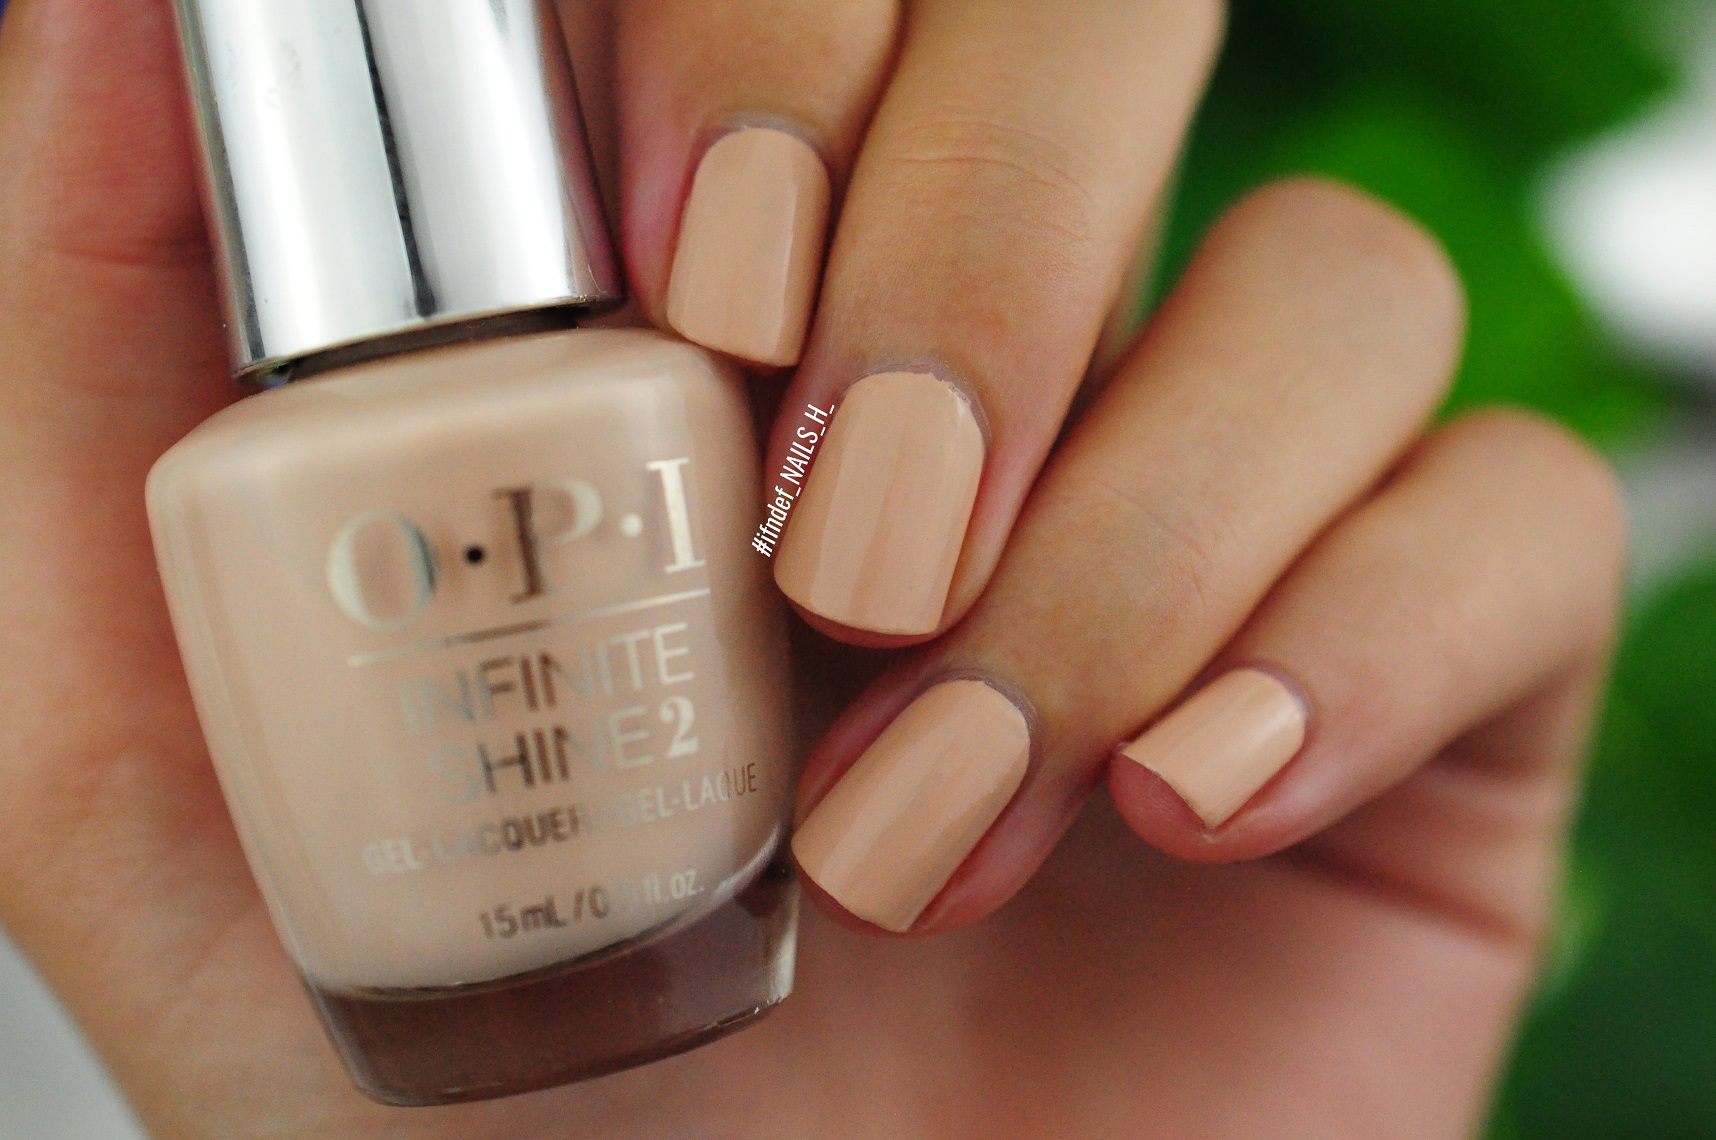
Feeling Frisco // Cream Bisque Creme
Collection: California Dreaming Infinite Shine
Release Date: 2017
Coats: 3

OPI Feeling Frisco Swatch

Beautiful shade, shame about the formula. This is a streaky, brush stroke filled mess and it's the infinite shine version. I don't even want to imagine what the regular one is like. I would use this as a base for a look because I'm not happy with how it looks by itself.

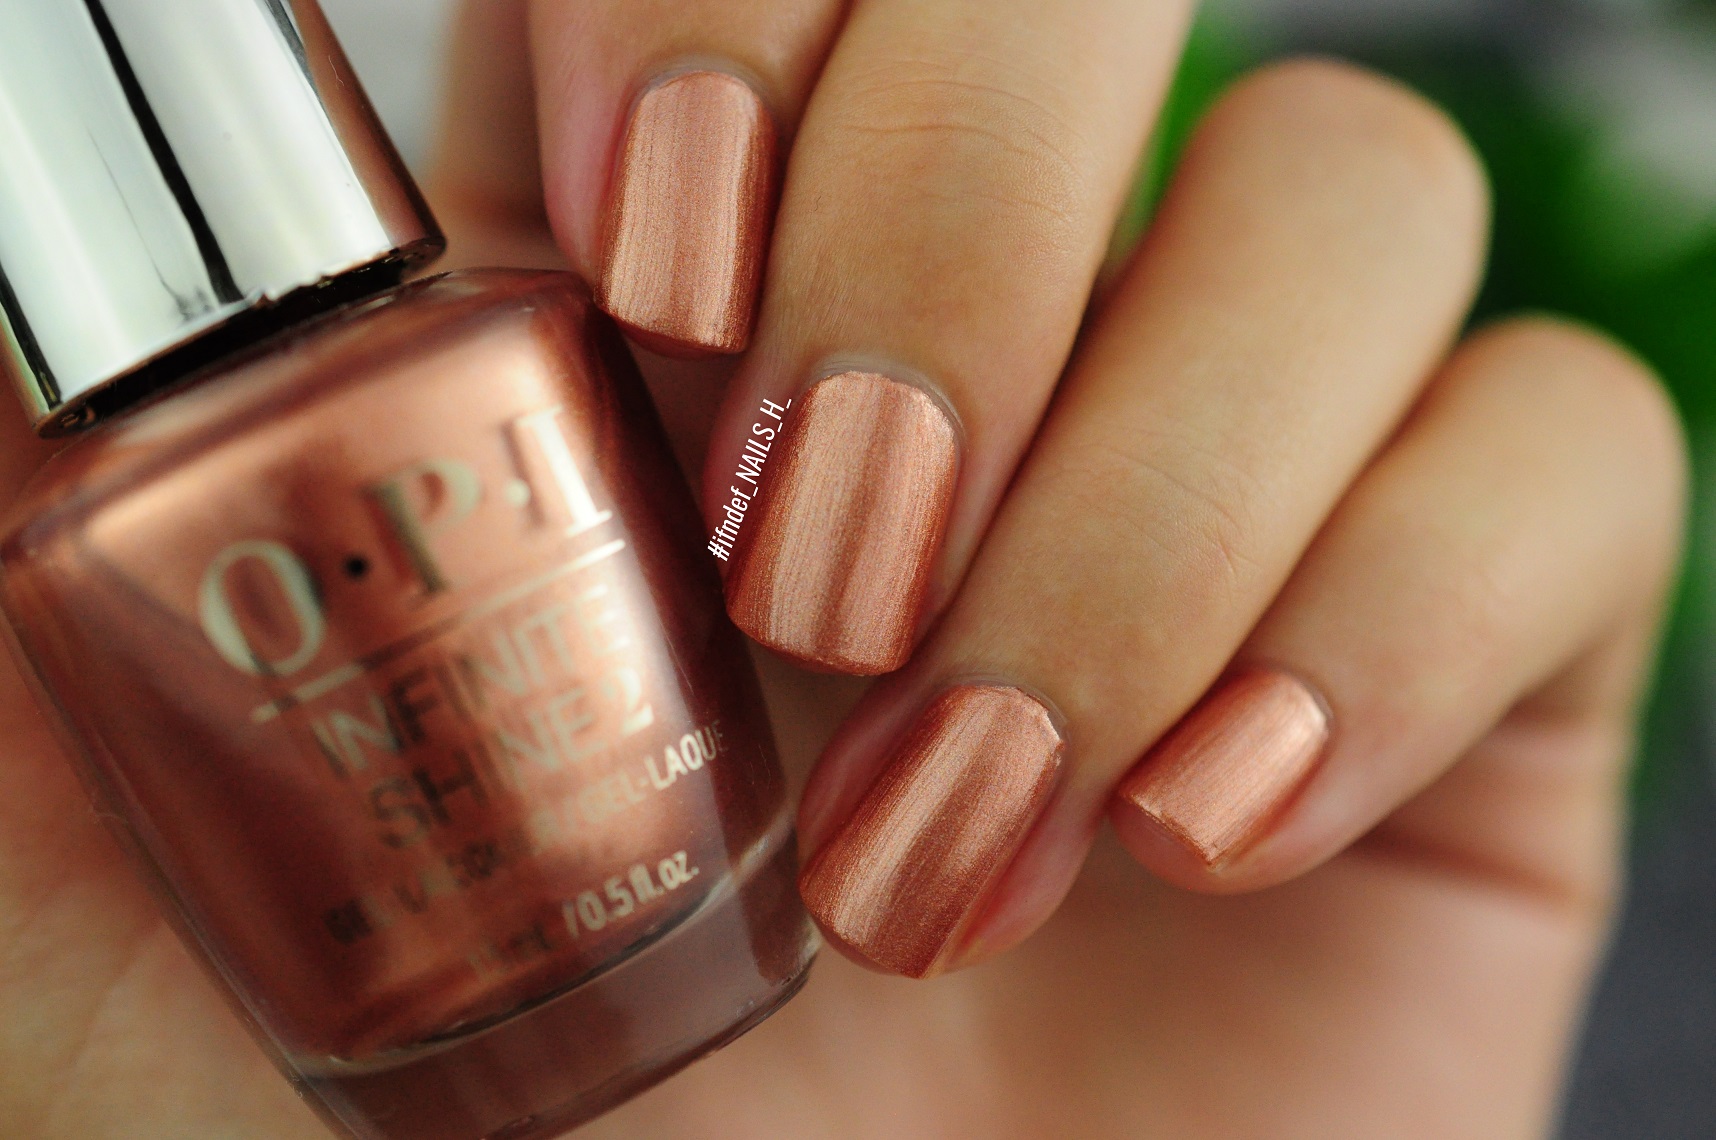
Sweet Carmel Sunday // Copper Shimmer
Collection: California Dreaming Infinite Shine
Release Date: 2017
Coats: 2

OPI Sweet Carmel Sunday Swatch

OPI Sweet Carmel Sunday Swatch

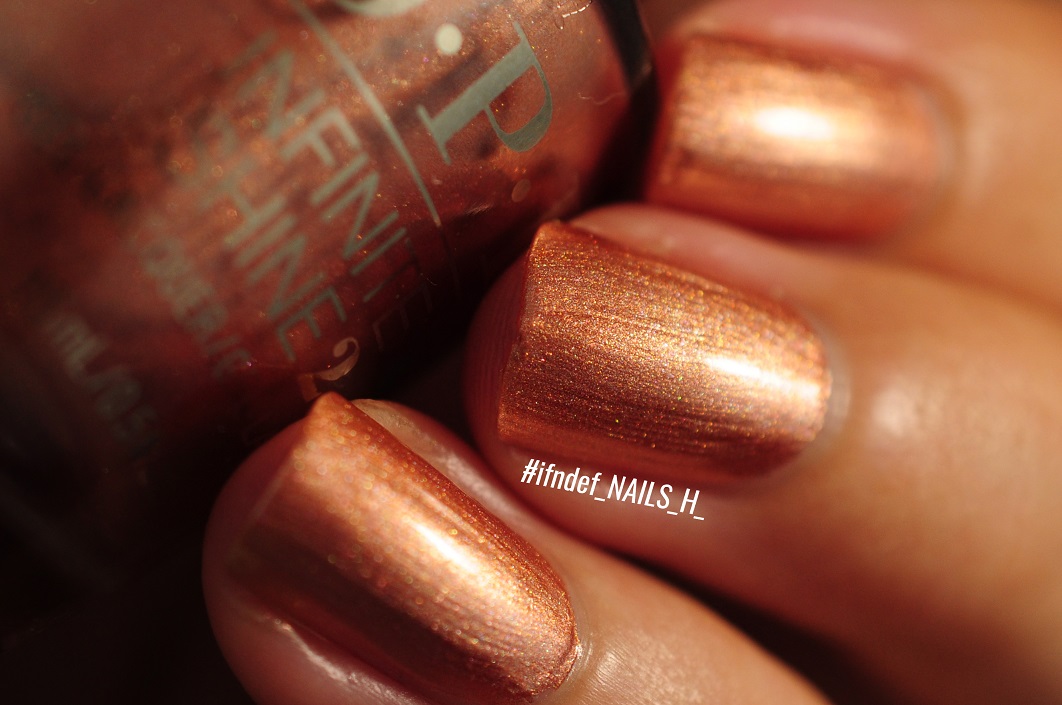
I was surprised by this because I was expecting a chrome finish with brush strokes but it actually has a very thin formula which allows you to build up the copper shimmer with no fear of dragging/streaking. I also wasn't expecting the subtle holo and I mean subtle. It really brings the shade alive in direct light/sun light though as otherwise it's quite dull looking.

A Woman's Prague-ative // Chunky Orange Shimmer
Collection: Euro Centrale
Release Date: 2013
Coats: 3

OPI A Woman's Prague-ative Swatch

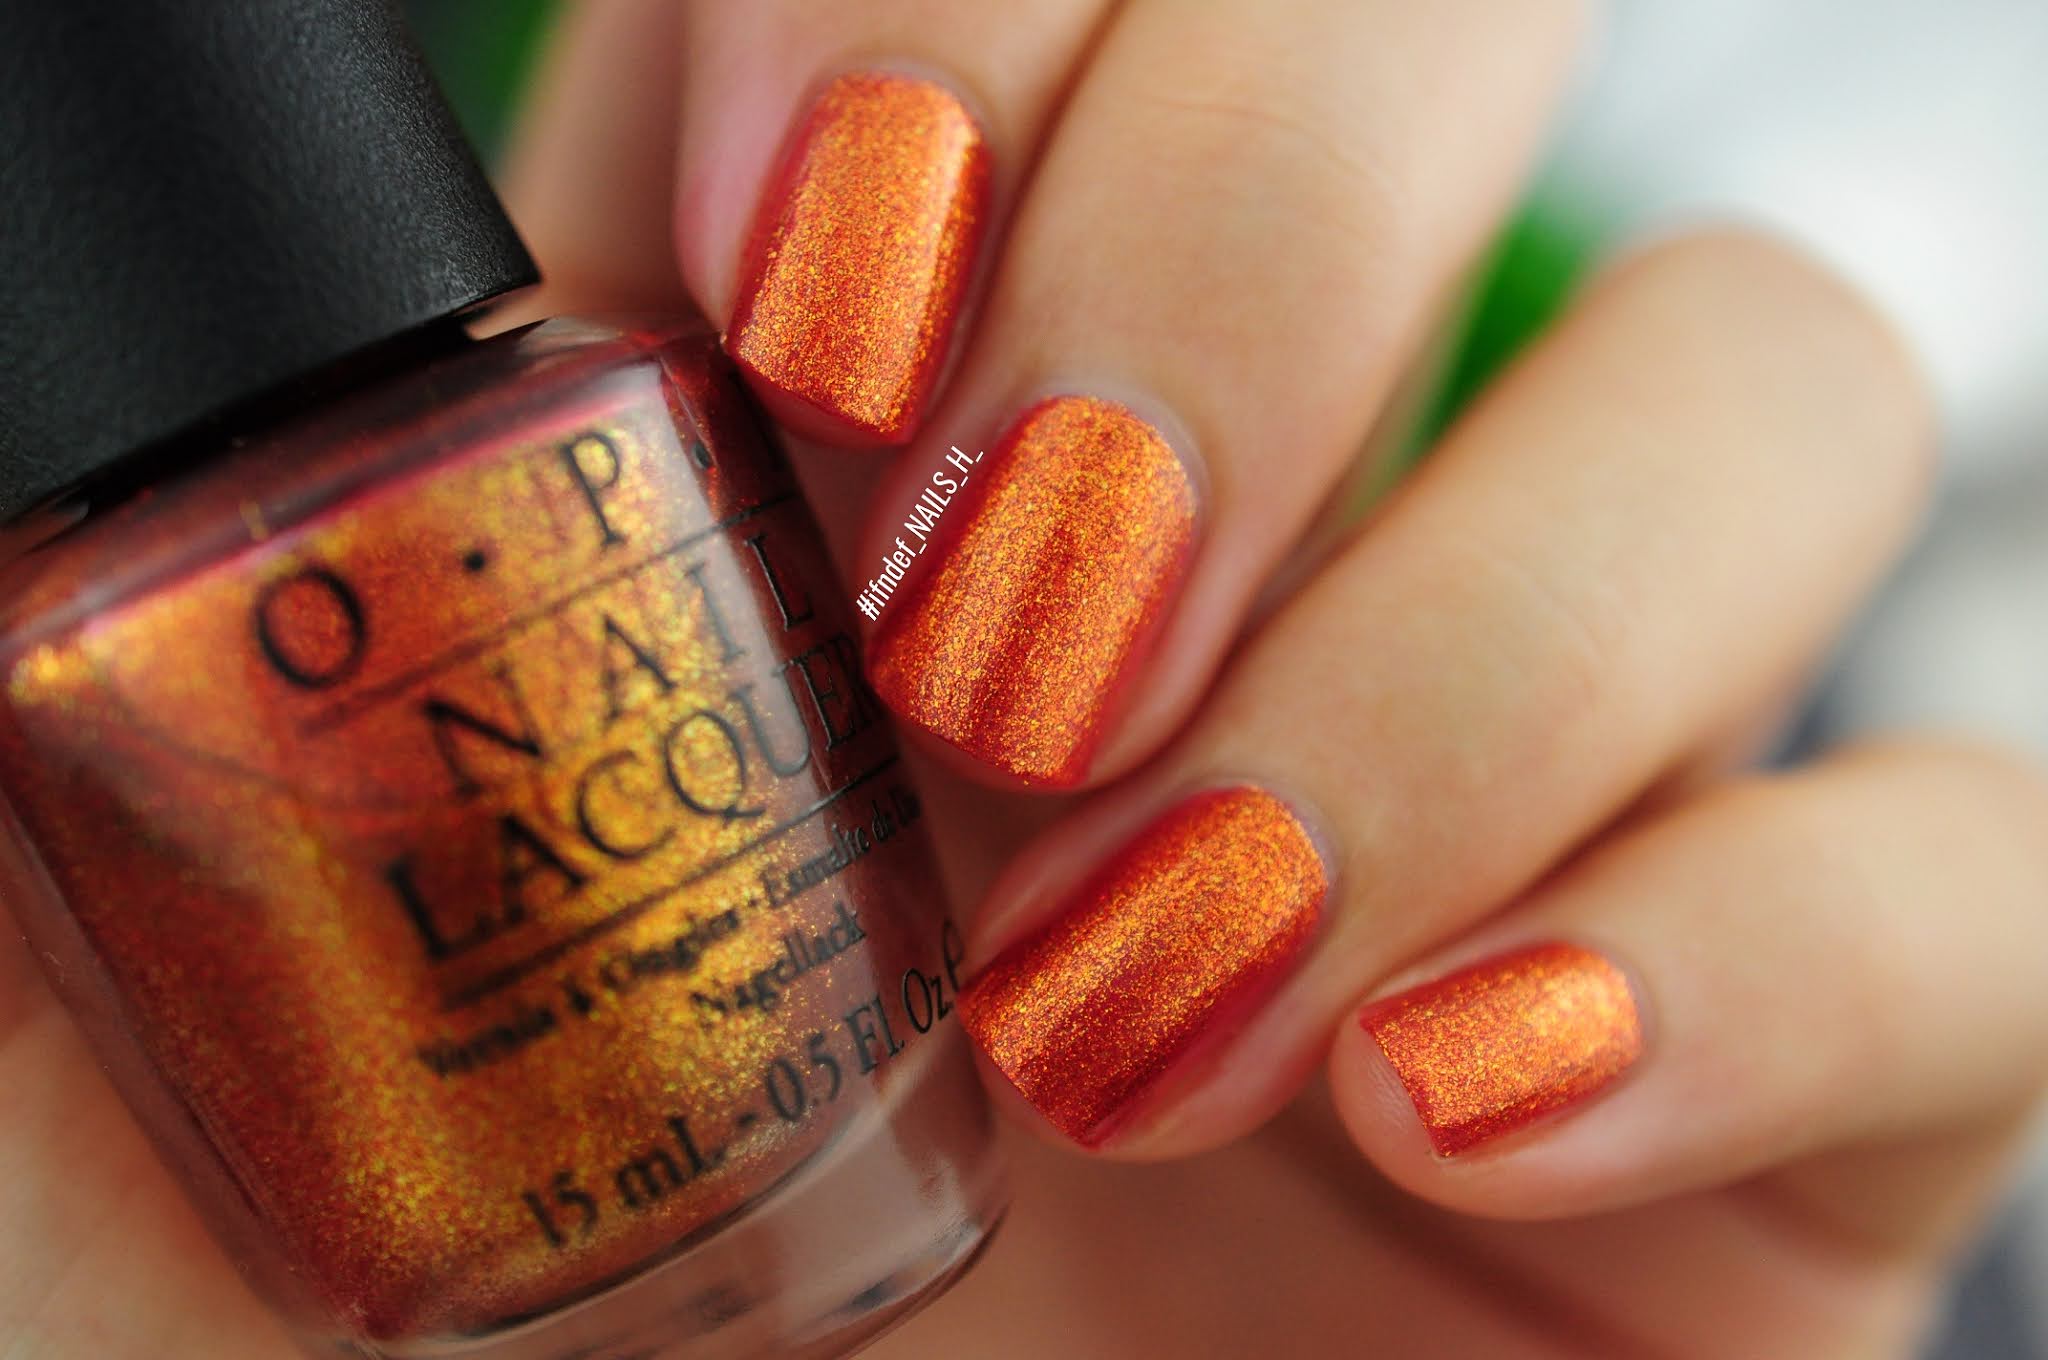
This is a wonderful burnt orange chunky shimmer suspended in a raspberry red jelly. The first coat is a bit thin but by the third coat your nails will look like expensive wrapping paper. I absolutely love this shade; it's my favourite out of the three and is perfect for autumn and winter.
SHARE:

Tuesday 27 October 2020

Slime Noir // Black And Green Dripping Halloween Nail Art Design

Slime Noir // Black And Green Dripping Halloween Nail Art Design

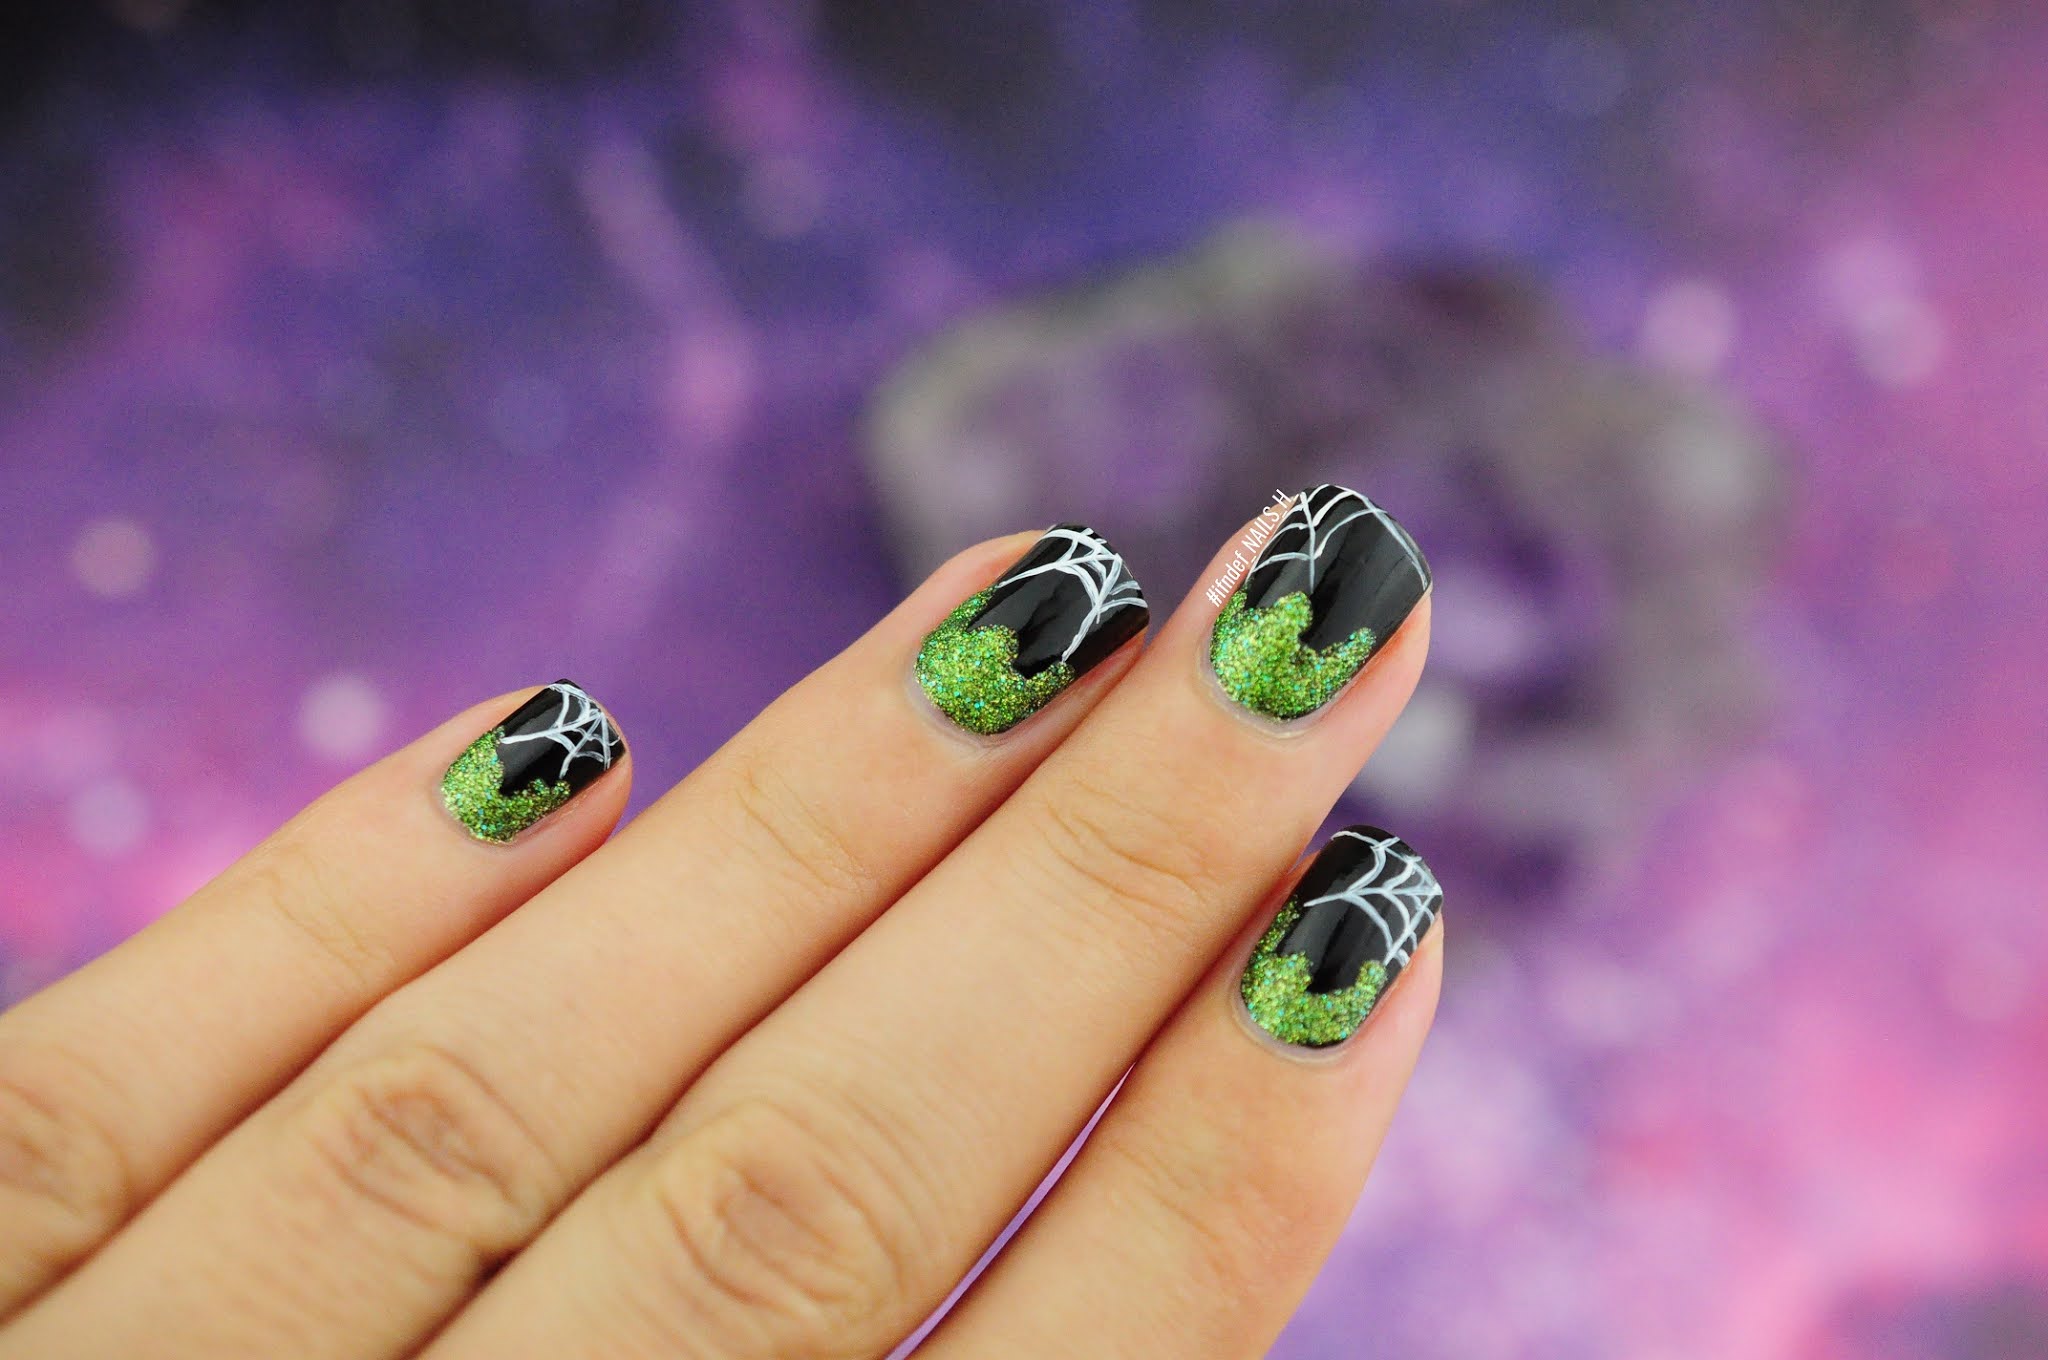
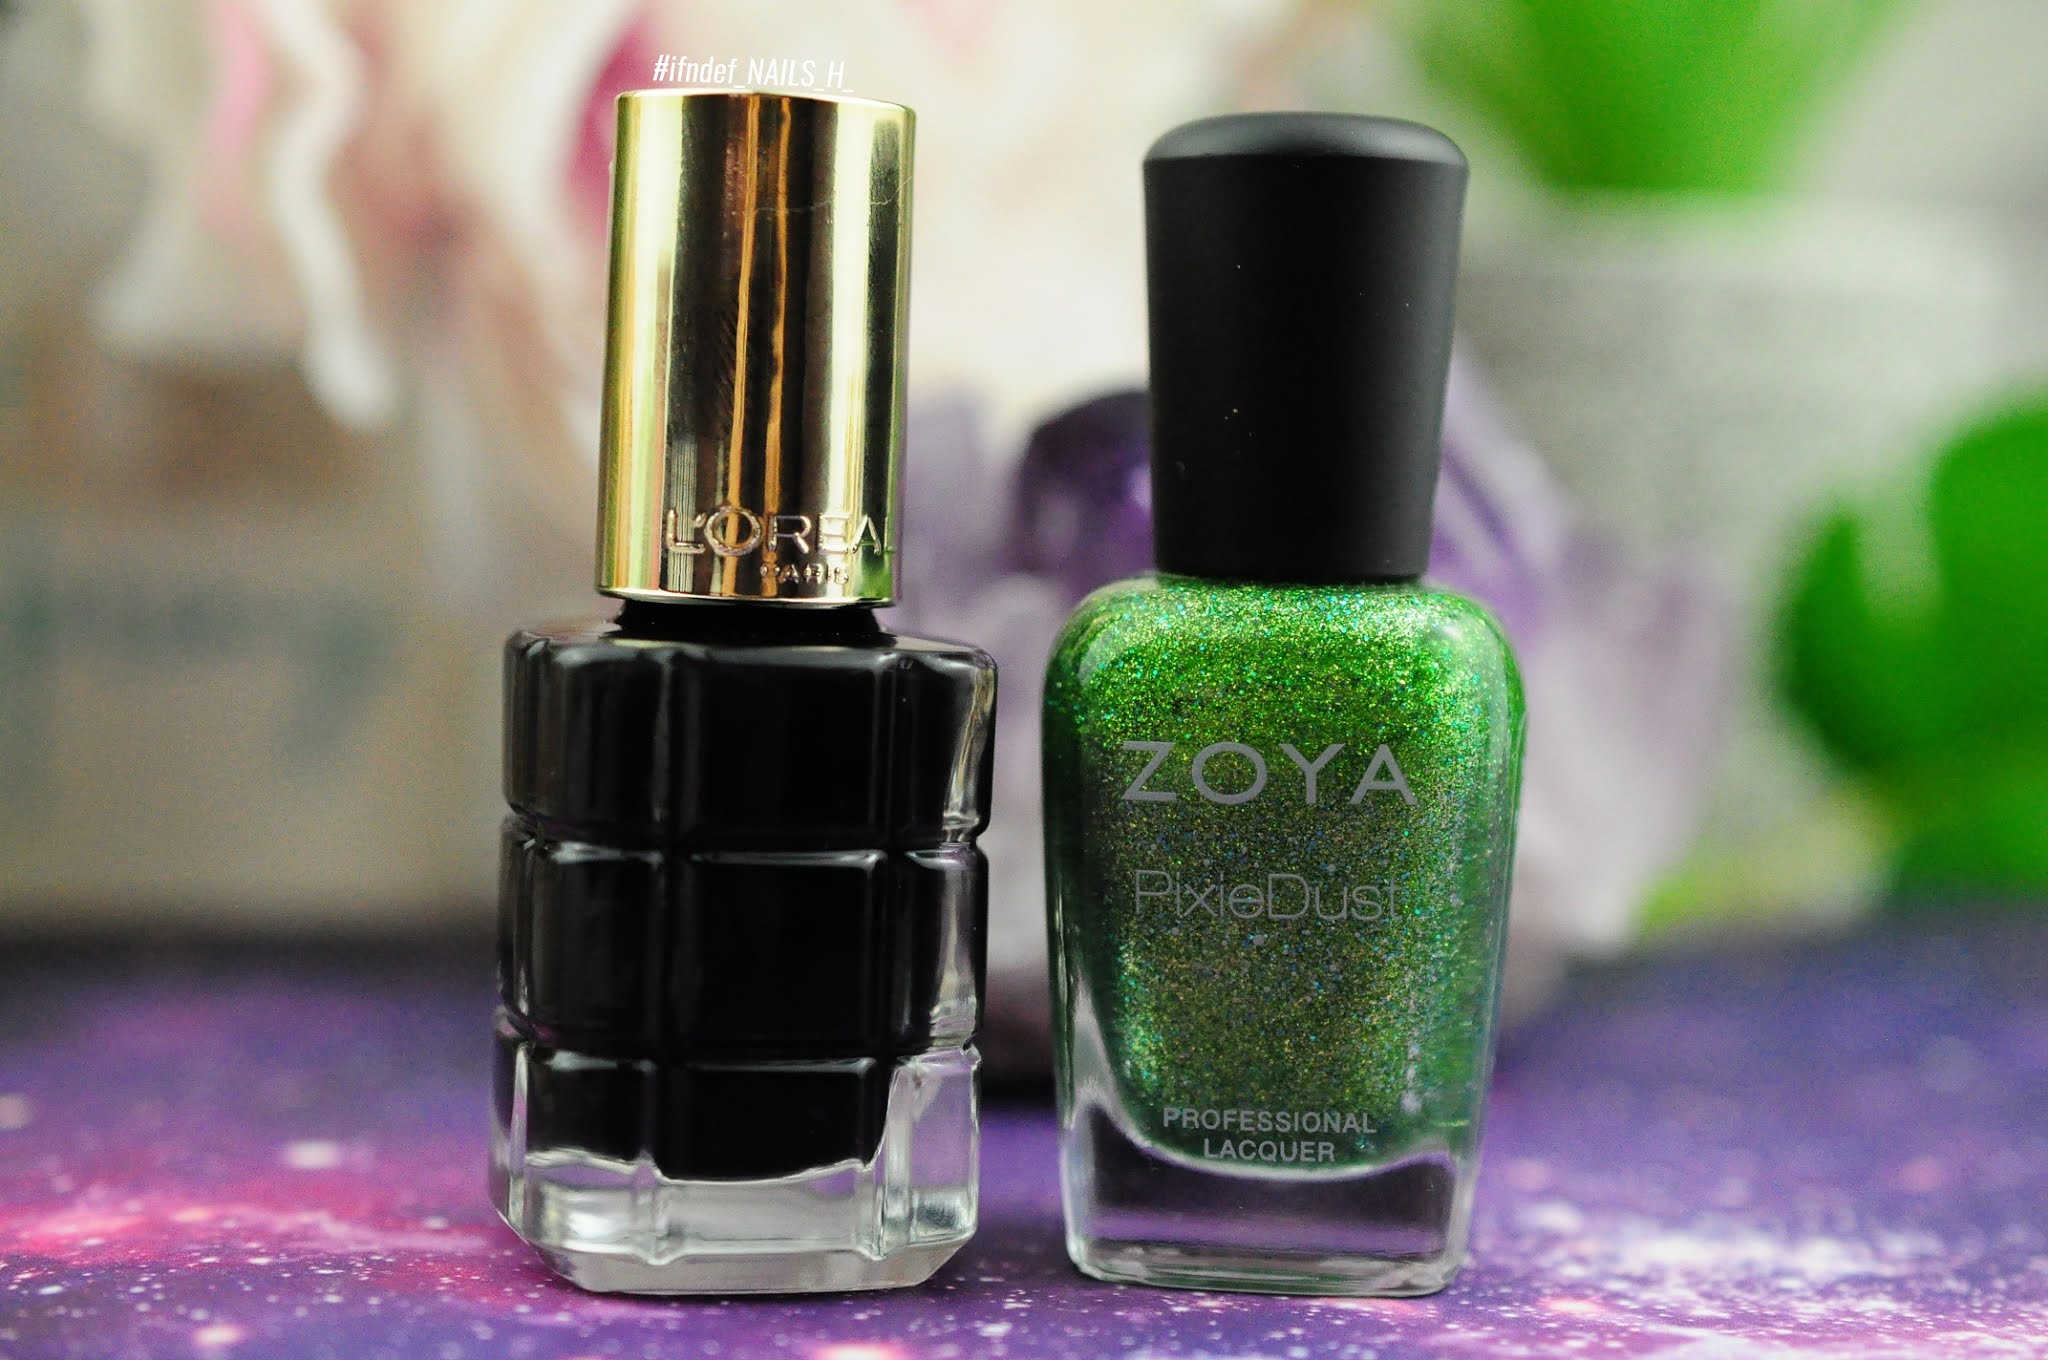
Time for another spooky look! Like I said, I'm obsessed with Zoya Pixie Dust and dripping designs so that's where this came from. Also, no stamping! I'm trying my best to use different techniques and I simply blobbed on the green polish using the brush and then drew on the cobwebs with a fine brush and some acrylic gouache. 

Slime Noir // Black And Green Dripping Halloween Nail Art Design

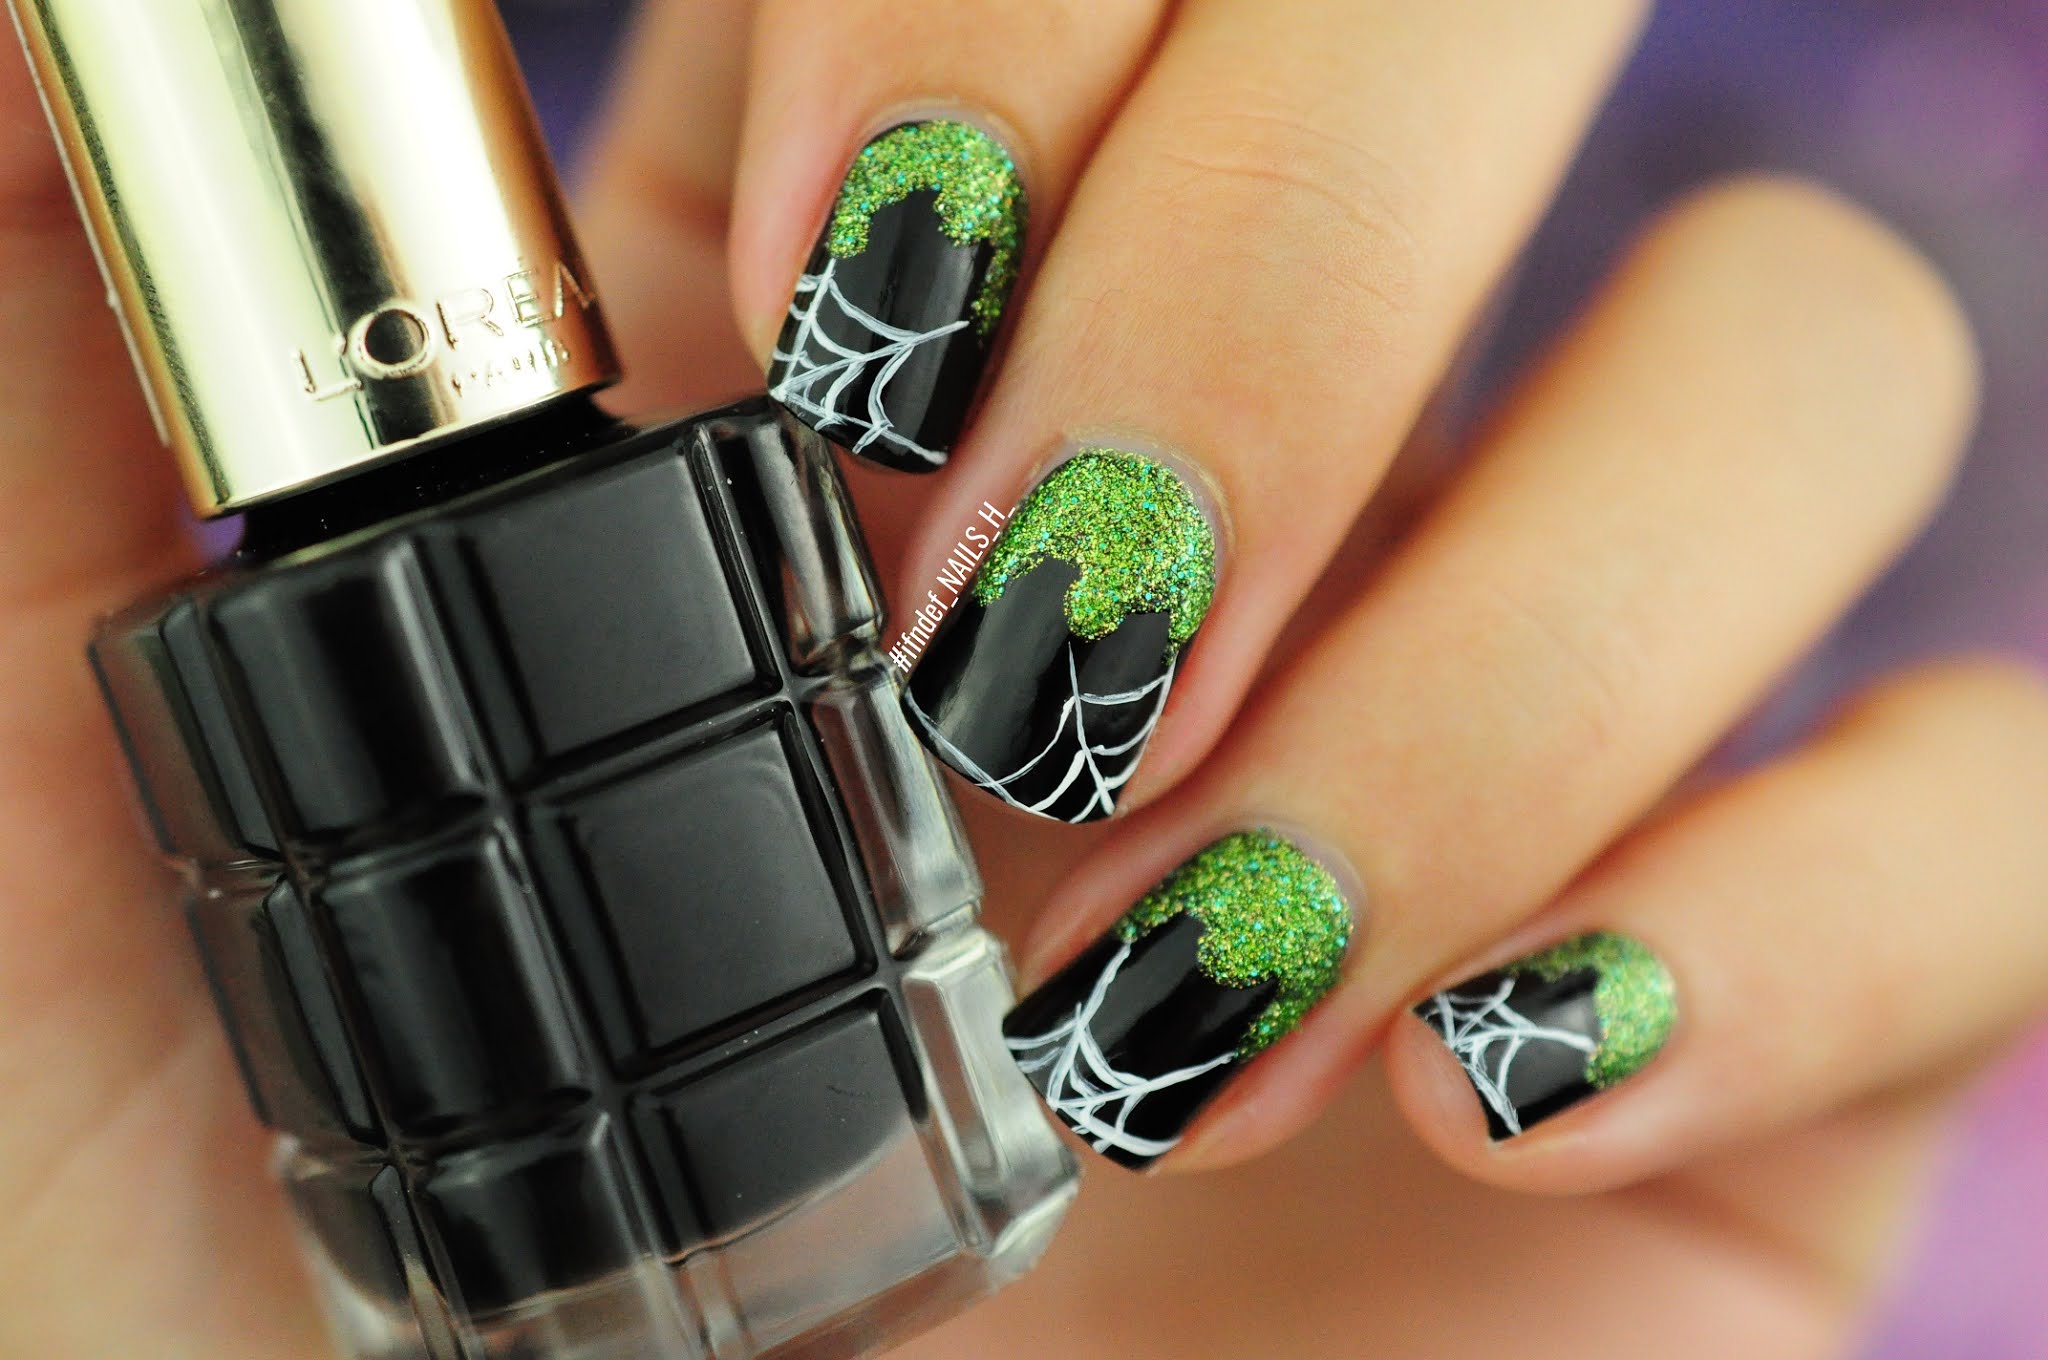
I'm also in love with the black. It's a one coat wonder and dries pretty quick as well. My local TK Maxx just got this massive shipment of L'Oreal Colour Riche Nail Polish and I pretty much bought them all as they are super pigmented. I use them as stamping polishes that's how good they are. 

Slime Noir // Black And Green Dripping Halloween Nail Art Design

I did however spill a brown one all over my grey carpet when I was swatching them...I've tried everything. YouTube has failed me. Oh well, I'm going to say it's a style statement.

 Slime Noir // Black And Green Dripping Halloween Nail Art Design

Polishes/Tools Used:
- L'Oreal Colour Riche // 674 Noir Noir (black)
- Zoya PixieDust // Cece (green)
- Holbein Acrylic Gouache // D925 Titanium White
- Windsor & Newton Cotman Brush //  0000 Round

SHARE:

Tuesday 20 October 2020

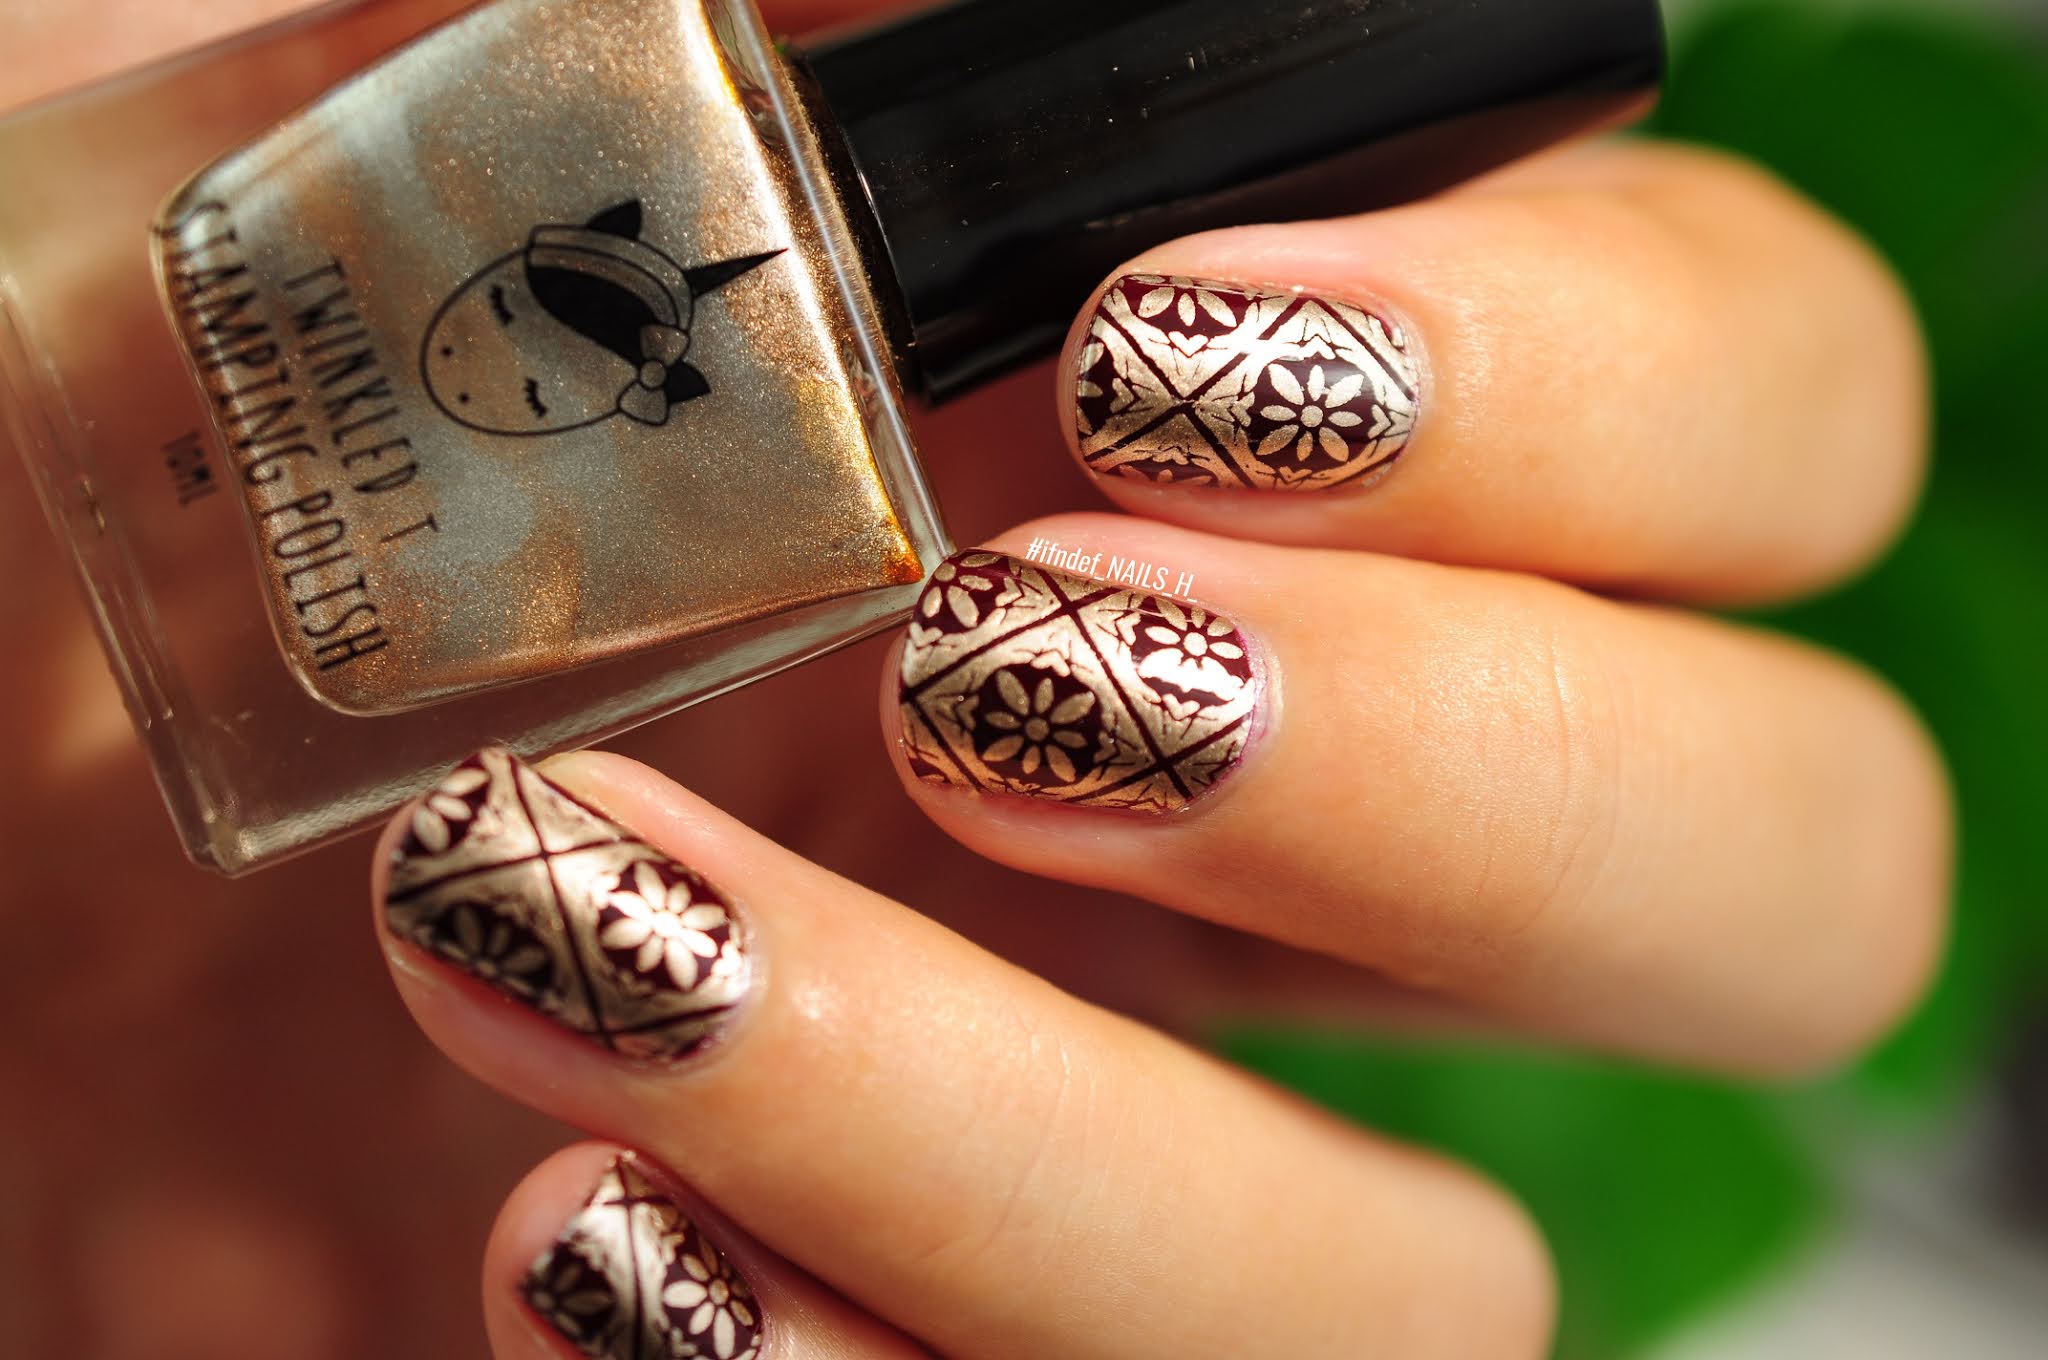
Dangerous Tiles // Crimson & Gold Nail Art

Dangerous Tiles // Crimson & Gold Nail Art

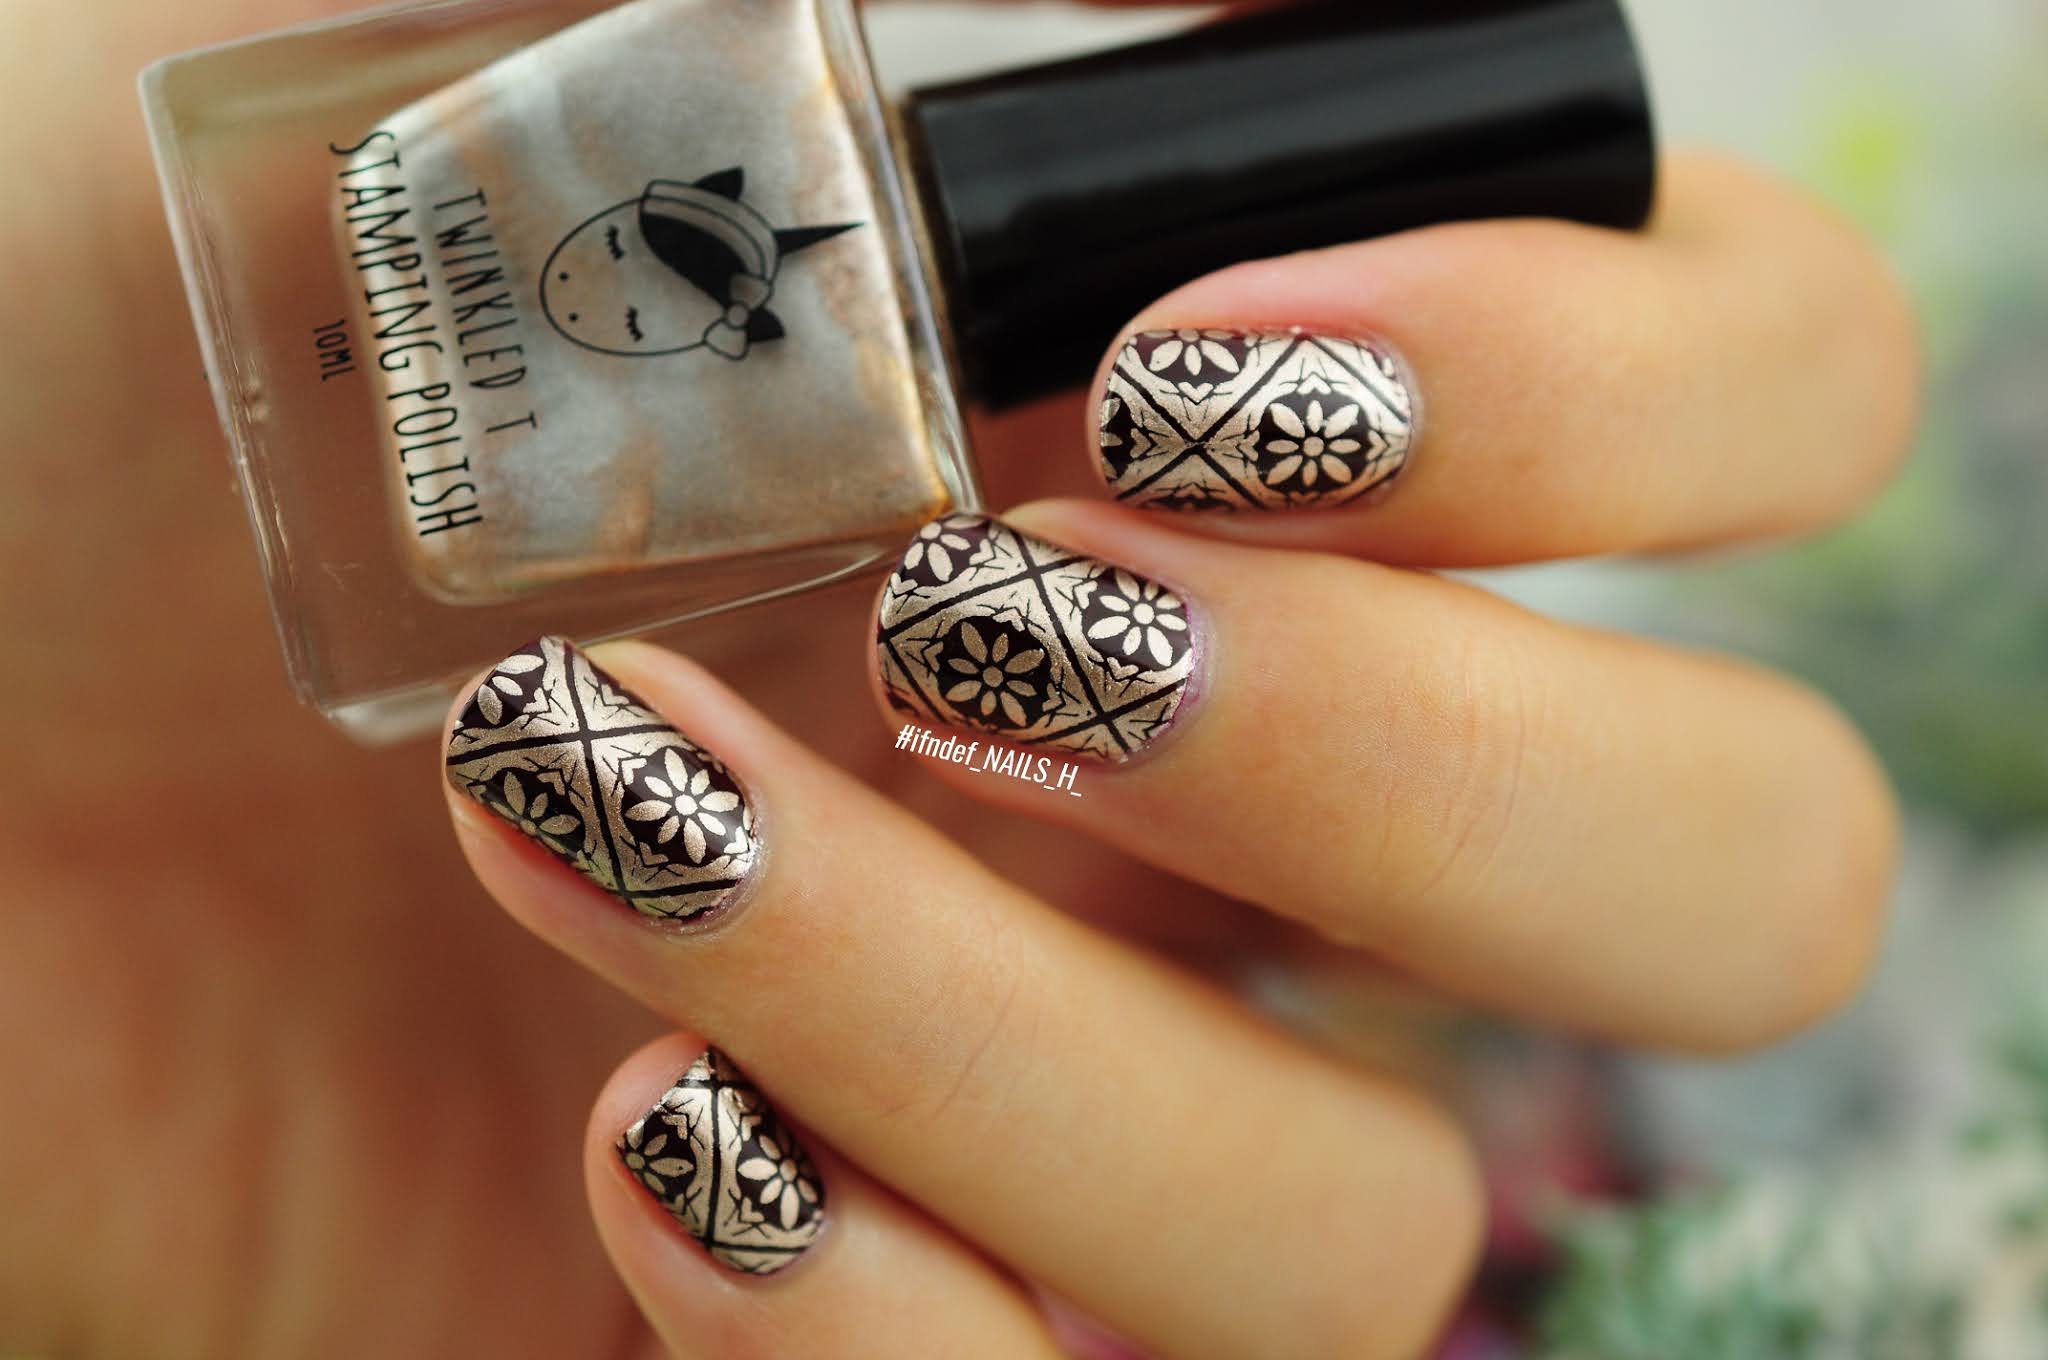
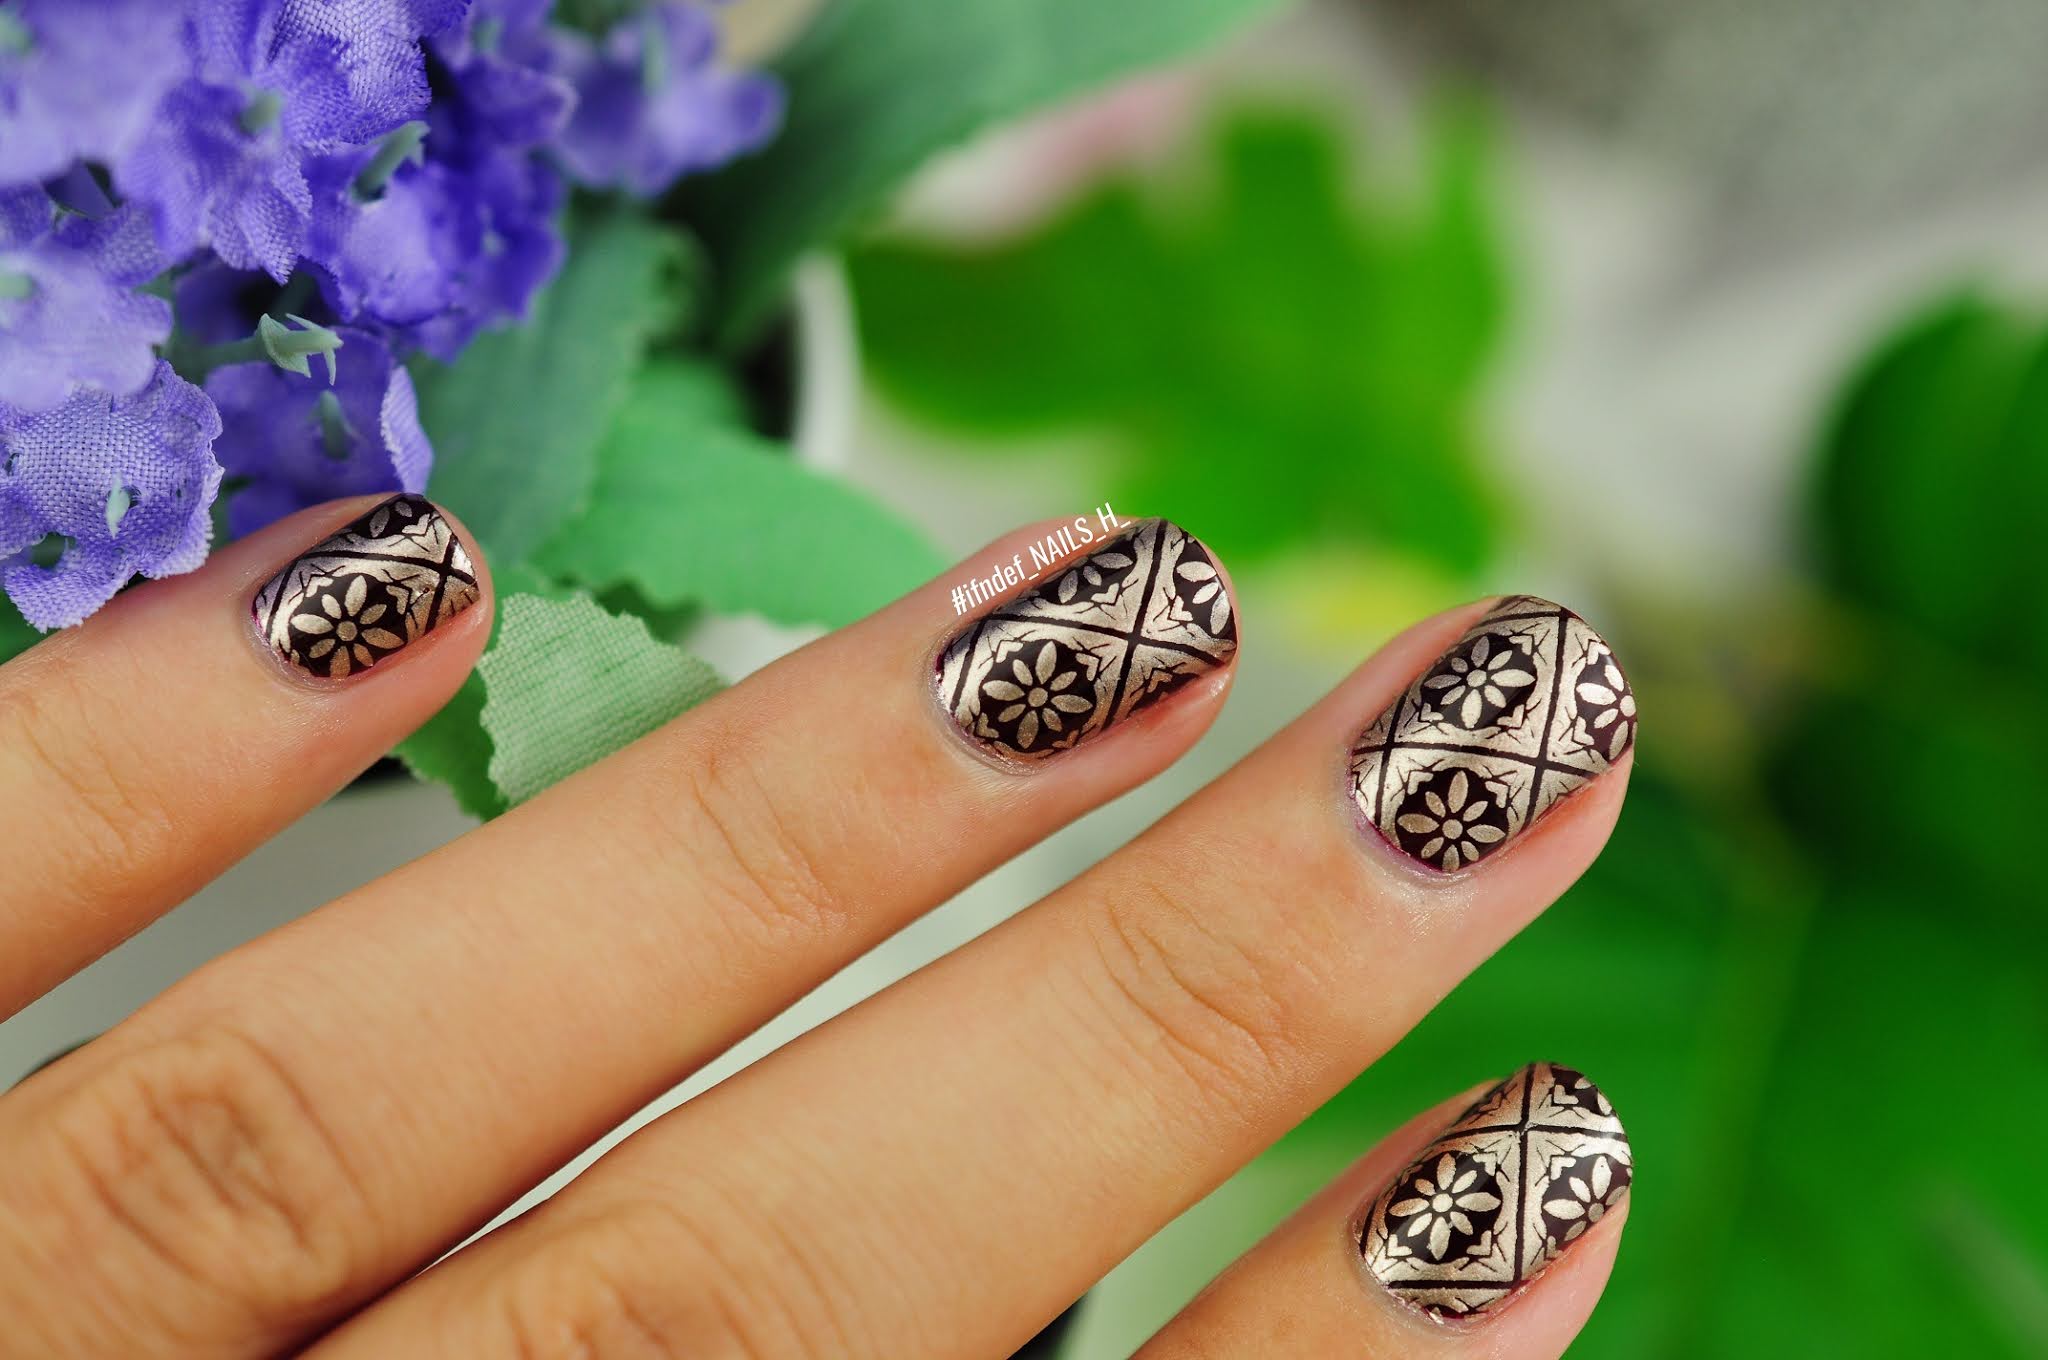
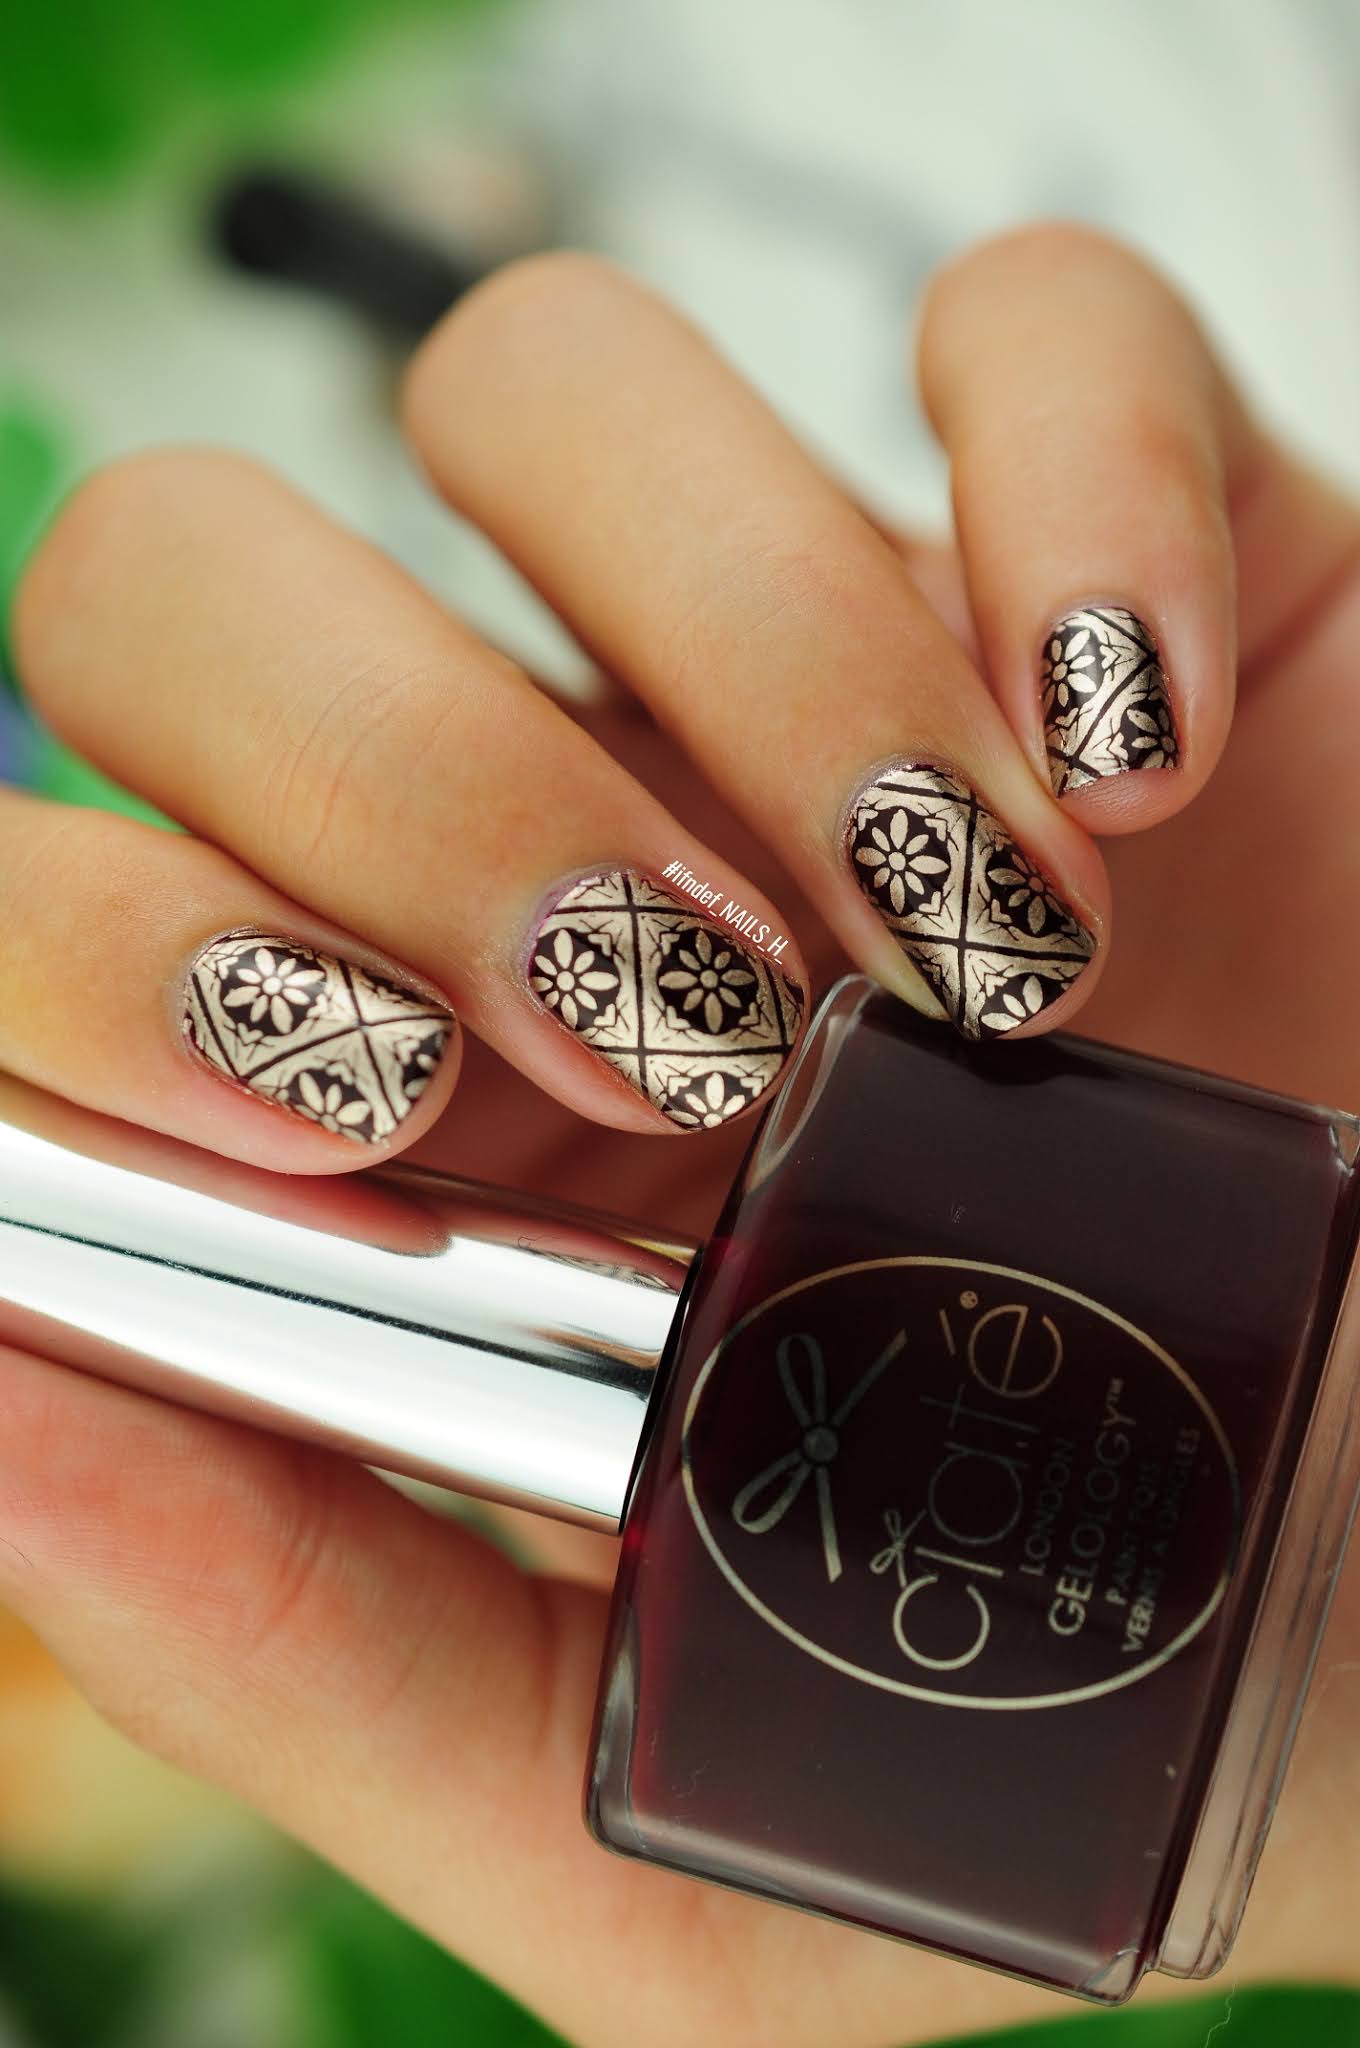
A quick look that came about the other day when I was swatching my most recent Ciaté purchases. I just love the combination of dark red and gold and knew that these two would go perfectly together. Tell me this doesn't look like an amazing design for christmas parties. I might do my nails like this christmas eve.

Dangerous Tiles // Crimson & Gold Nail Art

Twinkled T polishes just make stamping so easy. I really hope they have another 30% off sale for Black Friday this year as I've been saving so I can purchase some more polishes from them. Shipping is $17 so I've been waiting for a year! I might pick up another black as I'm running low.

Dangerous Tiles // Crimson & Gold Nail Art

I also forgot to use some liquid latex when doing this and ended up with gold sparkles all round my nails which is annoying for photos but it had washed off completely by the end of the following day. This look took about 10 minutes though so it's super quick and easy. Below is a photo in some harsher lighting; it really helps to bring out the crimson in the polish, otherwise it almost looks black.

Dangerous Tiles // Crimson & Gold Nail Art

Dangerous Tiles // Crimson & Gold Nail Art

Polishes/Tools used:
- Ciaté Gelology // Dangerous Affair (red)
- Twinkled T // Liquid Gold
- MoYou London Stamping Plates // Tuttu Frutti 06
SHARE:

Sunday 18 October 2020

Sparkleccino // Birthday Coffee Nails

Sparkleccino // Birthday Coffee Nails

I originally did this look on a false nail first and loved it so much I decided to make it my birthday look this year! I'm now 29 and slightly freaking out that I'm almost 30 and still struggling to adult. I'll just buy some more nail polish, that will fix all my problems.

Sparkleccino // Birthday Coffee Nails

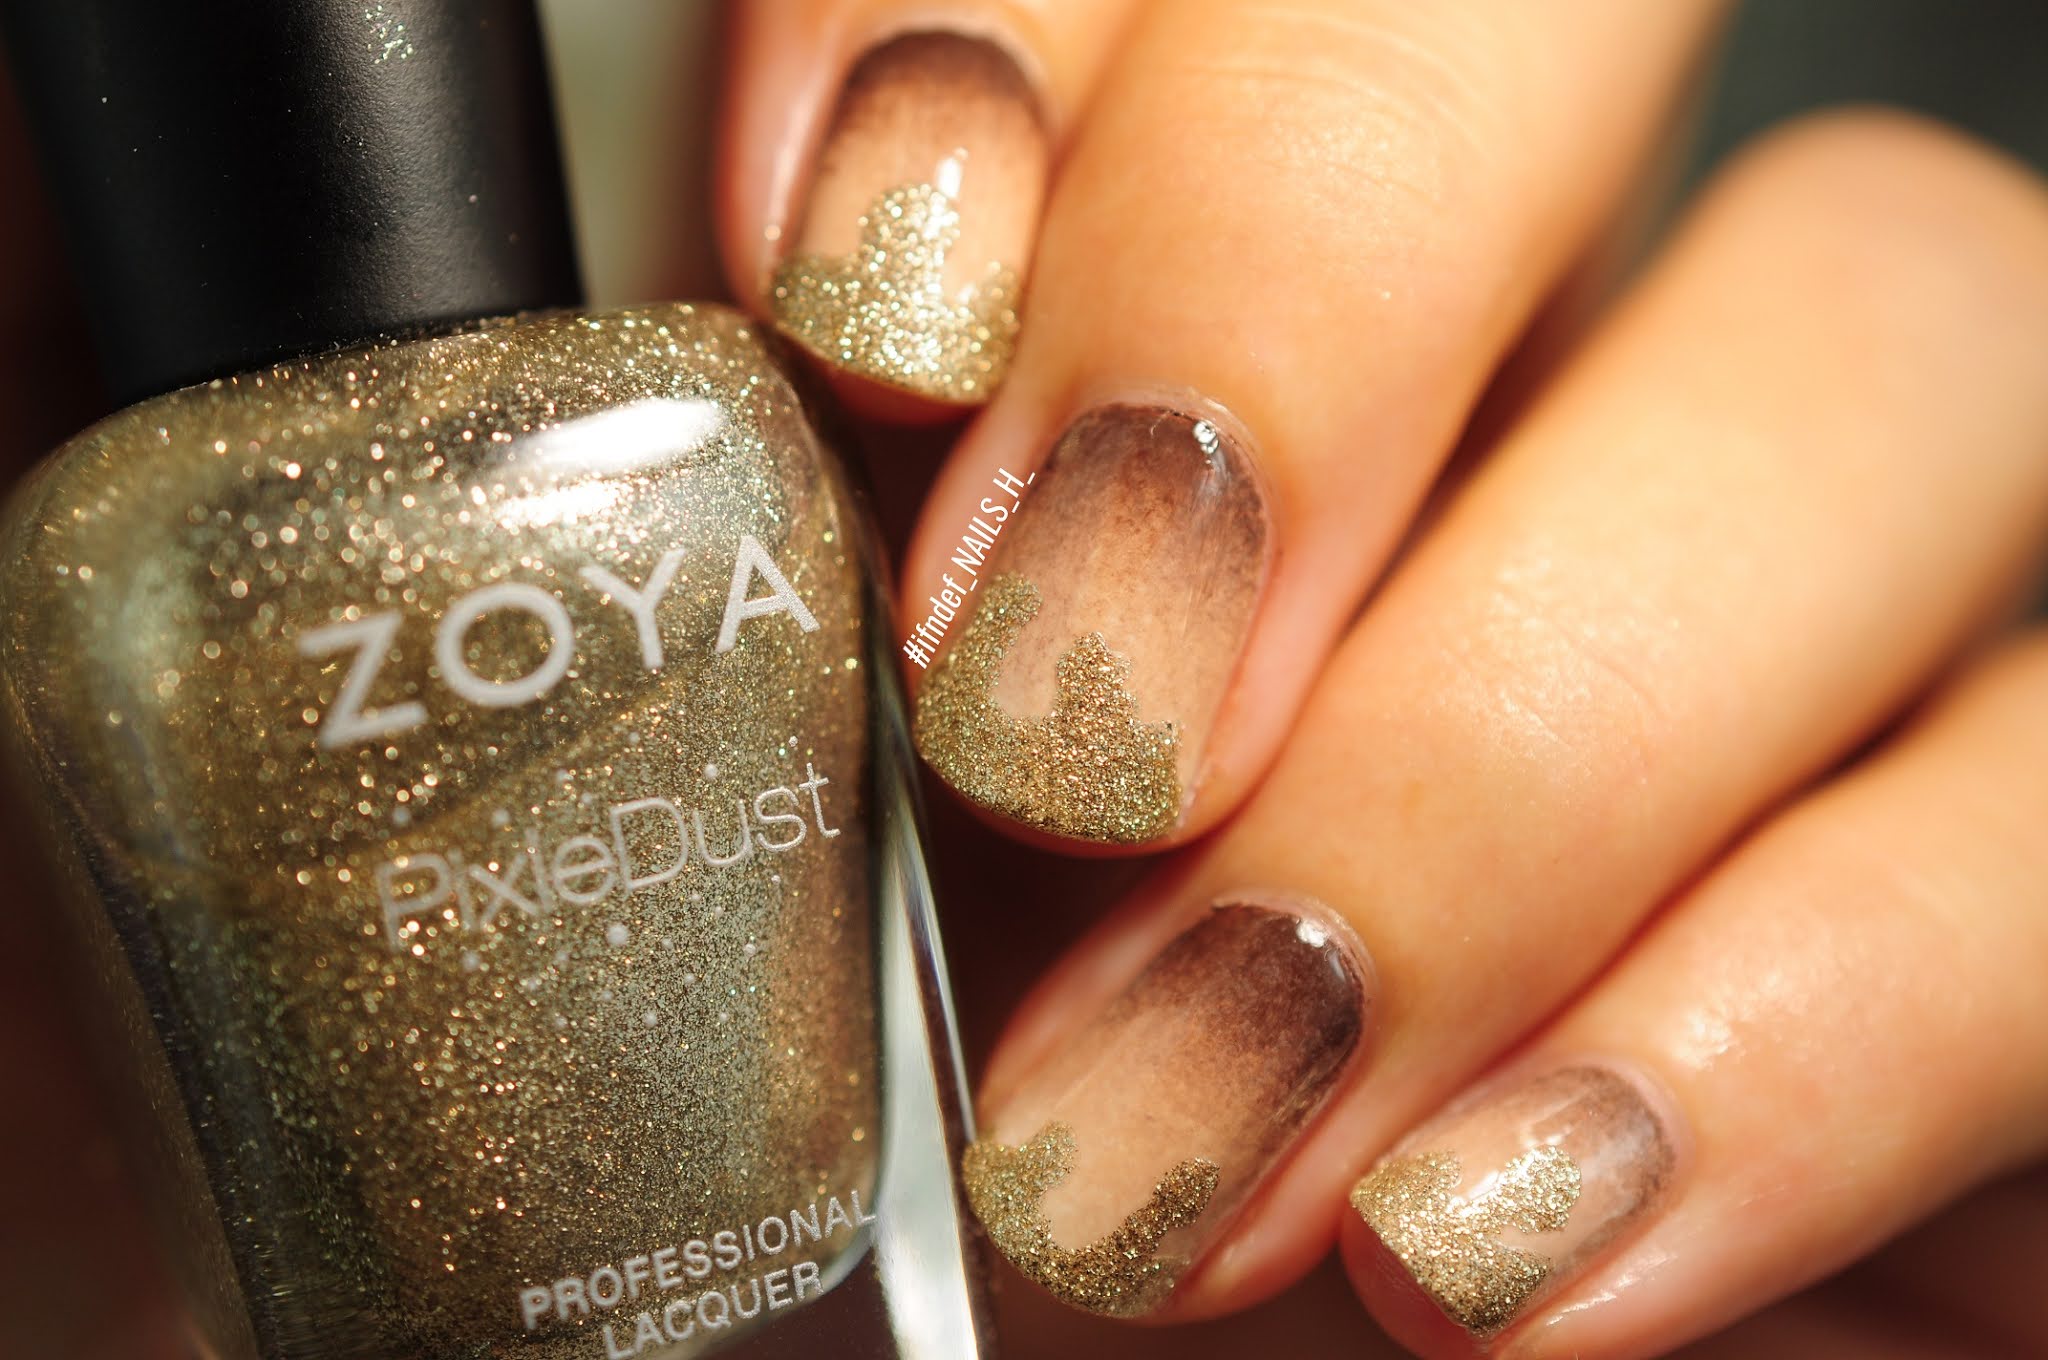
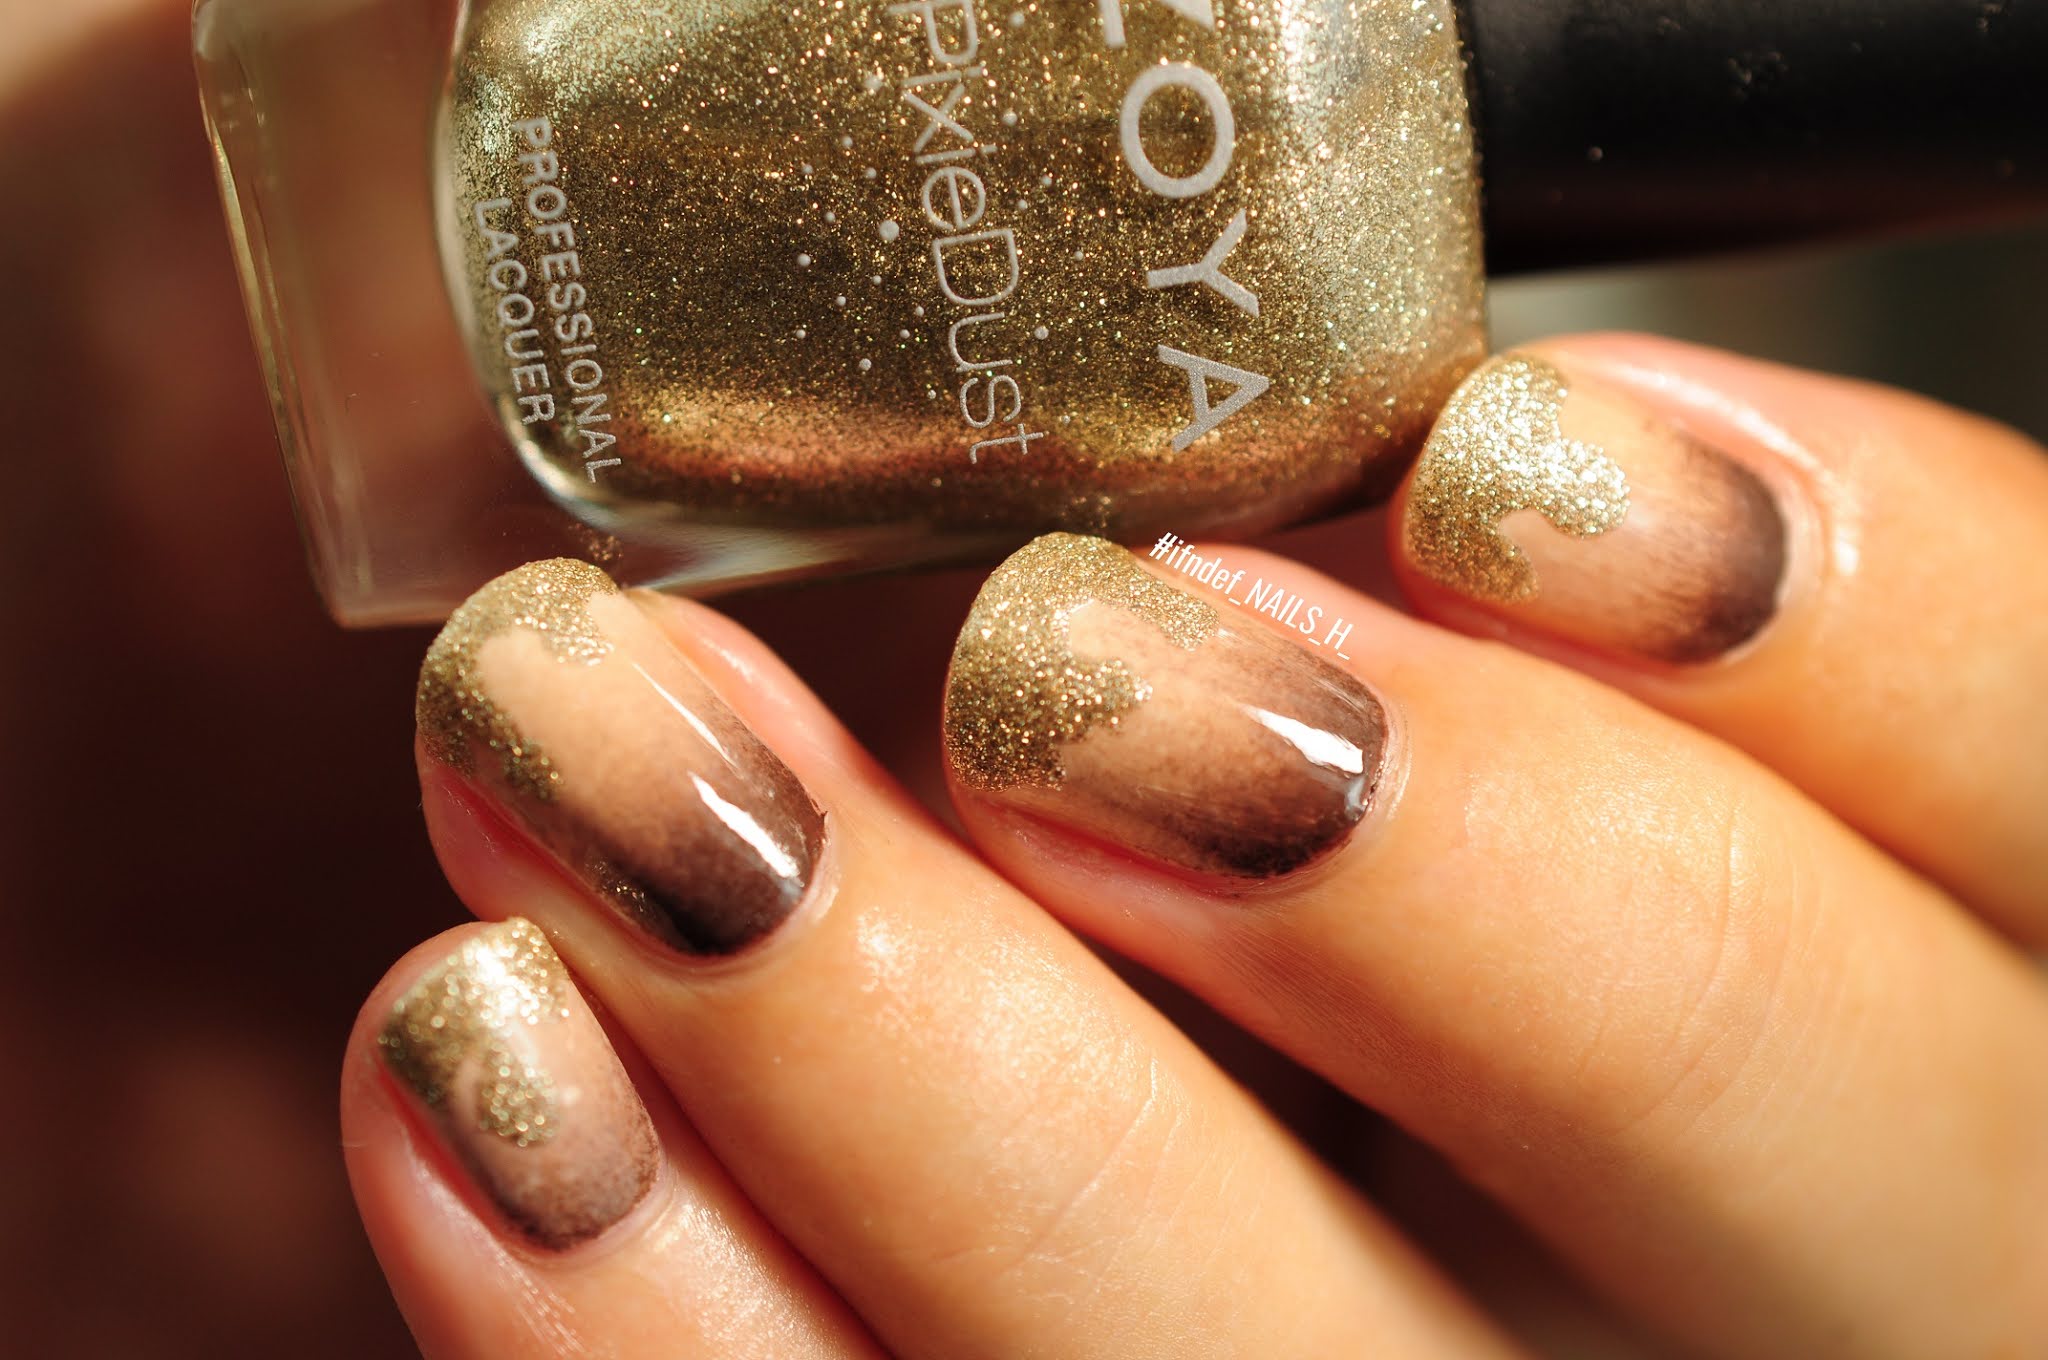
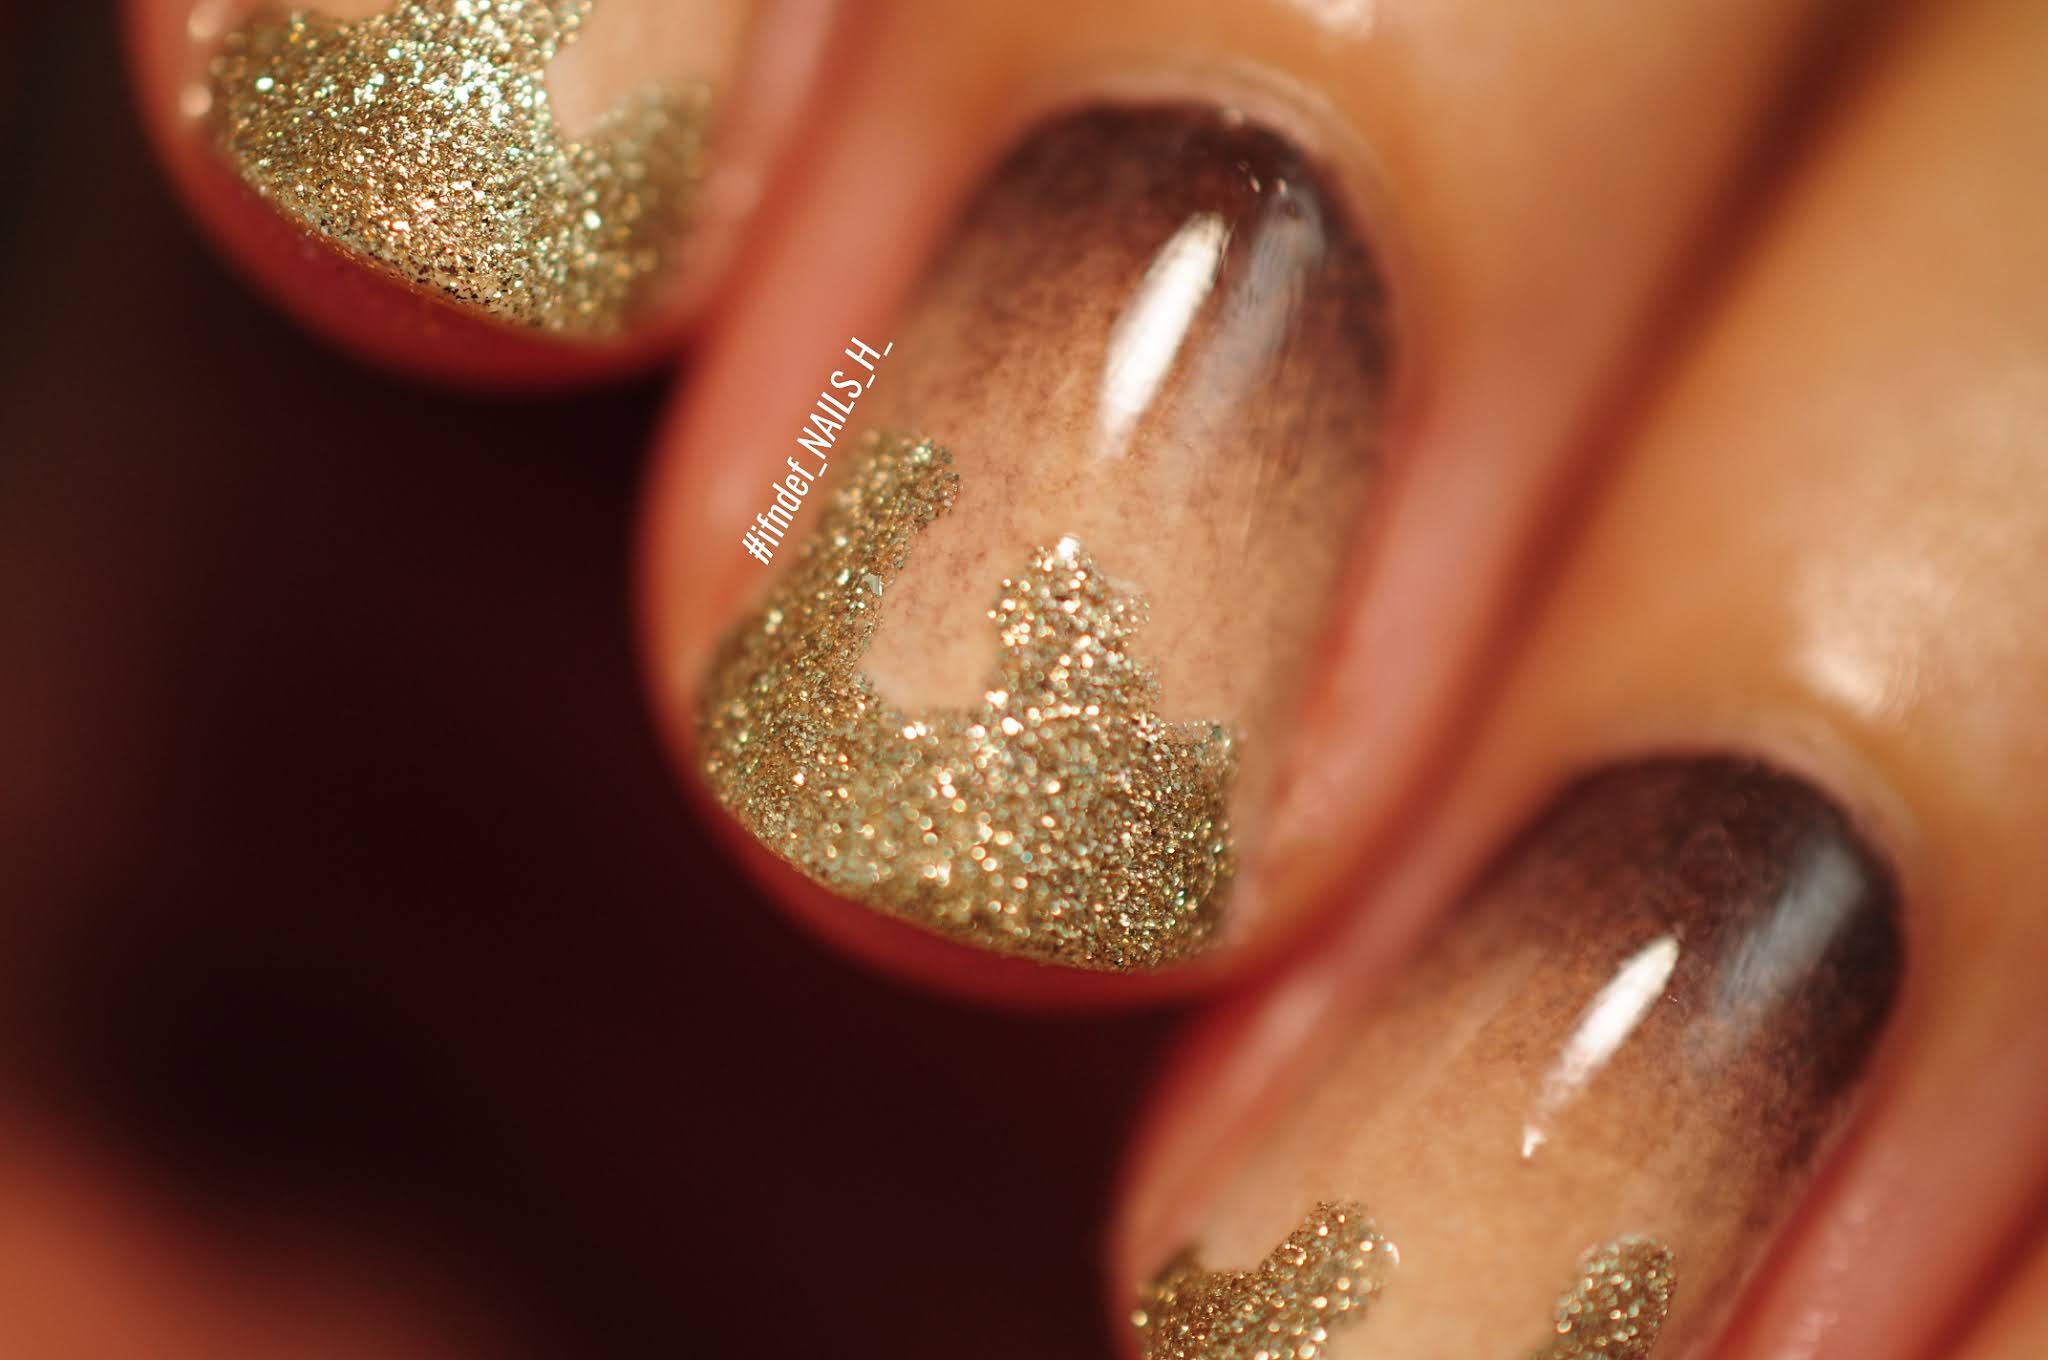
Expect a lot of drip nail looks this month...I'm becoming ever so slightly obsessed with the dripping look. It just works so well for adding detail but not too much detail. I also love using the pixie dust polishes thanks to their unique matte texture. In the words of Elle Woods "it just adds a little something extra don't ya think?"

Sparkleccino // Birthday Coffee Nails

I wanted the ombre to look like when you've just poured foaming milk into an espresso and you get that beautiful moment where the two start to mix. Oh man, this is really making me want a caramel macchiato. All the ombre shades have coffee names as well; it just turned out perfectly.

Sparkleccino // Birthday Coffee Nails

Polishes/Tools used:
- Barry M Gelly Hi-Shine // Iced Latte (cream)
- Kure Bazaar // Cappuccino (coffee)
- Nails Inc Caffeine Hit // Espresso Martini (dark brown)
- Avon Mark. // Gel Shine Top Coat
- Zoya Pixiedust // Tomoko (champagne)
SHARE:

Saturday 17 October 2020

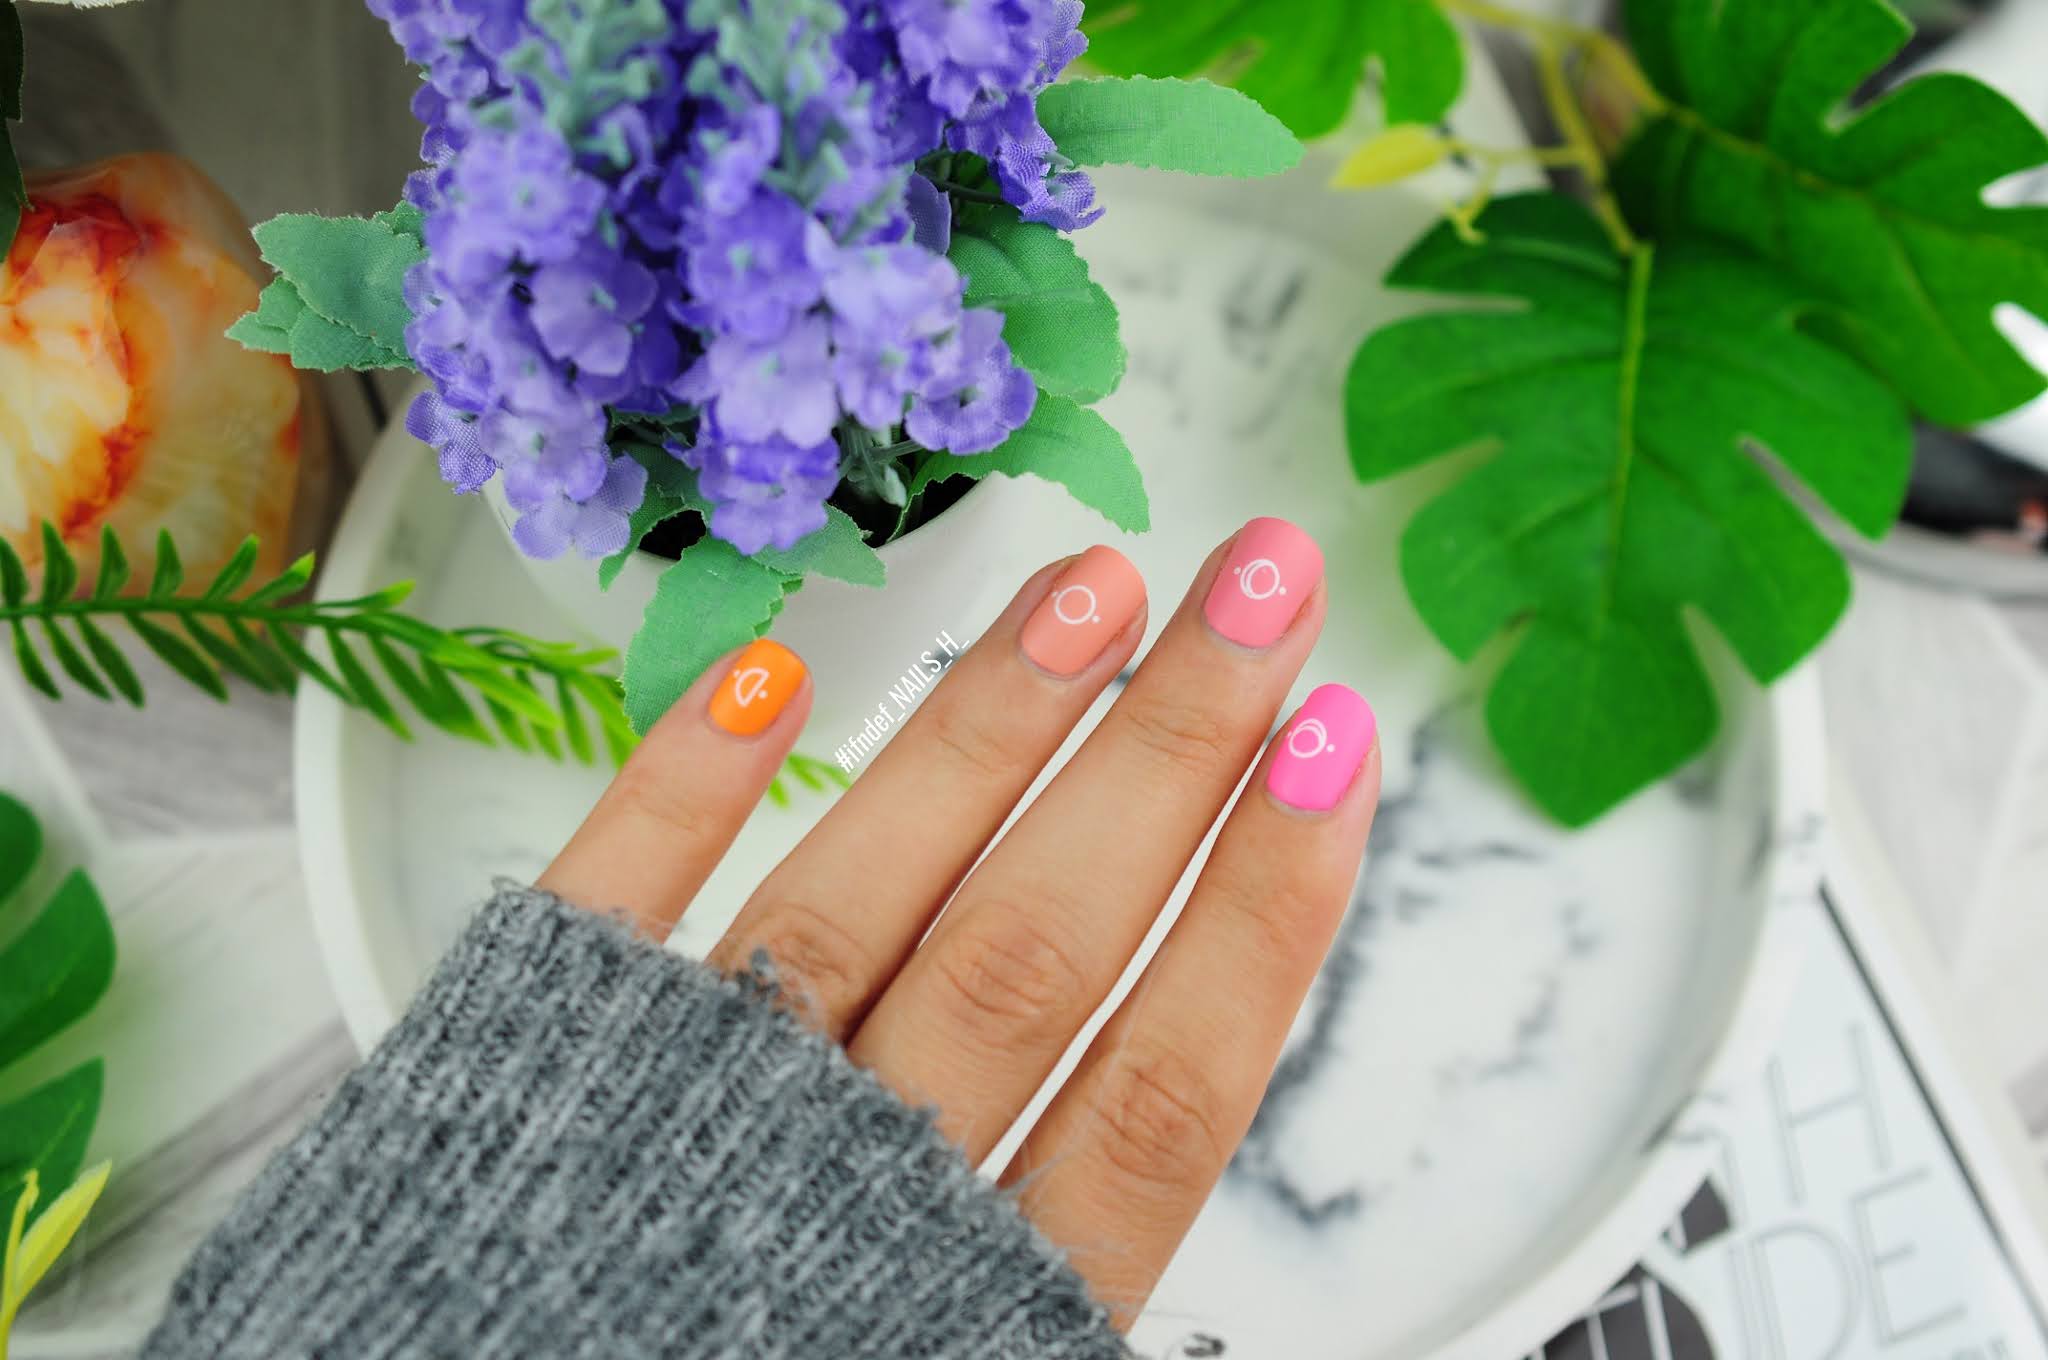
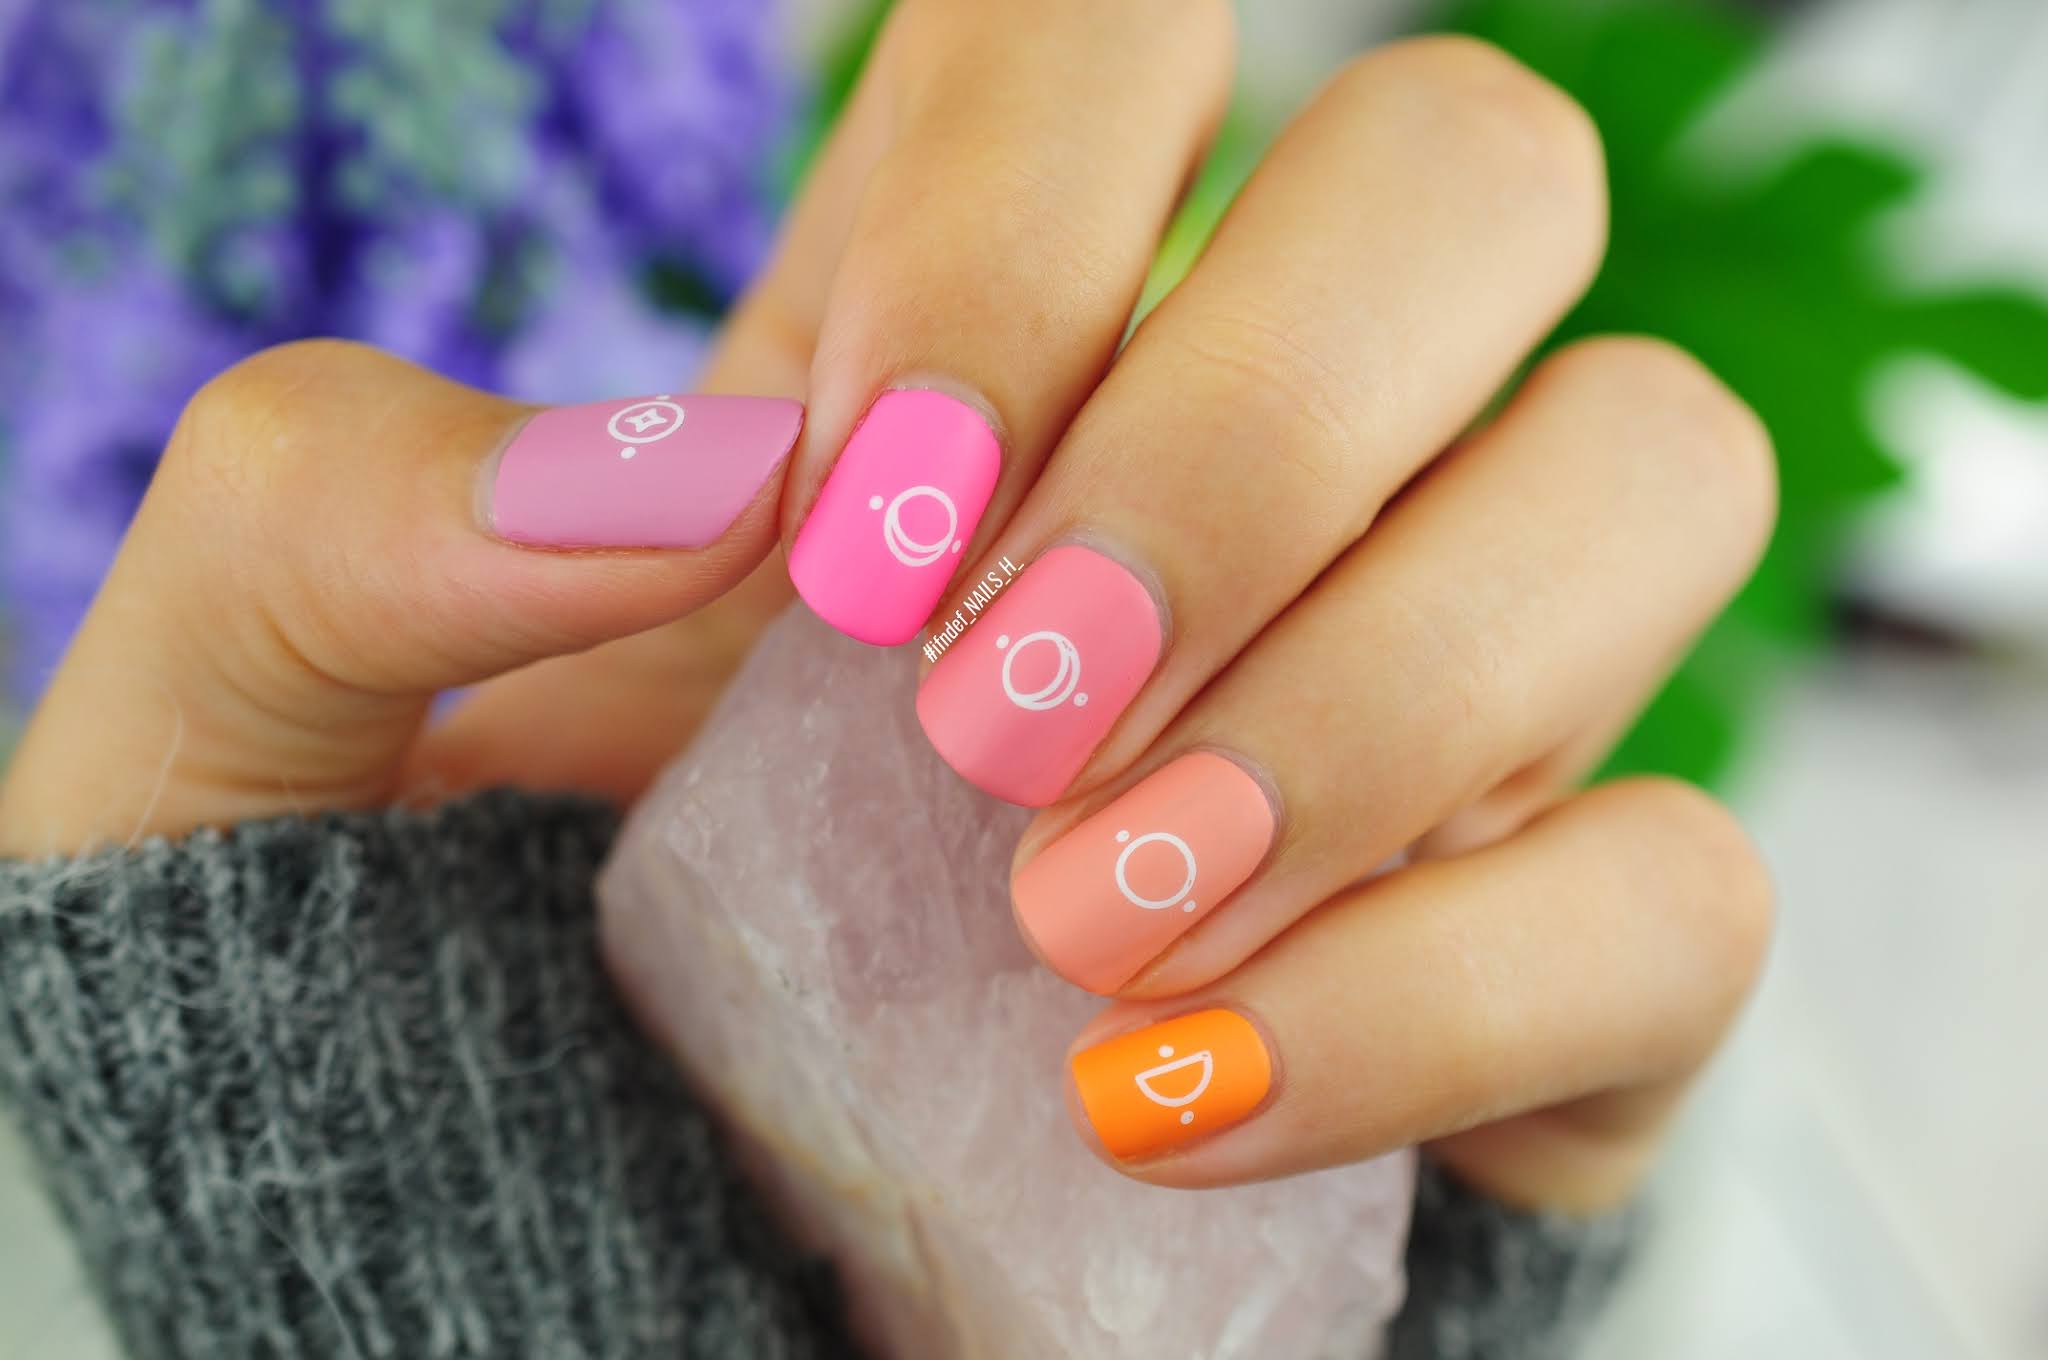
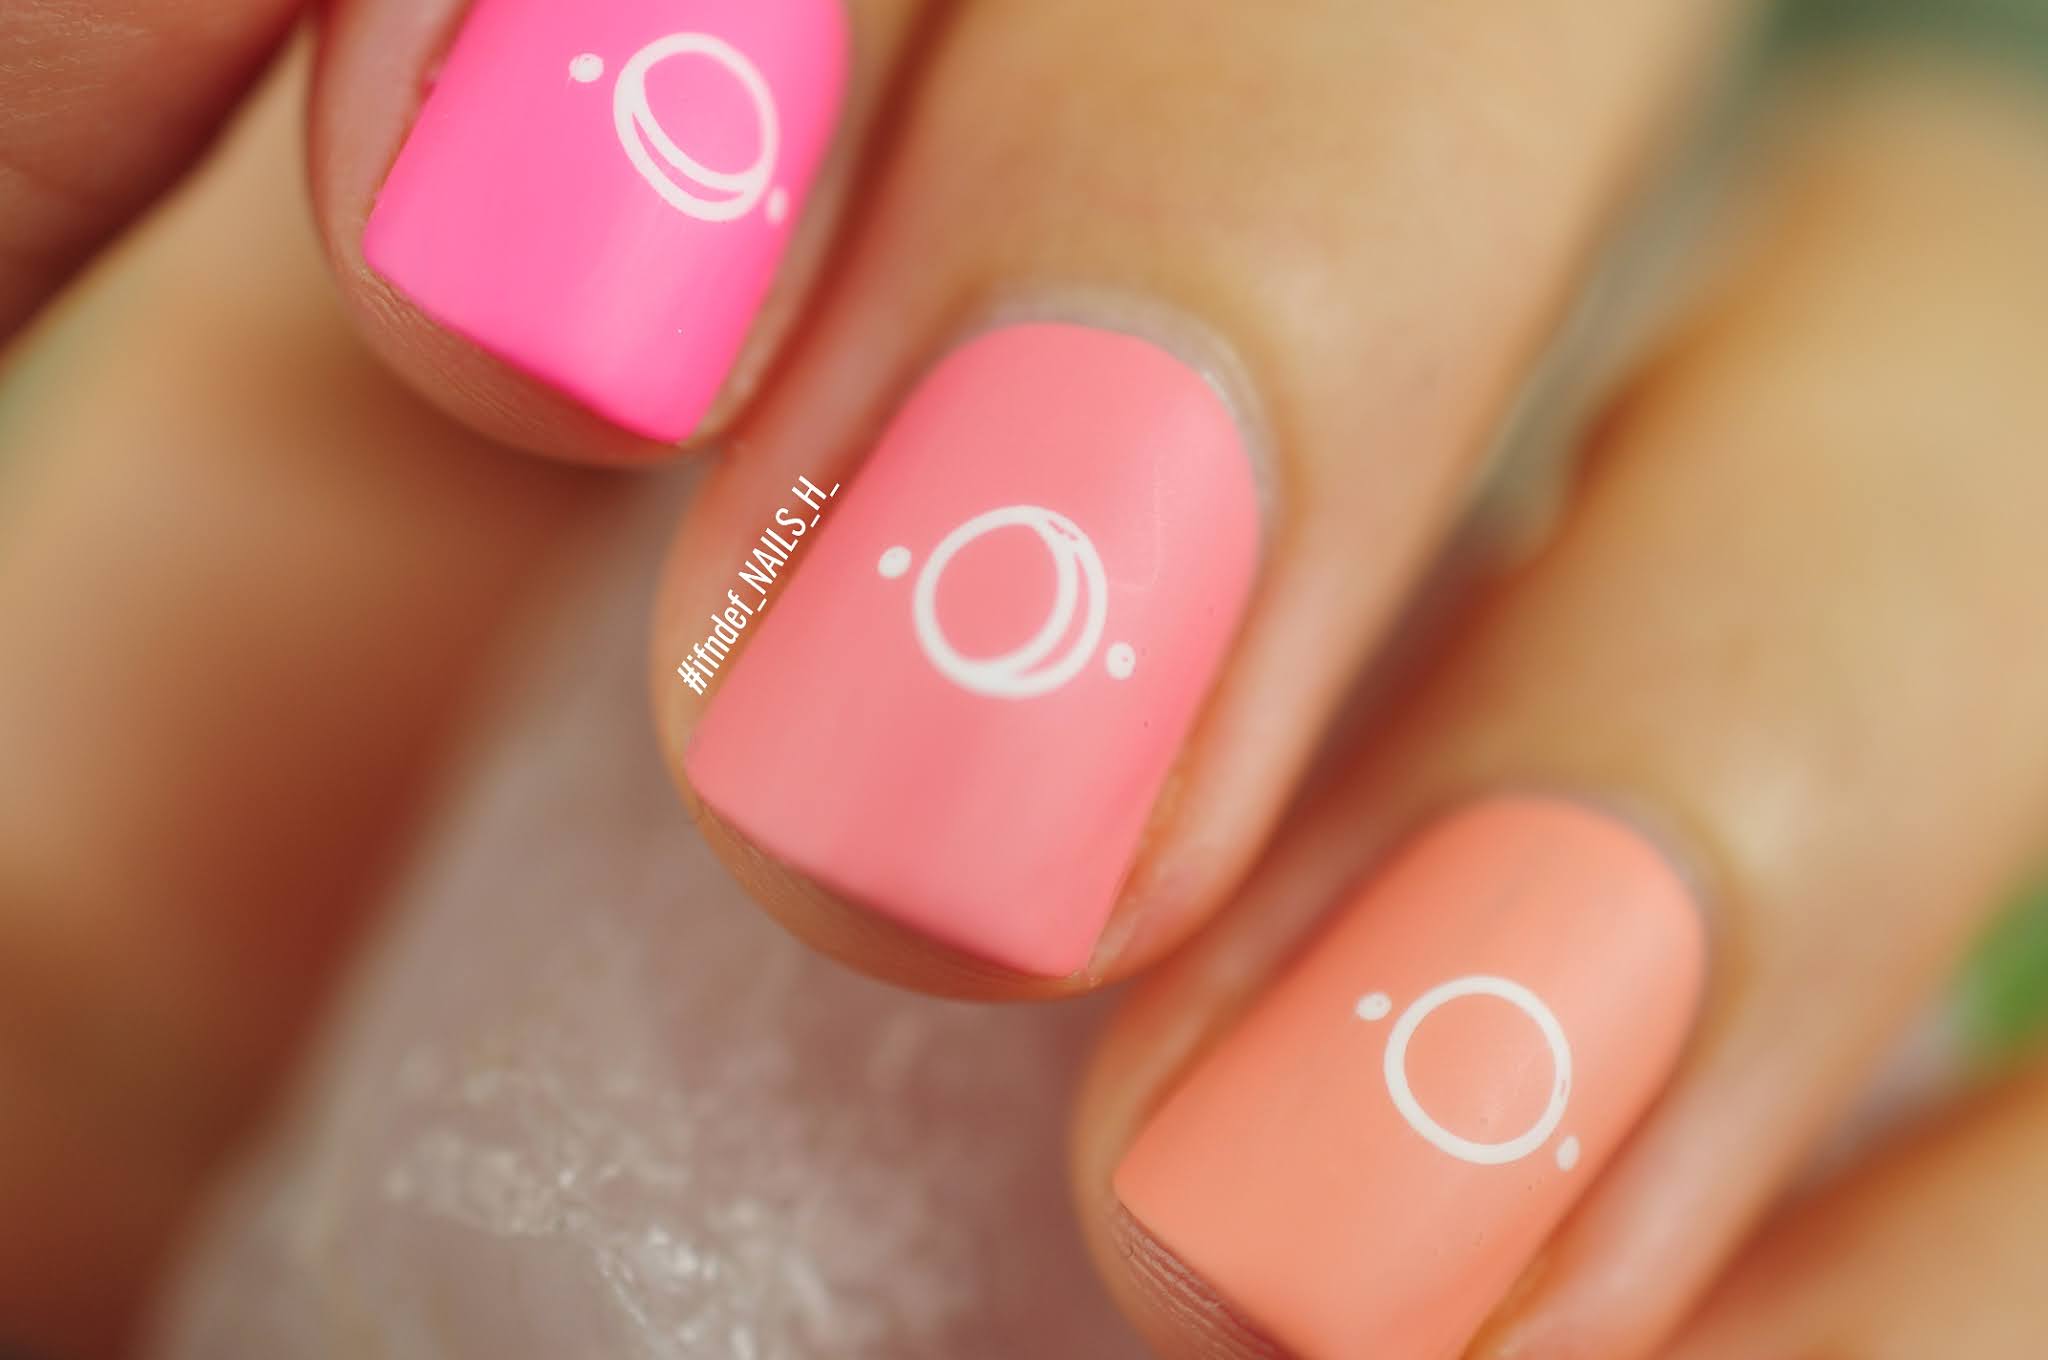
Pastel Moon Phases // 'Halloween' Look 1

Pastel Moon Phases // 'Halloween' Look 1

Yes, this is a halloween look. I used a plate called "Halloween 1" therefore it is clearly a spooky mani. Also, I refuse to stop using pink and peach just because it's winter now. I suggest we make a new holiday called "Pastelween"...that sounds really stupid. I need to stop buying cheap alcohol from home bargains and drinking it whilst writing these blog posts.

Pastel Moon Phases // 'Halloween' Look 1

Not only is this look super cute, but it's super easy. It took me about 15 minutes (drying time not included because the Barry M matte top coat is not the fastest). 

Pastel Moon Phases // 'Halloween' Look 1

I might do some scary looks this year...maybe. I have also been  extremely good though and not bought any stamping plates since August! I have so many plates that I haven't used yet; if I can't come up with some Halloween looks with them then I have failed lol.

Polishes/Tools used:
- OPI Infinite Shine // Rice Rice Baby (lilac), Malibu Pier Pressure (hot pink), Excuse Me, Big Sur! (pink), Barking up the Wrong Sequoia (peach), No Tan Lines (orange)
- Twinkled T // Glow Up (white)
- MoYou London Stamping Plates // Halloween 01
- Barry M // Matte Top Coat
SHARE:

Friday 16 October 2020

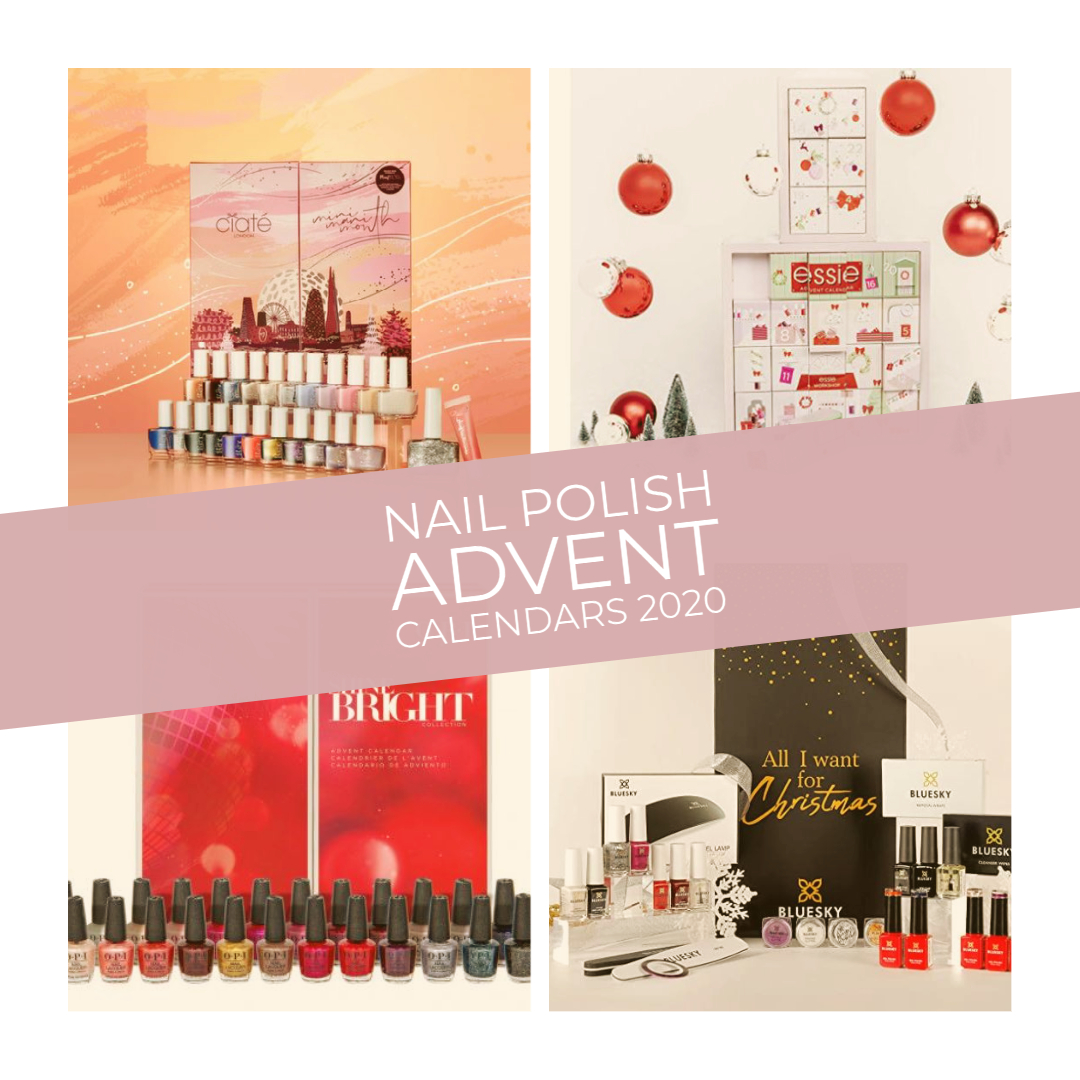
ROUND UP // All The Nail Polish Calendars for 2020

ROUND UP // All The Nail Polish Calendars for 2020

I can't believe it's that time again already. Last year I did a post detailing every nail polish advent calendar I could find (on offer for the UK) and I thought I'd do it again to see if anyone has upped their game.

RRP £59 - 24 Items
Ciaté Mini Mani Month 2020 Nail Polish Advent Calendar 2020

Ciaté Mini Mani Month 2020 Nail Polish Advent Calendar 2020

£9 more expensive than the past few years, the Ciaté Mini Mani Month is looking really good...I might even forgive the price increase. This one I will definitely be getting as they're using a new "plant" formula and the shade list is promising; I see very few repeats! Asos has a full list of the polishes included if you want spoilers! One thing I'm not happy about though is the inclusion of a lip product..If I wanted skincare and makeup in my advent calendar then I would buy a beauty one; I want nail products.

RRP £65.90 - 25 Items
OPI Nail Polish Advent Calendar 2020

OPI Nail Polish Advent Calendar 2020


This years calendar is in collaboration with Swaravski and as such there's a lot of silver, gold and jewel tones. Even though there only seems to be about 4 repeats I'll be passing as there is only 1 creme in the 25 piece set. I'm not a big fan of OPI's shimmers, especially when they're the normal formula. You can pick this up from NailPolishDirect for £49.95 if you're interested.

RRP £99 - 24 Items
Essie Nail Polish Advent Calendar 2020

Essie Nail Polish Advent Calendar 2020


I thought the price tag on Look Fantastic was an error when I saw it but no, Amazon is also selling it at £97.99......what!?! Sure it looks cute and contains 9 full sizes but last years calender was £46. Ciaté shades are more expensive (and my better quality imo) and have never charged this much. A review on Amazon also states that all the shades are either red, white or pink with 1 blue. I love pink but I would like to see a nice range in a calendar. I think it's safe to say I'll be avoiding this one.

RRP £51.99
Bluesky Nail Polish Advent Calendar 2020
This one is super interesting as I've been trying to increase my Gel collection (for friends who want gel nails) and this contains everything you need to get started; even a lamp! I already have 3 lamps but the more the merrier. I'm extremely tempted by this one as there's a nice range of shades and a full top and base for gel! Gel top coats are so expensive!

And that's it for this year :( It seems Nail Polish Advent Calendars are rapidly disappearing which is a real shame, I don't know why brands aren't jumping on the bandwagon. Once again there is nothing from Barry M, Orly, Nails Inc, W7 or even Technic. Oh well, my bank account will happy.
SHARE:
Blog Design Created by pipdig