A Nail Art/Nail polish blog by a really nerdy software Engineer

Sunday 31 May 2020

The Summer Classic // French Manicure with Gold Leaves Nail Art Design

The Summer Classic // French Manicure with Gold Leaves Nail Art Design

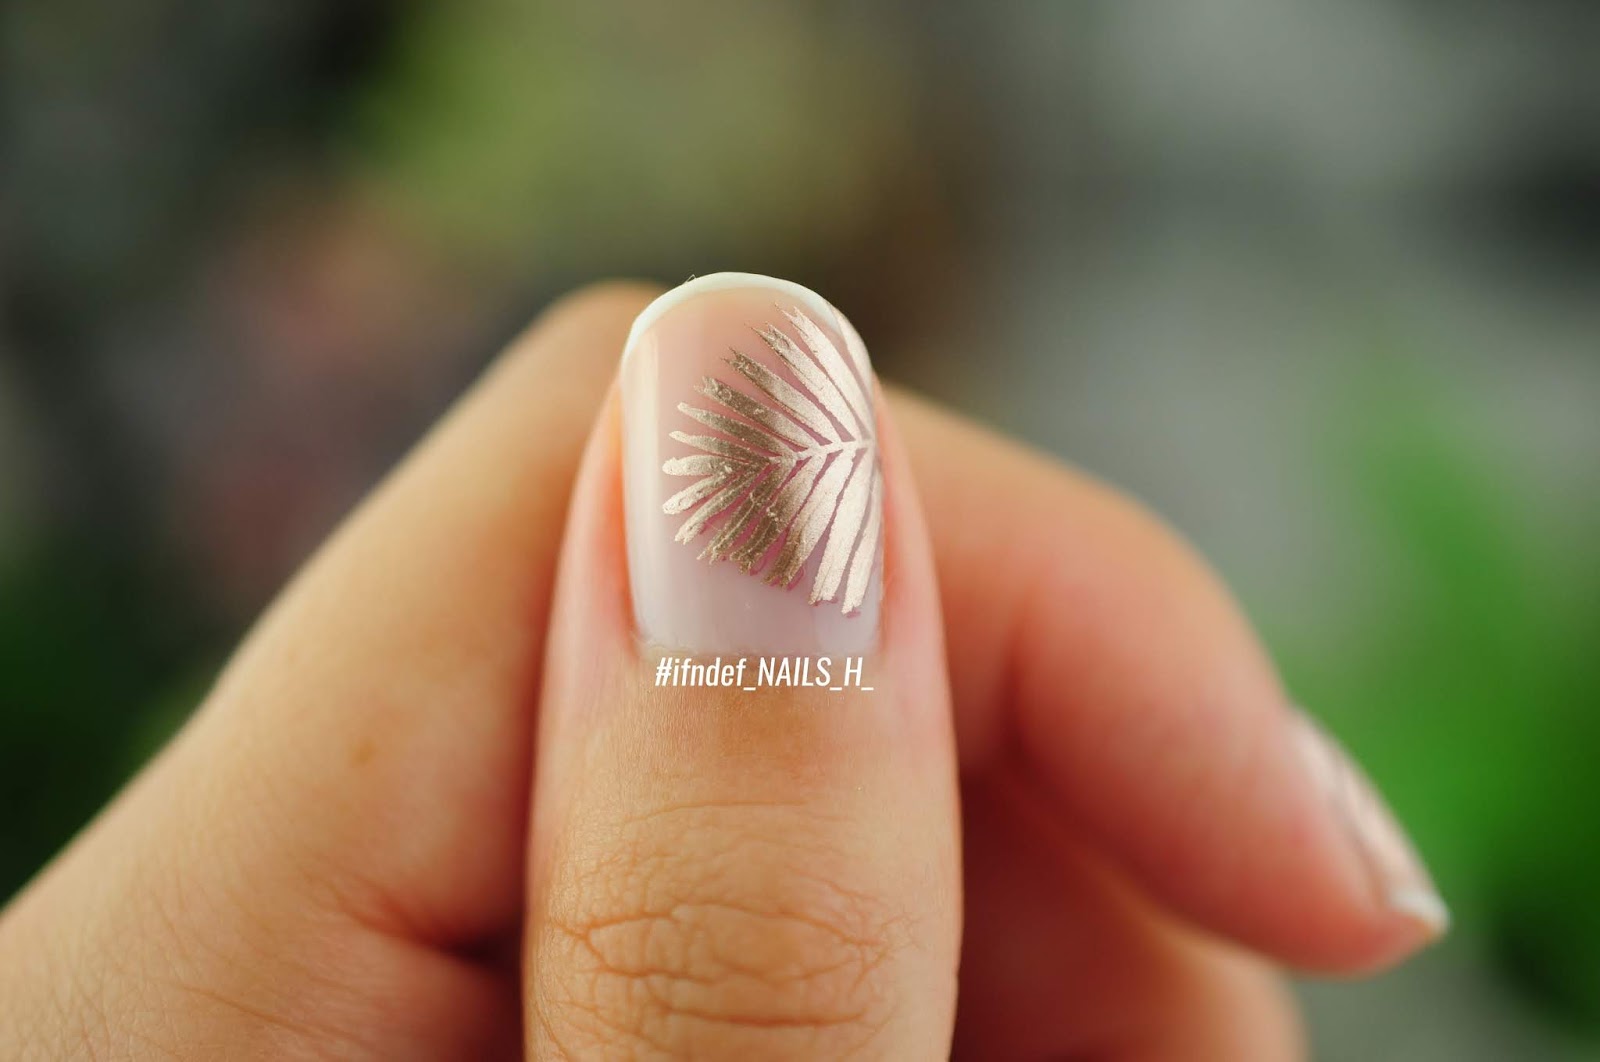
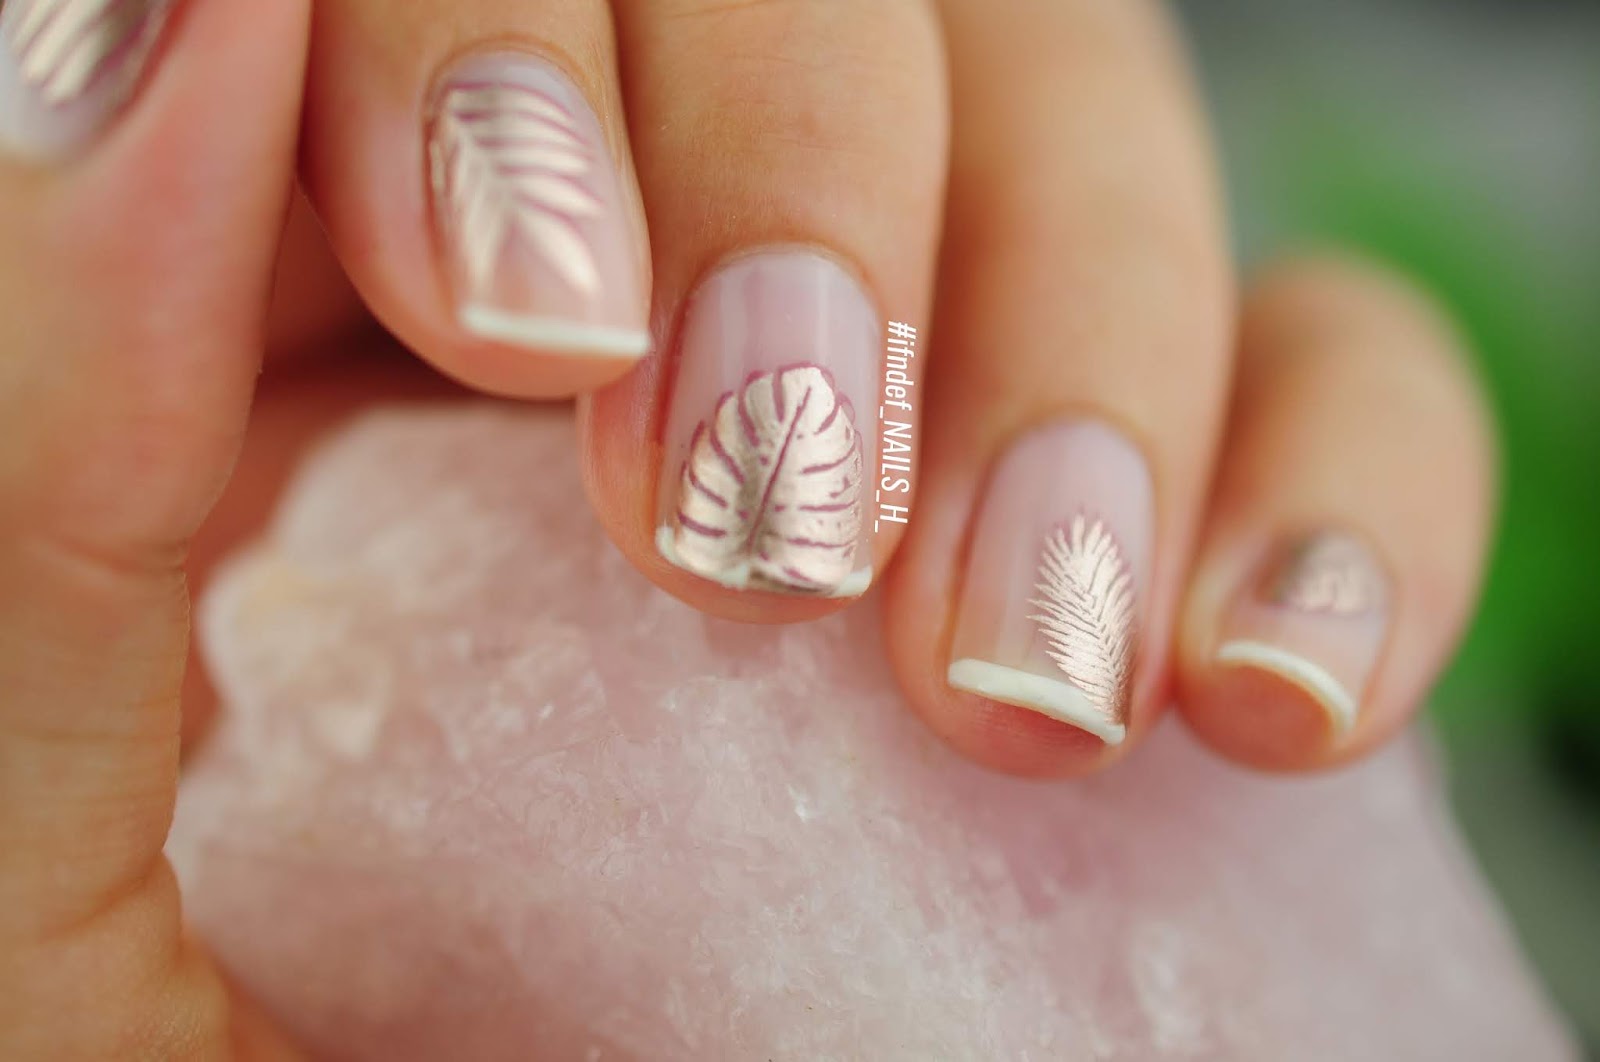
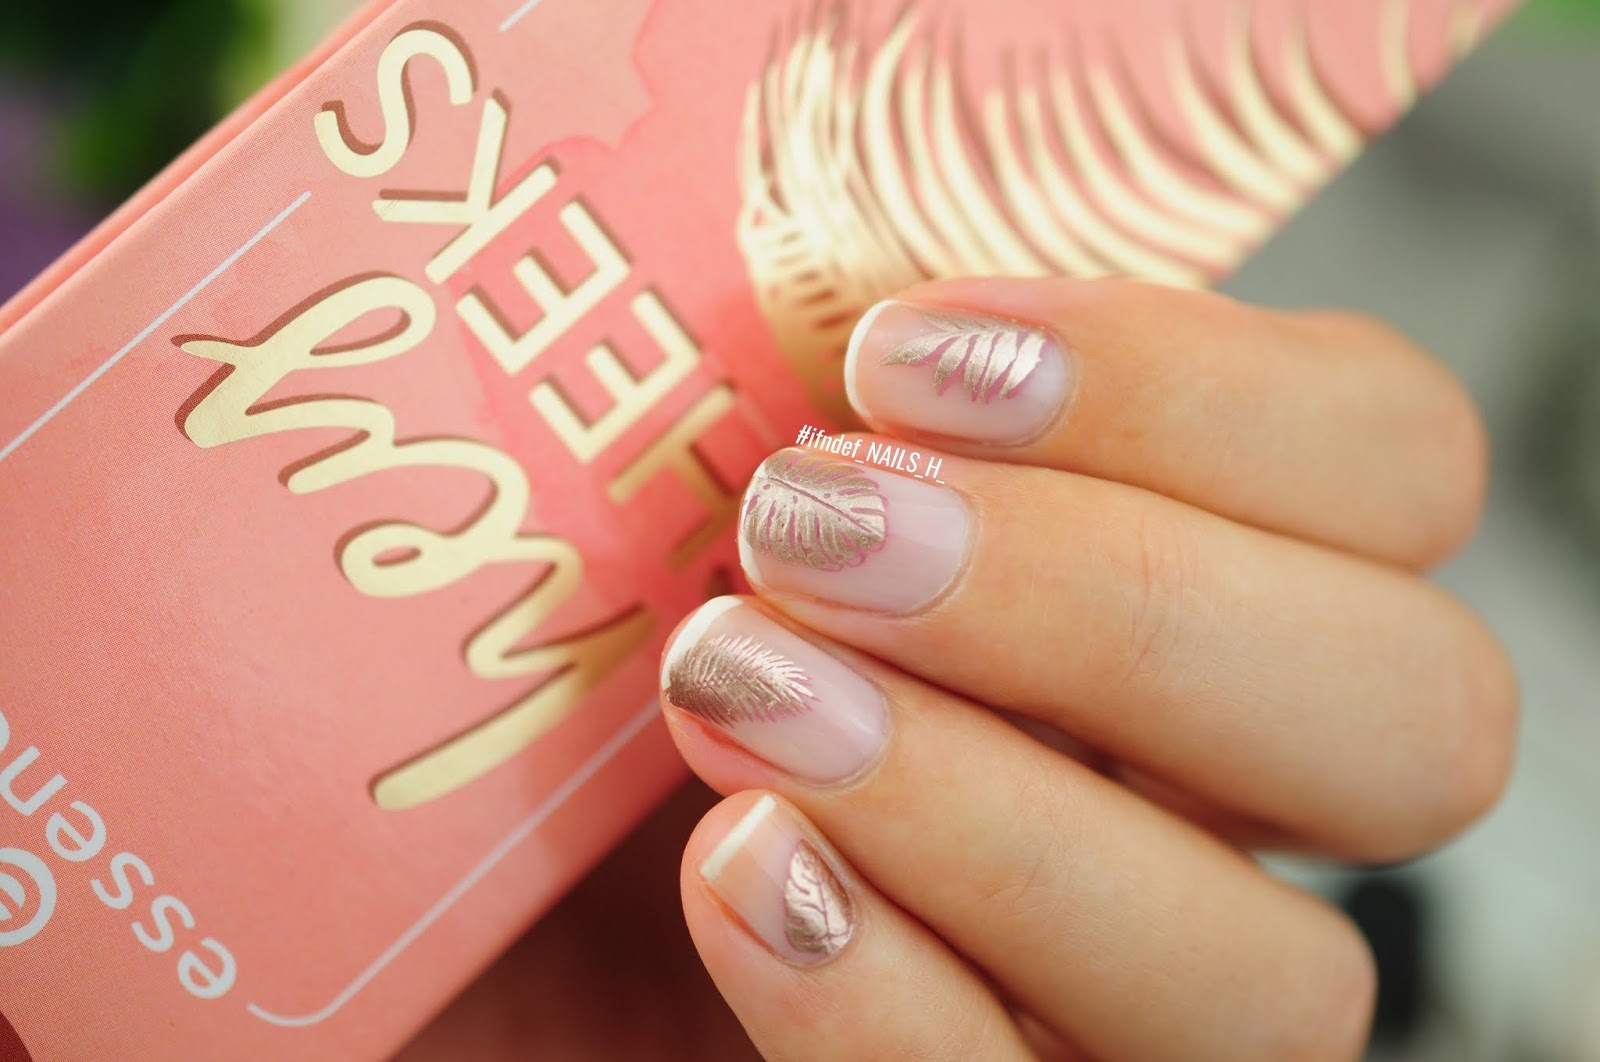
When I did the french manicure I just couldn't resist adding more detail to it and took inspiration from this Blusher and Bronzer palette I bought from Essence. I'm going to eventually do a match that mani of the pattern because I love it.

The Summer Classic // French Manicure with Gold Leaves Nail Art Design

The Summer Classic // French Manicure with Gold Leaves Nail Art Design

This involved some really simple double stamping with the first layer in Pink Clay and then adding the gold. I really need to start doing MoYou London polish swatches though because they are, for the most part, trash. They just never pick up properly.

The Summer Classic // French Manicure with Gold Leaves Nail Art Design

The Summer Classic // French Manicure with Gold Leaves Nail Art Design
Polishes/Tools used:-
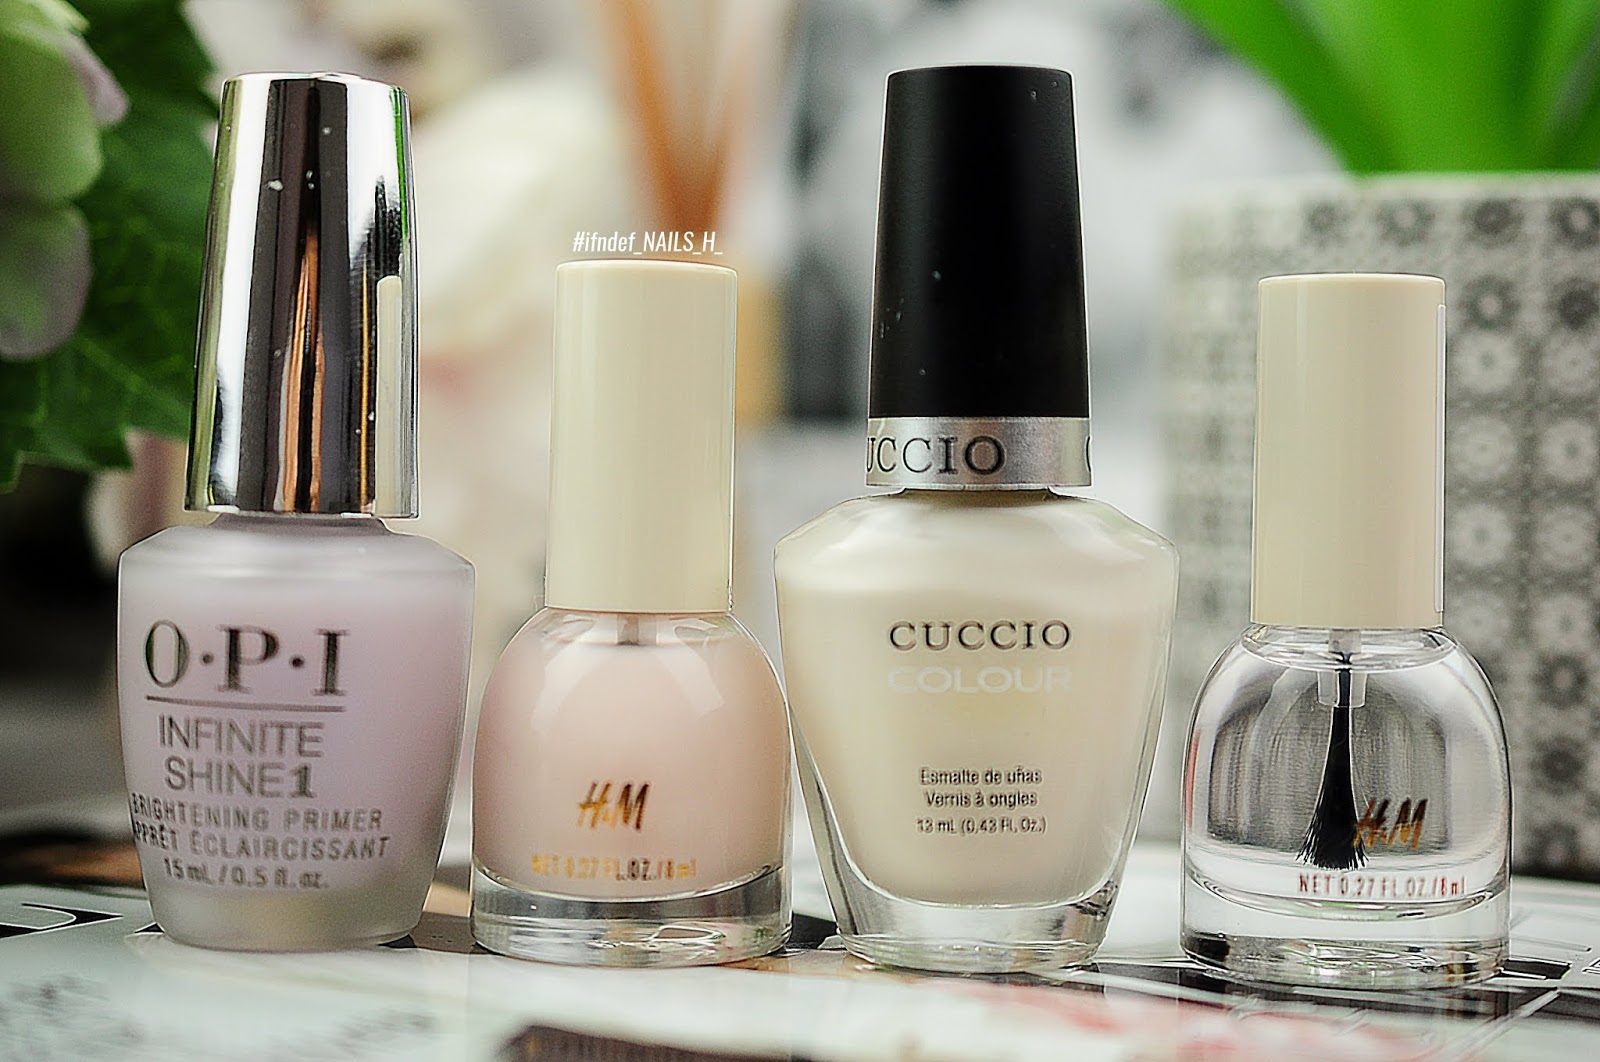
- OPI Infinite Shine // Brightening Primer
- H&M // Bleached Peach (sheer nude), All Clear (top coat)
- Cuccio // Mystery In Milan
- MoYou London Stamping Polish // Pink Clay (dark pink)
- Twinkled T // Liquid Gold (gold)
- MoYou London Stamping Plates // Tropical 23, Tropical 28 
SHARE:

Saturday 30 May 2020

The Classic // French Manicure Design

The Classic // French Manicure Design

Today I woke up and decided I wanted to some nice, clean, classic nails. I've never actually done a french manicure but I've been trying out new techniques (I've ordered some polygel as well) since I decided to become a part-time nail technician. 

This is my first attempt at a French Manicure. I started off with a layer of my favourite base coat; the OPI Infinite Shine Brightening Primer. Not only does it dry slightly sticky so polishes adhere to it well but it gives your nails a slight lavender shine as well.

The Classic // French Manicure Design

I then applied 2 layers of H&M Bleached Peach, which is a super sheer light nude. This is perfect for giving your nails a uniform base shade as it's sheer but never streaky. With these two, you could go ahead and do negative space designs without worrying about slightly stained naked nails peeking through.

For the tip I didn't want to use a super white shade and instead went for Mystery In Milan by Cuccio which is an off-white. I applied it using a fine striper brush from Mitty. This was actually easier than I expected.  I do need some practice though as the lines are a little wonky (and uneven). I like how much more natural this looks though than if I'd stamped on the white tip. I then added a top coat and I'm going to have to do something else with this H&M top coat because it's ridiculous; it takes forever to dry and when it finally does; the nail design is still soft and prone to dents. It's really awful.

The Classic // French Manicure Design

The Classic // French Manicure Design

I then, as usual, couldn't just leave it alone and ended up adding some leaves. I will add that in another post though.

The Classic // French Manicure Design

Polishes/Tools used:-
- OPI Infinite Shine // Brightening Primer
- H&M // Bleached Peach (sheer nude), All Clear (top coat)
- Cuccio // Mystery In Milan
SHARE:

Thursday 28 May 2020

SWATCHES: Barry M Gelly Hi-Shine // Pistachio, Sour Candy, Acai Smoothie, Raspberry Ripple & Grape Soda

SWATCHES: Barry M Gelly Hi-Shine // Pistachio, Sour Candy, Acai Smoothie, Raspberry Ripple & Grape Soda


So I recently lost the will to not buy nail polish and bought some more nail polish. Approximately 11 shades from Barry M. I won't do them all in one go but split them up. I bought 5 new Gelly shades because I'm obsessed with the formula and pastels are my thing. I wanted the grey and yellow shades that are new as well but I have to draw the line somewhere...I guess...there is always next month.

Pistachio // Pistachio Creme
Collection: Gelly Hi-Shine
Release Date: Spring 2020
Coats: 2

Barry M Pistachio Swatch Gelly Hi-Shine

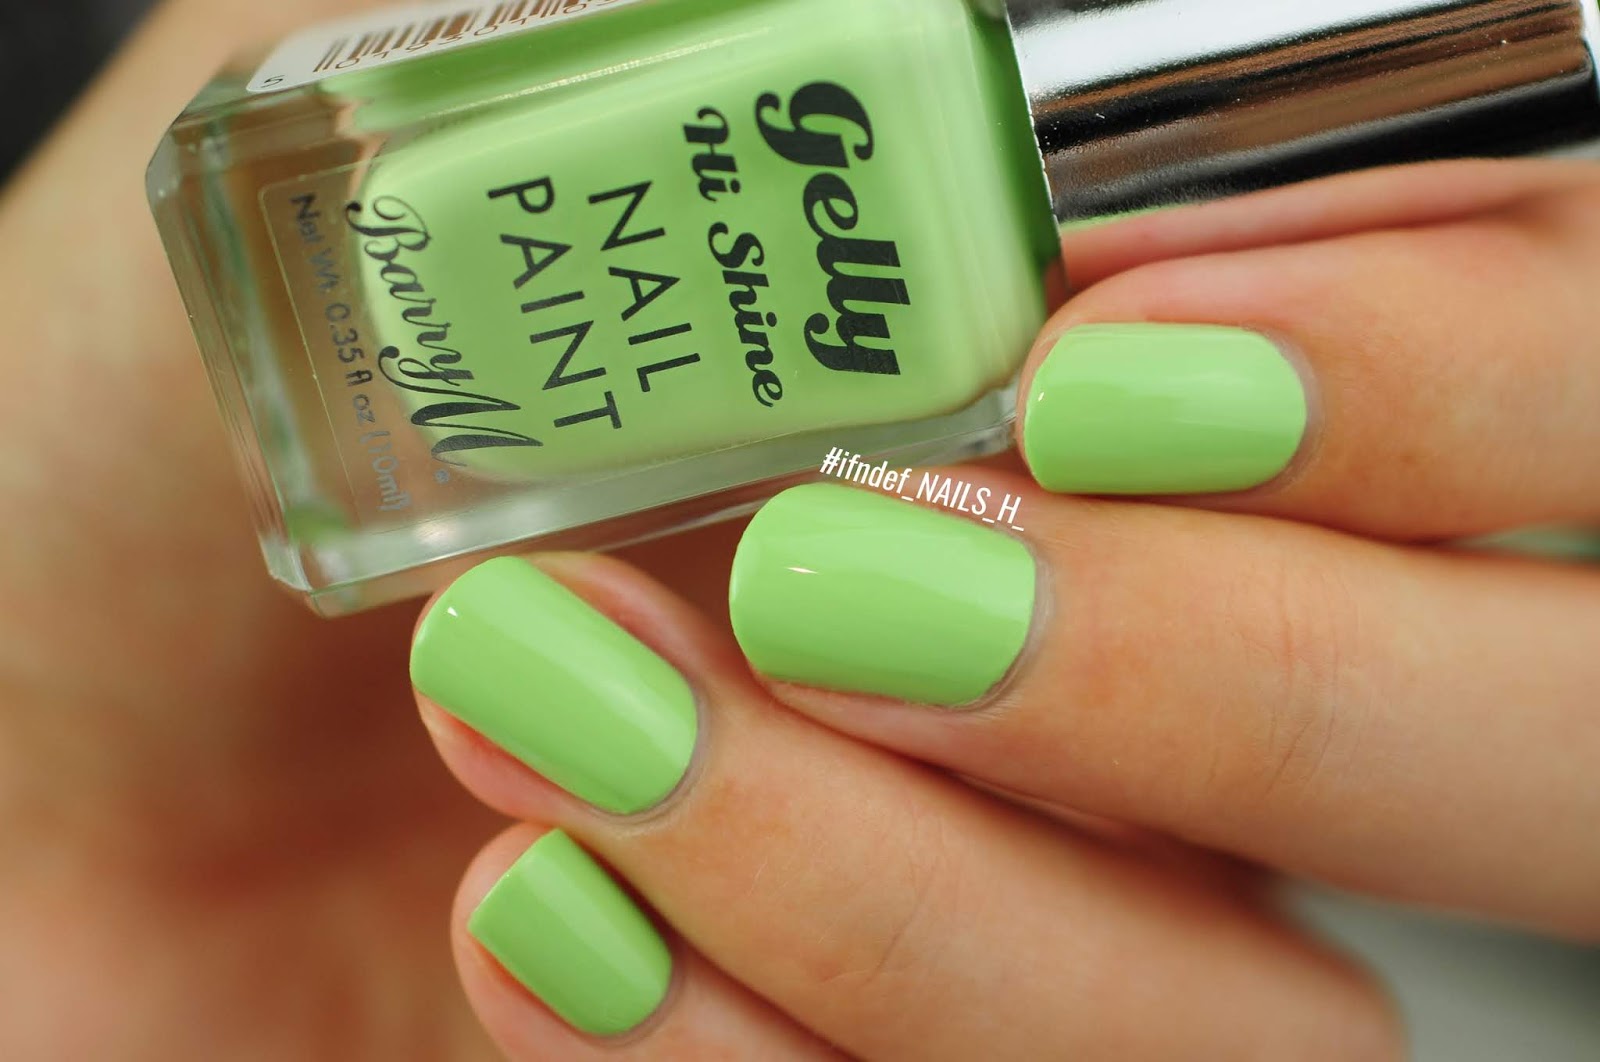
True to it's name, this is a pistachio polish. This is one of the most recent additions to the Gelly range and it's right up my street. It kind of reminds of a mix between Essie Mint Candy Apple and Chillato. The application is easy, the formula glides across the nail and you can almost get away with one coat but I recommend two. Like all Gelly shades it's super glossy by itself and really does look like gel with a top coat on (but I never wear top coat in swatches). 

Sour Candy // Baby Blue Creme
Collection: Gelly Hi-Shine
Release Date: Spring 2020
Coats: 2

Barry M Sour Candy Swatch Gelly Hi-Shine

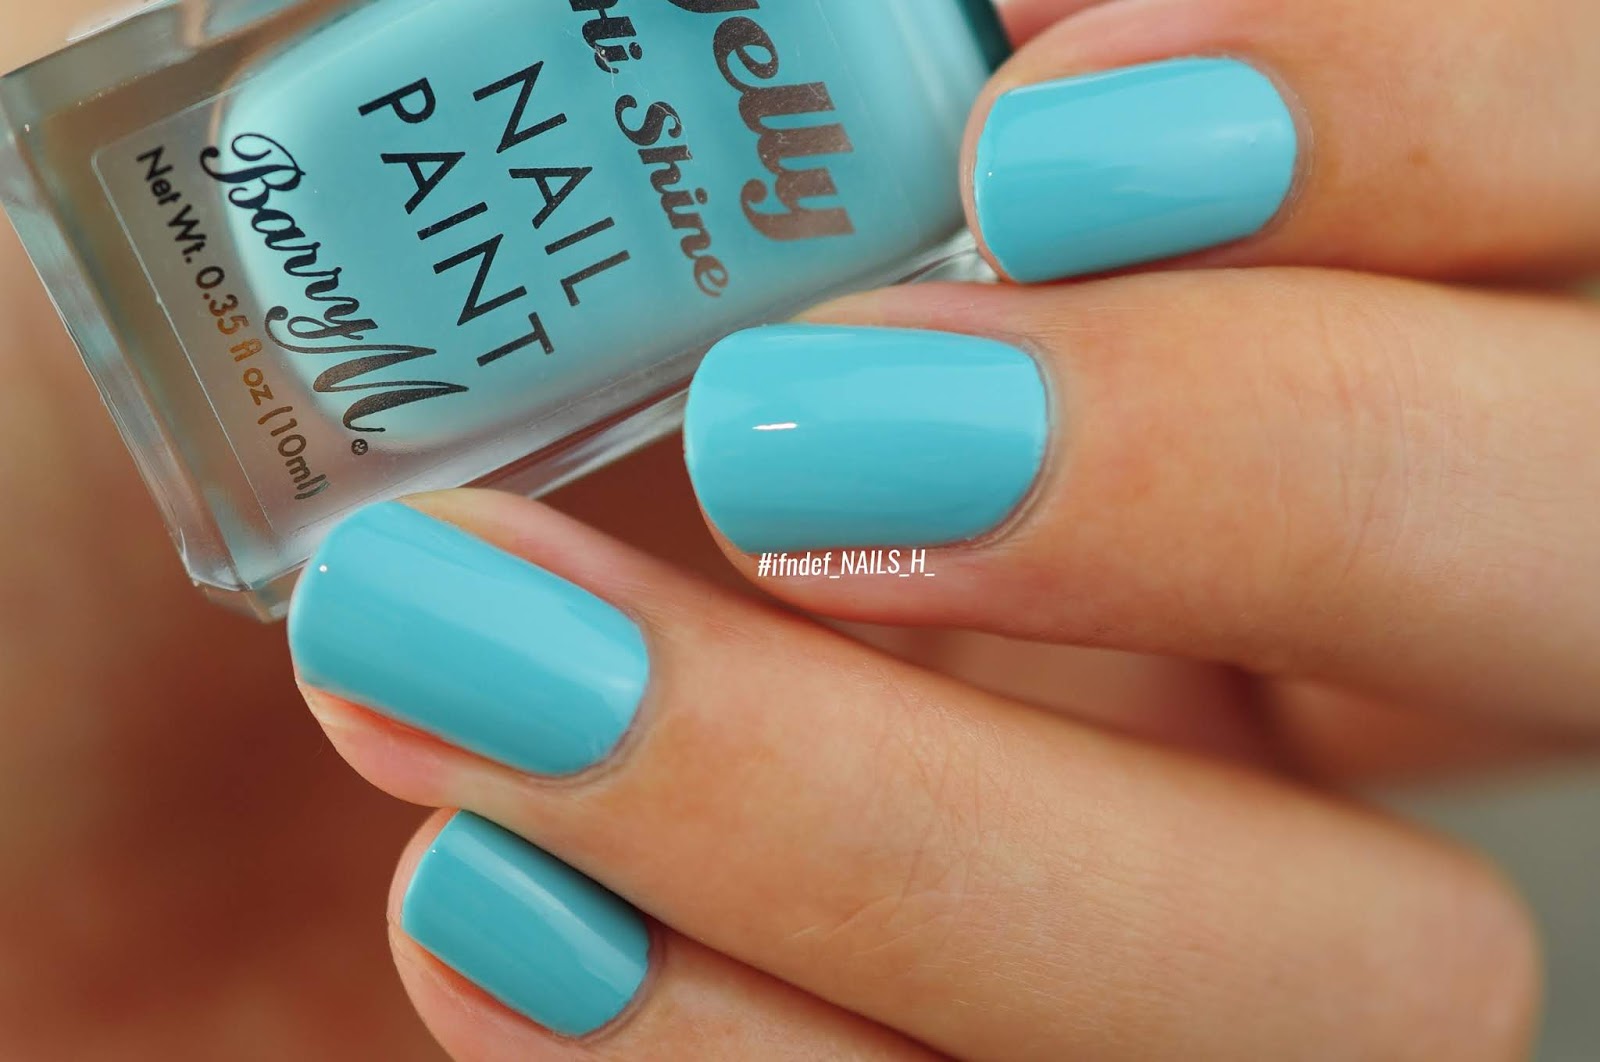
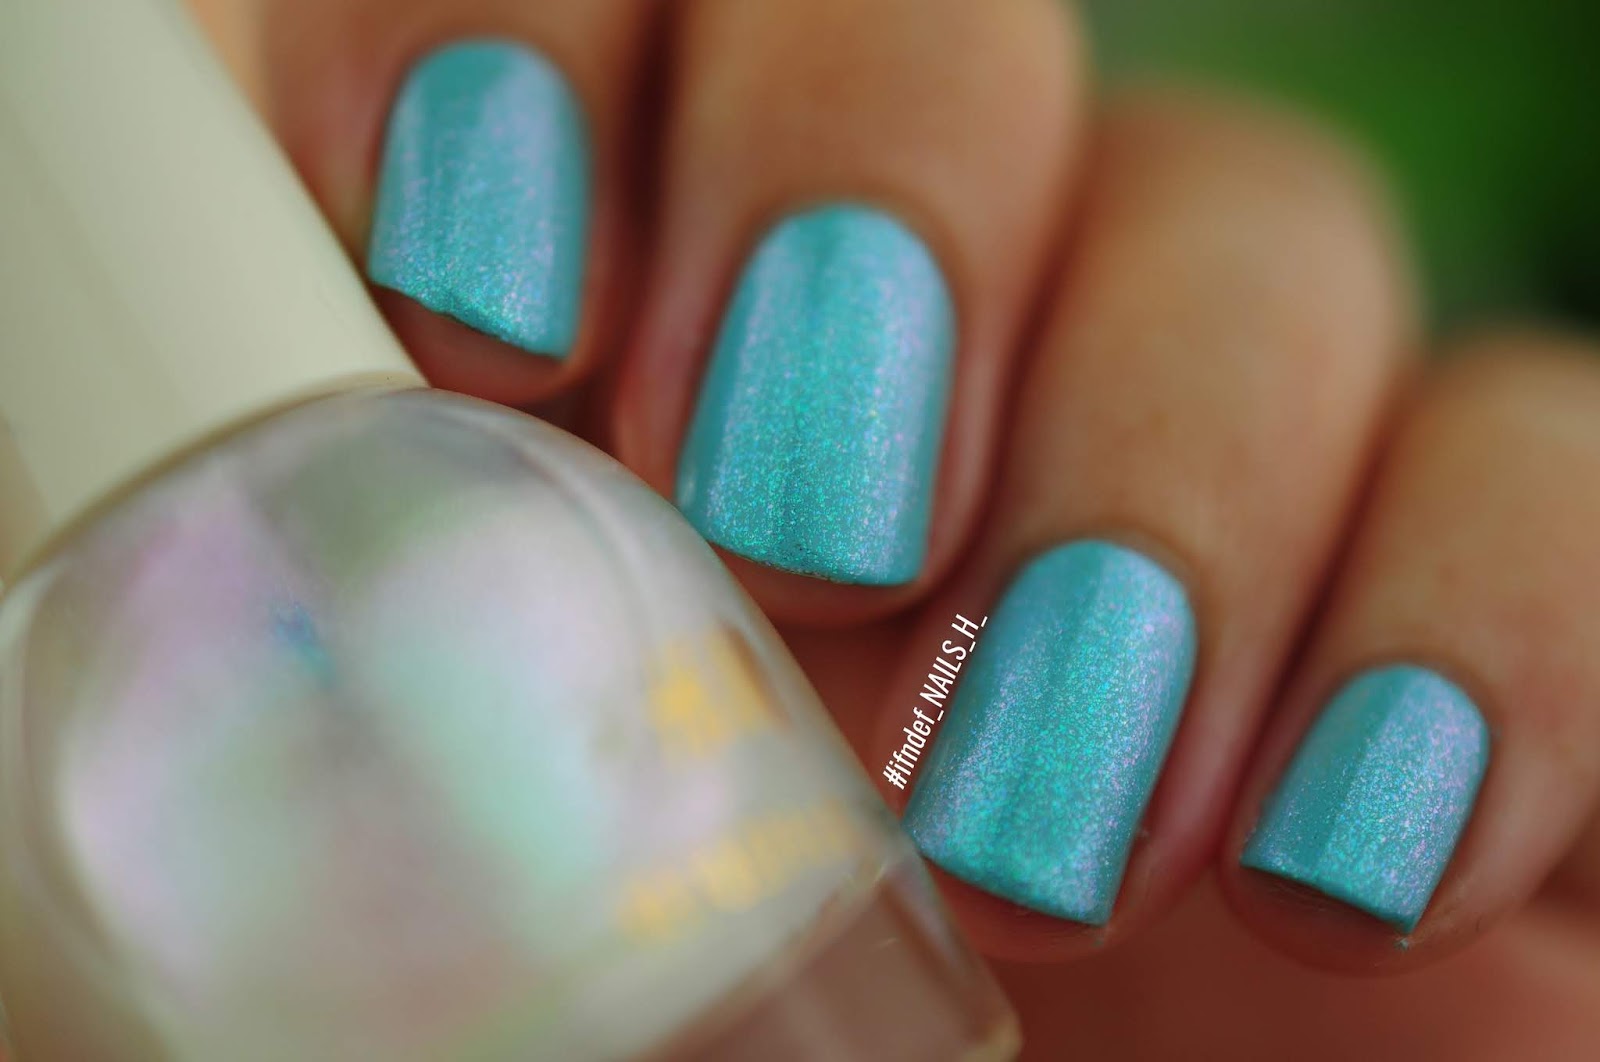
If you mixed this with Pistachio you'd probably end up with Wild Mint which was released in their Winter Wildlife Gelly collection (swatched here). I bought this one because I don't have many blues with me right now and well it's just super cute and pastel. It looks a little bit darker on the nails but it's nice and summery. I think this would look good as part of a pool watermarble. I couldn't resist as well and stuck on a shimmer topper:

Barry M Sour Candy Swatch Gelly Hi-Shine

Raspberry Ripple // Pink Creme
Collection: Gelly Hi-Shine
Release Date: Spring 2020
Coats: 2

Barry M Raspberry Ripple Swatch Gelly Hi-Shine

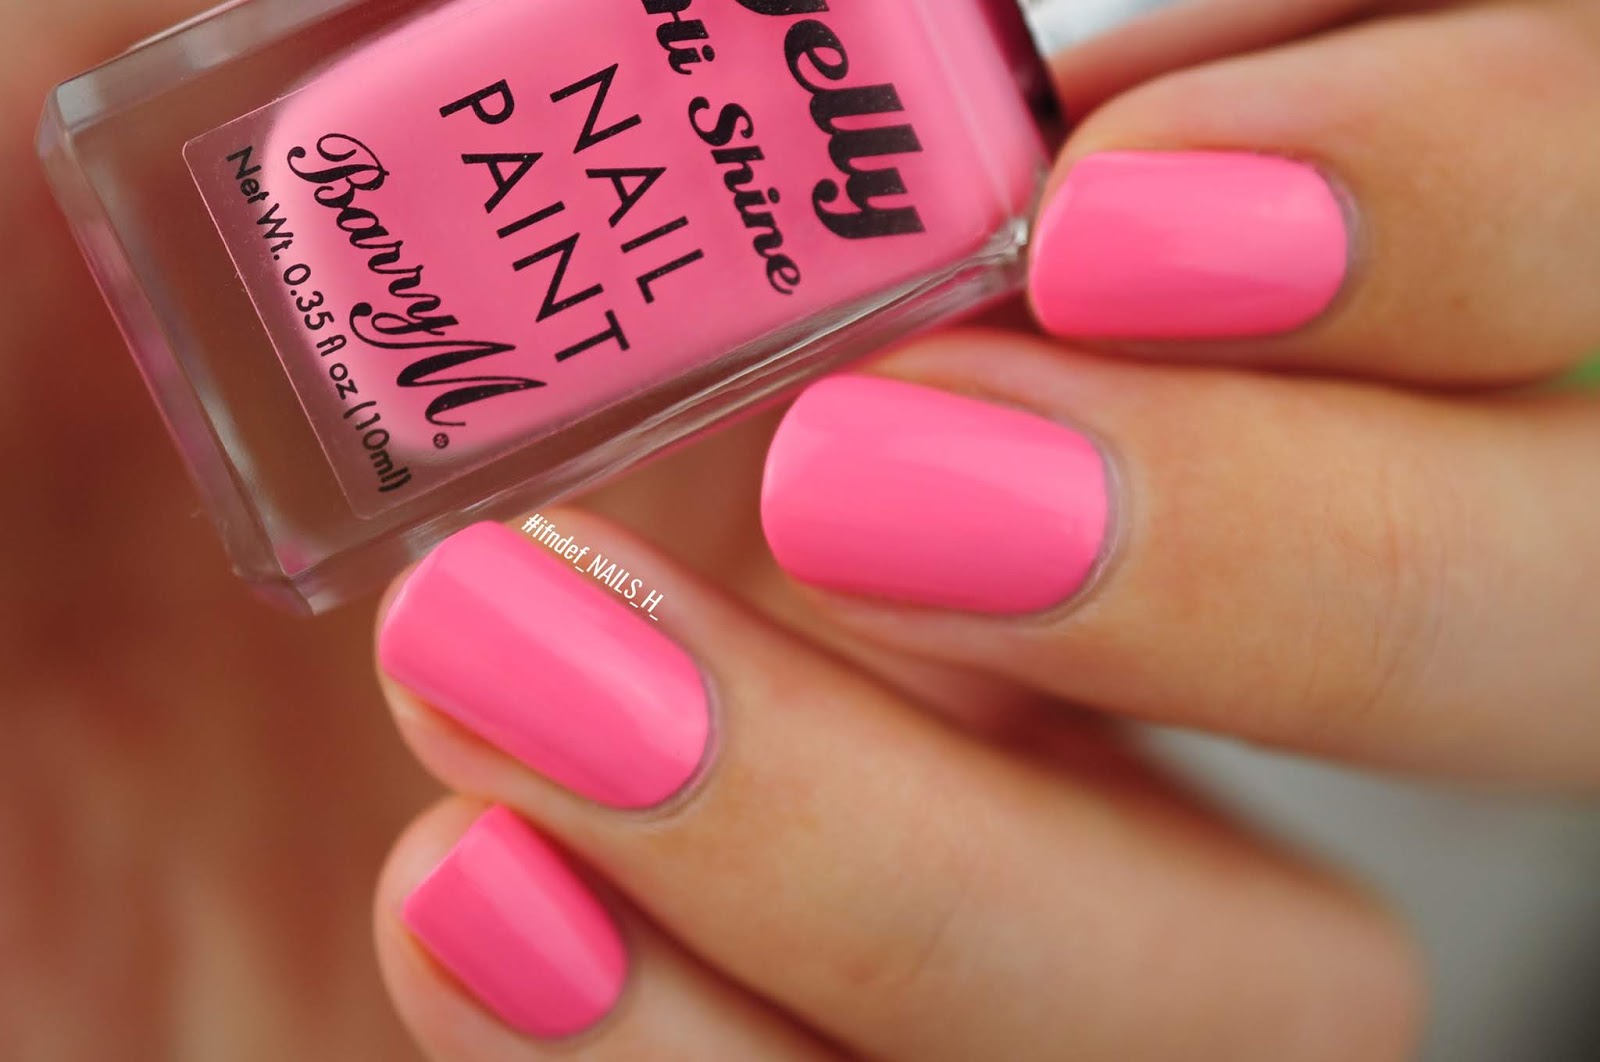
This is pinker than I was expecting. Not awful but not exactly what I was after. It's kind of similar to Dragon fruit but more on the coral side of pink. With a bit of tan this doesn't look that bad and reminds me of Pinking Out The Window by China Glaze (that I recently swatched here). 

Grape Soda // Lavender Creme
Collection: Gelly Hi-Shine
Release Date: Spring 2020
Coats: 2

Barry M Grape Soda Swatch Gelly Hi-Shine

It's odd that I have about a bajillion Lavender shades now but all of them are different. I can't even find one that is remotely similar to this. Which is a good thing...I get to buy more lavender shades 😂. I'd say this on the cooler side and I really love how this goes with my skintone. It gives me 90s sailor moon vibes. December Dawn from H&M is also the perfect topper for this shade:

Barry M Grape Soda Swatch Gelly Hi-Shine

Acai Smoothie // Dusty Magenta Jelly
Collection: Gelly Hi-Shine
Release Date: Spring 2016
Coats: 2

Barry M Acai Smoothie Swatch Gelly Hi-Shine

This one is an oldie but I love the shade. I've been meaning to buy it for a while now. I love these dusty mauve/pink shades as their perfect for doing cosy autumn nails. This one has a slighter thinner formula that the others and leaves no streaks so you could use one coat for a jelly effect instead.

// Verdict

I think the formula for the Gelly range is getting better with each season. For £3.99 I really can't fault the application and pigmentation. I also love how every shade in this range is self-levelling; it's really difficult to screw up using them. There are a few more shades I'm after but I'm trying to practice restraint...I will probably end up just getting them lol.
SHARE:

Wednesday 27 May 2020

Strawberry Neapolitan // White & Pink Striped Nails

Strawberry Neapolitan // White & Pink Nails

I'm sat here staring at these photos with nostalgia of earlier this month when I hadn't chipped my nails and they were looking gloriously square. It took me a good couple of months to grow them into a square shape that I liked and then when I finally got them there I chipped the index finger whilst picking up my box of acrylic paint. I brushed it off and though "no worries, it will grow" but then chipped my middle finger a day later! 😭 So now they're back to my usual short oval shape. It prevents them from chipping at the sides but I really liked this shape.

That said, I don't know if I can deal with the sides chipping all the time. Those pointy sides are just chip magnets!

Strawberry Neapolitan // White & Pink Nails

Anyway I did this super simple look in about 5 minutes and there was no tape involved, no stamping, no tools; I just painted the white straight on top of the pink. I swear Barry M sacrificed several hundred goats to something because that white is just one coat. It's unbelievably pigmented. The two shades together remind me of Neapolitan ice cream and now I need to find a brown shade and re-do this look.

Strawberry Neapolitan // White & Pink Nails

Polishes/Tools Used:-
- China Glaze // Pinking out the Window (pink)
- Barry M Gelly Hi-Shine // Cotton (white)
- Revlon Colorstay Gel Envy // Diamond Top Coat

SHARE:

Thursday 21 May 2020

SWATCHES: Cuccio // Pinky Swear, Mystery In Milan & Verona Lace

SWATCHES: Cuccio // Pinky Swear, Mystery In Milan & Verona Lace

SWATCHES: Cuccio // Pinky Swear, Mystery In Milan & Verona Lace

First off, let me apologise for the chip on my index finger in some of the photos. I then chipped another finger a day later and filed them all down to match. With that out of the way, lets talk about the polishes. I bought Pinky Swear a couple of weeks ago when I also purchased these China Glaze polishes. I bought the other white shades sometime last year and decided to swatch them all as there aren't that many swatches of Cuccio polishes online. Hopefully these are helpful to someone!

Pinky Swear // Light Pink Creme
Collection: Pastels
Release Date: Spring 2014
Coats: 3

Cuccio Pinky Swear Swatch

This pastel barbie pink is a streaky one and I'm convinced that no matter how many coats you do, it will always be slightly streaky. It photographs well but up close you can still see patches of your nail coming through and it' slightly annoying.


Mystery In Milan // Off-White Creme
Collection: Amore
Release Date: Summer 2013?
Coats: 3

Cuccio Mystery In Milan Swatch

Cuccio Mystery In Milan Swatch

This is quite a tricky shade to apply and the first coat is just all streaks. When researching to find when it was released, the only post I could find one this one by The-Mani-Fest posted in 2013. However, they show and describe this as being a "classic clean white" which this clearly isn't. I have a feeling this shade may have been re-released later as the off-white I have now. I do like this shade though as it makes me look more tan but it needs at least 3 coats to cover the streaks. Once it's built up it kind of reminds me of Ciaté Pretty in Putty which is ready in 1/2 coats but, that costs £12 full size and this is only £3.95.

Verona Lace // White Creme
Collection: I Left My Heart In San Francisco
Release Date: 2012
Coats: 3

Cuccio Verona Lace Swatch

Cuccio Verona Lace Swatch

I didn't realise this shade was so old! I also have the shade I Left My Heart In San Francisco which is a wonderful sheer pink. As a white shade this is not the easiest to apply and is quite streaky; it's not Barry M Cotton or Ciaté White Heat. It is a classic white though and you can see the differences this and Mystery In Milan more clearly here:

Cuccio Mystery In Milan and Verona Lace Comparison

I'd say this is easier to use than Flirt though that I swatched here back in July. Flirt is part of the Spring 2019 Coquette Collection and is pretty much identical. This one dries with brush strokes though which is a pet peeve. So far I have not come across a good classic white by Cuccio.
// Verdict

I think Mystery In Milan is my favourite out of the three but I like how Pinky Swear looks when you use it in nail art. Here's a quick look I did using all three shades (the leaves are Barry M Wild Mint). 


Exploring older shades is always fun but I'm really excited for their latest collection; Rainbow Sorbet which will be available for purchase at the beginning of June. It's an amazing collection of pastels; my favourite type of nail polish. I haven't bought a full Cuccio collection in a while so I think I'll be purchasing this one.
SHARE:

Tuesday 19 May 2020

Rose Quartz 2: The Rose-ening // Rose Quartz Nails

Rose Quartz 2: The Rose-ening // Rose Quartz Nails

I've been experimenting for a while now on how to create the perfect looking rose quartz nails that's simple and doesn't require gel or expensive products and well, here is another attempt. I think this is the best one yet but I think I can get it better. The lines need to be a little more blurred so next time I do it, I'm going to go over them with a little acetone to smudge them out.

Rose Quartz 2: The Rose-ening // Rose Quartz Nails

This is a pretty cheap look though, all the products used are under £4 each. The entire look would set you back around £25 but that's for 6 polishes, a stamping plate and a stamper so you can just keep doing the look over and over and over again.

Rose Quartz 2: The Rose-ening // Rose Quartz Nails

How I did it:-
Start off with 1 thin coat of H&M Aurora Mist for a shimmery lavendar/blue base. This is the key to getting that pink you see in the rose quartz. I've found that using an actual pink base makes the entire look too pink or dark. Lavender bases seem to work the best.

Added some veins using Barry M Cotton and stamps from Nicole Diary 76.

Then, I gently floated a layer of Essence Sweet As Candy over the first set of white veins. This is a sheer pink/white that offsets the lavender a little.

Added another layer of veins using the weaker off-white Mystery in Milan by Cuccio. This makes it look they are actually in the background without having to add many layers of polish.

Then I floated a thin layer of H&M Peach & Quiet. This is too peach for rose quartz but the lavender really calms it down.

The last step was to add a layer of H&M Beyond the Pale for extra shine and some added subtle blue sparkles in the sun!

Rose Quartz 2: The Rose-ening // Rose Quartz Nails

I will warn you that this will take some time to fully dry; about an hour to fully harden due to all the layers. You can add a quick dry top coat to speed it up a little but without gel all those layers will need time. I think next time I will sponge on a base of the lavender and a white polish so it's not all one colour and smudge the veins a little but I'm pretty happy with this one!

Rose Quartz 2: The Rose-ening // Rose Quartz Nails

SHARE:

Sunday 17 May 2020

Nearly But Not Quite // April 2020 Nail Fails

It's been a while since the last nail fail post; and boy April was not a good month for me nail art-wise. There really was an attempt. I have 5 looks from April to show that I just don't feel are that great; none of them deserve their own post so I've been collecting them for a nail fail post.

Let's begin.

Arabic Space

Nearly But Not Quite // April 2020 Nail Fails

Nearly But Not Quite // April 2020 Nail Fails

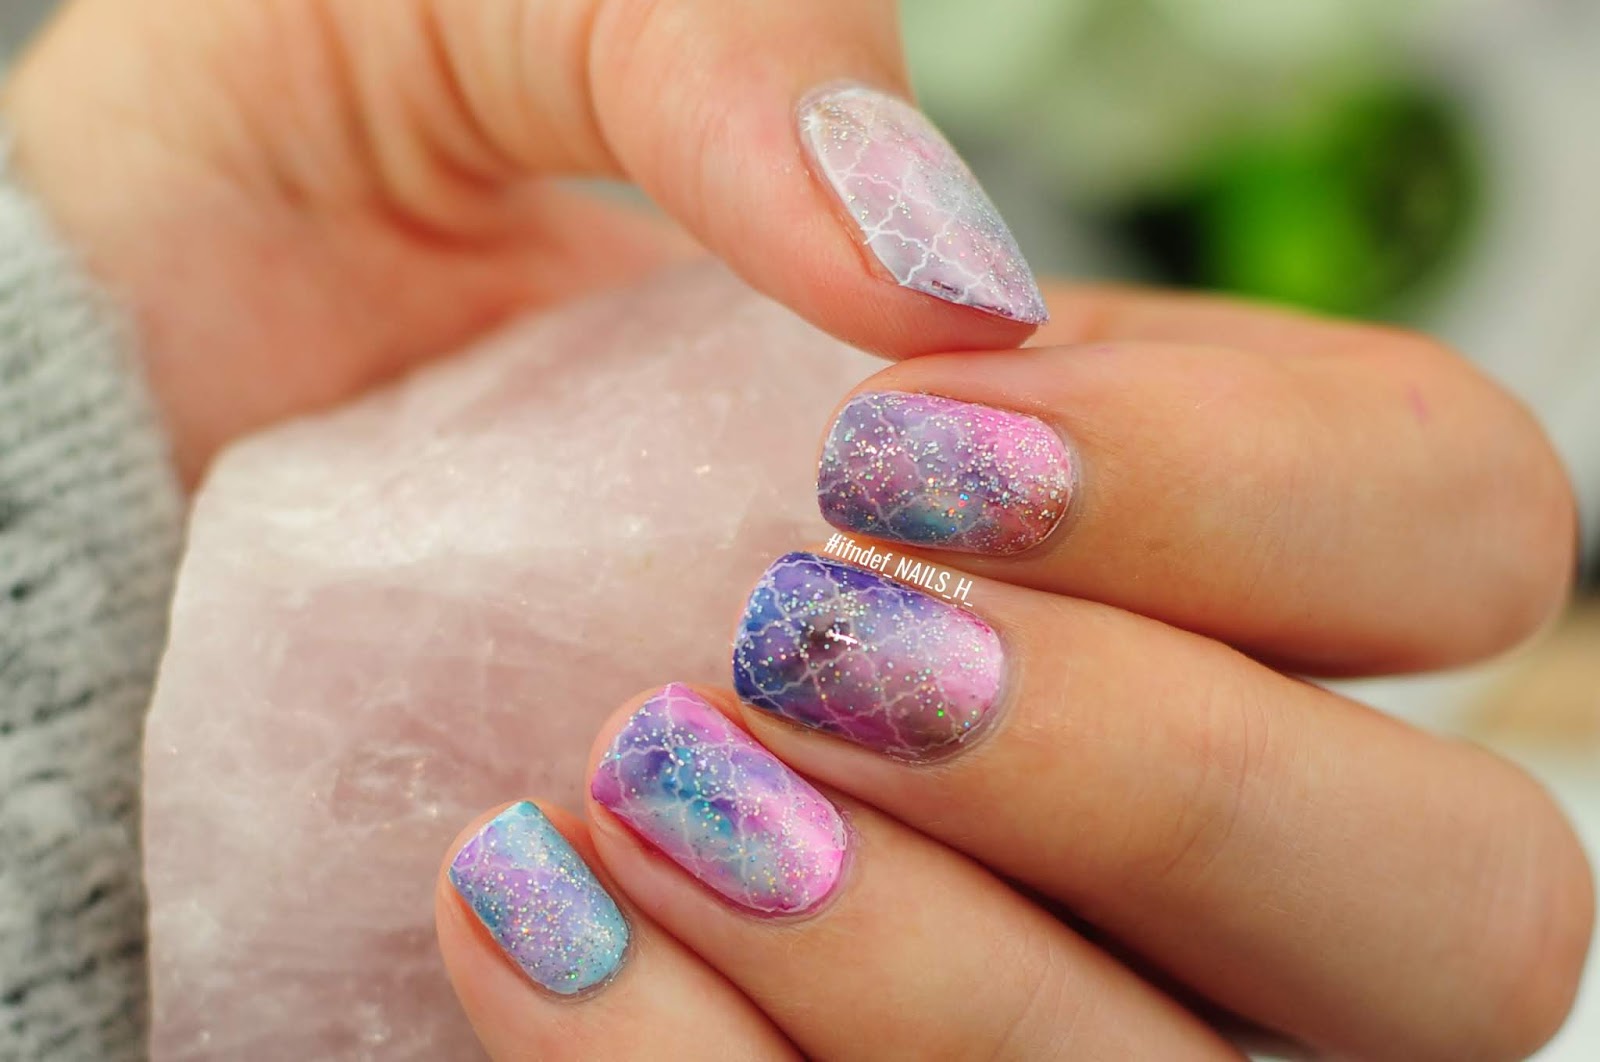
I don't know what to say. I was messing around with the watercolour polishes from Nicole Diary and this happened. I then added the stamping design on top followed by a matte top coat. I then got bored of that and added a holo top coat. This is what happens when you have no restraint.

Coming Up Tropical
Nearly But Not Quite // April 2020 Nail Fails

Nearly But Not Quite // April 2020 Nail Fails

This was inspired by a bottle of shimmering body spray I saw whilst browsing the eternal Hollister sale page. I'm planning to re-do this because it did not turn out how I wanted. Sometimes I just rush looks to get them done when I should practice them first beforehand. I like the negative space but I just don't feel like the colours compliment each other.

Geometric Pastel

Nearly But Not Quite // April 2020 Nail Fails

Nearly But Not Quite // April 2020 Nail Fails

This started out well (apart from my awful nail folds looking crusty as hell). I smooshed all the pastel shades on top for this nice water colour looking design and then I ruined it by poorly stamping whatever I wanted on top. I really hate it when the stamps clearly look like they've just been placed on top instead of blending in a little.

Peru Flowers

Nearly But Not Quite // April 2020 Nail Fails

I originally painted each nail a colour from the OPI Peru set that I had...then got bored and stamped random shit on top. It's a problem; I just can't leave a bare mani alone. I think this would've looked good if the background wasn't so busy.

Strawberry Mandalas

Nearly But Not Quite // April 2020 Nail Fails

I don't think there's really anything awful about this look but I just don't feel it deserves it's own post. To pink is just too pink for my liking. Also, whenever I place mandalas at the tip of my nail it just looks like doilies. It looks great on others though.
SHARE:

Monday 11 May 2020

Electric Sorbet // Blue & Pink Gradient with Holo

Electric Sorbet // Blue & Pink Gradient with Holo

I have 1156 pins on my nail board on Pinterest and so today I thought that I would finally start doing some designs from it. I started off with this great design by @gottahavepolish. The colour scheme is very Pantone 2016 (the best year if you ask me)


Unfortunately the blue didn't turn out as opaque as I wanted. You can never tell with the Gelly shades; some are super pigmented, others are super sheer. I also have the white pattern on a Tropical plate however, when I moved back home for Quarantine I left most of my nail art supplies back at the house share so I'm having to make do with only 30 stamping plates...oh the horror 😂. 

I also like how on Pinterest you can add photos showing that you've tried the pin. For me it's like getting an achievement on Xbox; I can imagine it getting a addictive.

Electric Sorbet // Blue & Pink Gradient with Holo

Electric Sorbet // Blue & Pink Gradient with Holo

How I did it:-
I started off with a single layer of Wild White Ways to help the gradient pop. I then applied liquid latex to each finger and sponged the glitter holo onto my middle finger. I cut off the top off the sponge and then created the gradient on every other finger with Tropical Pink and Berry Sorbet. The stamp is the top right-hand design on Back To The 80s 04, stamped on with Glow Up. I then topped it all off with the Diamond top coat.


Polishes/Tools used:-
- Essence Shine Last & Go // Wild White Ways (white)
- Barry M Gelly Hi-Shine // Tropical Pink (pink), Berry Sorbet (blue)
- H&M // Standing Ovation (holo glitter)
- Twinkled T // Glow Up (white)
- MoYou London Stamping Plate // Time Traveller Back To The 80s 04
- Revlon Colorstay Gel Envy // Diamond Top Coat
SHARE:
Blog Design Created by pipdig