A Nail Art/Nail polish blog by a really nerdy software Engineer

Sunday, 16 December 2018

Crimson Christmas // Christmas Party Nail Design

Crimson Christmas // Christmas Party Nail Design - Ciaté Dangerous Affair & Antique Brooch

I'm back with a new Christmas design...finally! Just one more assignment to go and then I can get on putting up some posts which got put aside. This look was completely accidental and came about whilst I swatching shades from the Ciaté advent calendar. Days 8-14 will be up in the next few days! 

Anyway, in the calendar Dangerous Affair is a day before Antique Brooch but I couldn't help but think "damn they look good together" whilst they were sat on my desk. Before I took off Dangerous Affair I decided to add a coat of Antique Brooch to my middle finger and thus this look was suddenly born in my mind. I knew instantly I had to do this mani.

Crimson Christmas // Christmas Party Nail Design - Ciaté Dangerous Affair & Antique Brooch

It turned out better than I could of hoped for. The pattern is the new MoYou Crystal 03 plate and this design is just perfect for Christmas parties, New Year or a fancy event. I can't stop staring at my nails; send help.

I'm wearing two coats of Dangerous Affair, followed by two coats of Antique Brooch and used a gold Born Pretty Stamping polish for the detail.

Crimson Christmas // Christmas Party Nail Design - Ciaté Dangerous Affair & Antique Brooch

Polishes/Tools Used:
- Ciaté // Dangerous Affair (deep crimson creme)
- Ciaté  // Antique Brooch (pink and gold glitter in sheer gold shimmer base)
- Born Pretty Stamping Polish // #1 (gold)
- MoYou London Stamping Plate // Crystal 03

SHARE:

Wednesday, 24 October 2018

Antique Arabesque // Gold & Burgundy Moroccan Style Print

Antique Arabesque // Gold & Burgundy Moroccan Style Print // Barry M Antique Gold

Antique Arabesque // Gold & Burgundy Moroccan Style Print // Barry M Antique Gold

As we're now firmly heading into winter (sigh), I'm trying my best to put the pastels down and pick up some more winter appropriate shades; but it's hard. I just love pastel too much. However, I recently picked up one of the new Barry M Molten Metal shades (I love that range so much) and I just had to pair it with some gold baroque prints for a mani to rival your Nan's fanciest curtains.

Antique Arabesque // Gold & Burgundy Moroccan Style Print // Barry M Antique Gold

Antique Arabesque // Gold & Burgundy Moroccan Style Print // Barry M Antique Gold

Antique Arabesque // Gold & Burgundy Moroccan Style Print // Barry M Antique Gold

I then stuck a matte top coat on top because why not and the end result is one of my favourite mani's ever. Who knew a matte top coat could transform a design into something else completely? It's not completely shine-less, it's more of a silk effect but it's making me stick a matte top coat on everything now. 

I desperately need to pick up the XL version of the arabesque plate though as you can see these one didn't quite fit my nail. I did a bit of stamping trickery on my thumb to get an all over print but some of the designs can't be split.

Antique Arabesque // Gold & Burgundy Moroccan Style Print // Barry M Antique Gold

Polishes/Tools Used:
- Barry M Molten Metal // Antique Gold (burgundy with gold flecks)
- Barry M // Matte Top Coat
- Born Pretty Stamping Polish // #1 (gold)
- MoYou London // Arabesque 05 Plate
SHARE:

Sunday, 21 October 2018

No Prob-Llama // MoYou London Explorer 33 Plate

No Prob-Llama // MoYou London Explorer 33 Plate - Pink Llama Nail Design

Thank Jesus for nail stamping plates because without them I never would've been able to do this. I'm a terrible artist and cannot draw for shit. But, I can colour in the lines....mostly. 

This design is from MoYou London's new Explorer 33 plate which features some adorable Llamas, cacti, geometric shapes and marble patterns. That's right, I can finally be the basic bitch I am on the inside. This plate is perhaps one of my favourites that I've bought so far and has a plethora of uses.

No Prob-Llama // MoYou London Explorer 33 Plate - Pink Llama Nail Design

No Prob-Llama // MoYou London Explorer 33 Plate - Pink Llama Nail Design

But the design itself is based of this amazing mug I just bought from New Look, unfortunately they're no longer stocking it on their website but it's in-stores so get down to one before it disappears. I originally wanted to do the same design on the mug but I only had an hour and the new MoYou silicone mat I bought is bloody awful and I couldn't stamp multiple llamas onto it to create a decal and then colour them all in at once so I had to do it on the stamper; one at a time.

No Prob-Llama // MoYou London Explorer 33 Plate - Pink Llama Nail Design

No Prob-Llama // MoYou London Explorer 33 Plate - Llama Nail Design

I then added a nice thick coat of delicious matte top coat. I just picked up the Barry M Matte Top coat and it's so good that I just don't know if I can go back to glossy nails now...everything needs to be matte. 

I'm super happy with how this turned out and I'm a little sad it will only last a day because of my peel off base coat; but at least I get to keep it in my peelie tin!

No Prob-Llama // MoYou London Explorer 33 Plate

Polishes/Tools Used:
- Essie // Blanc (white)
- Avon Mark Gel Shine // I Pink I Can (light candy pink)
- Born Pretty Stamping Polish // #3 (black)
- Born Pretty Stamping Polish // #4 (white)
- Born Pretty Stamping Polish // #1 (gold)
- MoYou London Nail Lacquer  // August Plum (grape purple)
- MoYou London Nail Lacquer  // Dream Holiday (bright sea blue)
- MoYou London Nail Lacquer  // Night Sail (dark grey) (not pictured, used in the marble design)
- Barry M // Matte Top Coat
- MoYou London // Explorer 33 Plate
SHARE:

Sunday, 14 October 2018

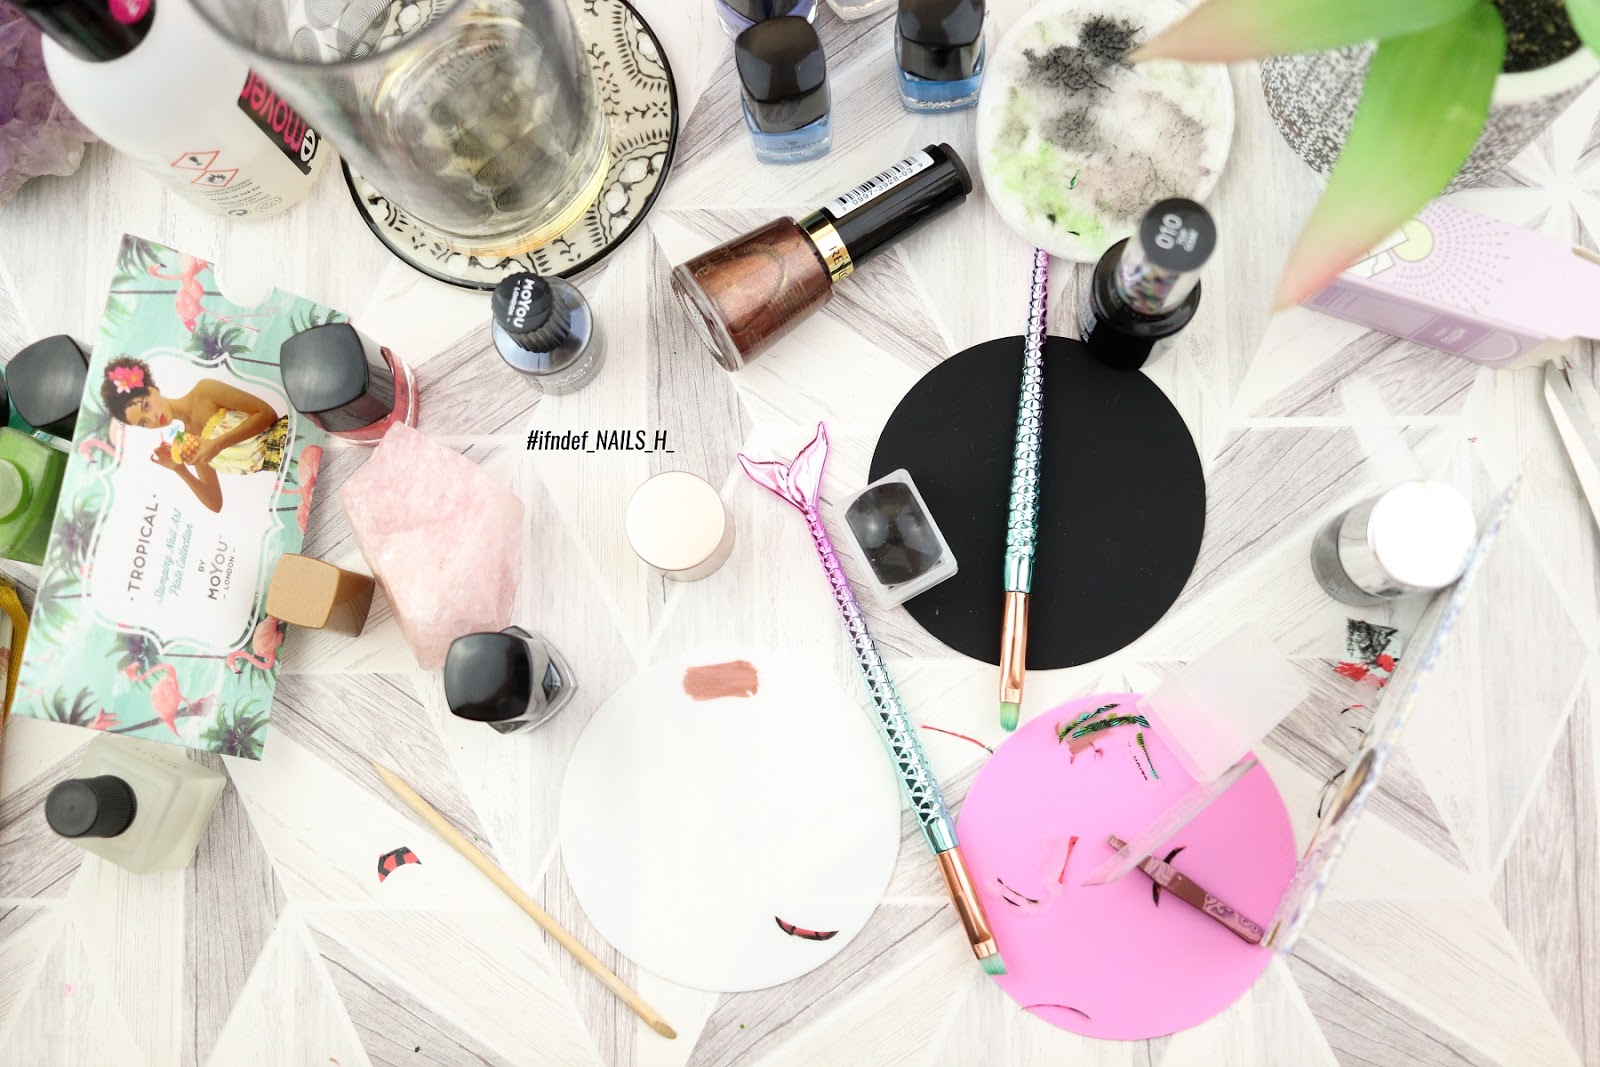
TOOLS: Born Pretty Round Silicone Mixing Mats Review

TOOLS: Born Pretty Round Silicone Mixing Mats Review - Fruit Nails

My first tools review post! On September 15th I did my very first Born Pretty haul...from their actual store lol. I started buying BP stuff off wish several months ago but got sick of being sent the wrong stuff or paying ridiculous amounts for P&P so I switched to eBay which has been 100% more reliable. The shipping is around 2-3 weeks and most of the time it's free. Score. However, I decided to go onto to the actual BP website and place an order. I ended up parting with £17 but got 21 items with that so I consider it to be great value for money.

I spent an extra £2 on tracking and it all arrived in exactly 2 weeks:


(I know it's says 25th dispatched but that's when Singapore Airmail received it). One thing I found amusing was the dispatch email from Born Pretty themselves though:


"Your order has been shipped already." I can just imagine an extra "jeez man, get off my case" added on there lol. But anyway, onto these silicone mats!

I've been wanting a silicone mat since I watched the cutepolish video on the Bliss Kiss mat and it's only £10 but it doesn't ship to the UK. Amazon US will but I just can't be bothered getting slapped with import tax (if HMRC decide to be dicks that particular day). So these are £1.50 each but I decided to buy all three colours for £3.09; bargain. 

They are quite small, being 9.3cm in diameter. They have a shiny side and a matte side; I tend to use the matte side as the shiny side is great for sticking to surfaces. You can be assured that these won't move when your doing detailed work.

TOOLS: Born Pretty Round Silicone Mixing Mats Review - Fruit Nails

I've found them useful for seeing how polishes look under different base colours and some polishes once they're dry will peel right off without having to apply any top coat first.

I decided to go with a design that would need some reverse stamping so I could do some custom decals. Now I've never done this before so this was a learning curve for me. From watching other videos I knew to apply a top coat first; let it dry and then start doing the design. Then once everything was dry I applied another layer of top coat and then peeled once it had dried. 

TOOLS: Born Pretty Round Silicone Mixing Mats Review - Fruit Nails

This worked perfectly first time (although my stamping and painting skills leave something to be desired...) and I was surprised to find that the shiny side of the decal would stick to the nail instantly without applying any top coat. I tried to cut it down a little but I still had trouble shaping it to my nail and the nail bed side is wonky and uneven. By the little finger though I had almost got the technique down. Instead of using acetone to melt the decal a little first, I used a cuticle stick to 'push' off the excess sticker. If you gently keep pressing down it eventually creates a clean separation. You can then use some acetone to just generally cleanup.

TOOLS: Born Pretty Round Silicone Mixing Mats Review - Fruit Nails

TOOLS: Born Pretty Round Silicone Mixing Mats Review - Fruit Nails

TOOLS: Born Pretty Round Silicone Mixing Mats Review - Fruit Nails

I still consider that particular manicure a nail fail though as it's not great but I really enjoyed reverse stamping and using the silicone mats. They really allow you to work at a much slower pace and clean up on them is so easy. You can either peel everything off, use a lint roller, use sellotape or a cotton pad and acetone. I'd still like to eventually have a larger mat, especially one with with nail outlines but right now these are great for mixing polishes or creating some cool nail decals and at basically a pound each, you can't really complain.

TOOLS: Born Pretty Round Silicone Mixing Mats Review

Polishes/Tools Used:
- Revlon // Colorstay Diamond Top Coat
- Avon Arabian Glow // Electric Green (neon green, sadly discontinued)
- Born Pretty Stamping Polish // #12 (primary green)
- Born Pretty Stamping Polish // #1787 (soft red)
- Born Pretty Stamping Polish // #333 (light blue with green undertone)
- Nails Inc  // 493 Black Taxi (black)
- New Look // Matte Top Coat
- MoYou London // Tropical 10 Plate


9.3cm - £1.50 each
Black || Pink || White
SHARE:

Thursday, 11 October 2018

THROWBACK THURSDAY: Pastel Feathers // Look Fantastic September 2018 Box Nails

THROWBACK THURSDAY: Pastel Feathers // Look Fantastic September Box Nails

THROWBACK THURSDAY: Pastel Feathers // Look Fantastic September Box Nails

THROWBACK THURSDAY: Pastel Feathers // Look Fantastic September Box Nails

Alright, time for a throwback...from last month...LOL. So anyway, I've mentioned before I used to have a beauty blog but since I got into nails (and I entered the last year of my degree) I took it down as I was spending to much time on it and not spending enough time on my degree; so offline it went. I still have all the photos though and I really love some of the nail looks I did for boxes so I'm bringing them back in Throwback Thursdays. 

I adored last months LF box though and this months boring green thing pales in comparison. I think my version turned out a but to bright but I still love the result.

THROWBACK THURSDAY: Pastel Feathers // Look Fantastic September Box Nails

THROWBACK THURSDAY: Pastel Feathers // Look Fantastic September Box Nails

I started out with a white base coat and then brushed on each colour by mixing them with a bit of acetone. At some points it was almost like dry brushing as my brush ran out of colour however it kind of looks like pastel marble....perhaps I should try this technique with grey. I love me some basic marble.

I also love the white feathers. I originally wanted to do a birthday cake but I didn't have a cake stamps (yet) so I chose these feathers and now I want to use them in every pastel manicure I do.

THROWBACK THURSDAY: Pastel Feathers // Look Fantastic September Box Nails

Polishes/Tools Used:
- Avon Nailwear Pro // Orange Creamsicle
- Avon True Colour Nailwear Pro+ // Lemon Sugar
- NYColour In A New York Minute // Lincoln Square Lavender
- NYColour In A New York Minute // Raindrop
- Barry M Gelly Hi-Shine // Blueberry
- Barry M Speedy Quick Dry // Pole Position
- Ciate Paint Pots // Iced Frappe
- Essie // Blanc

Not Pictured:
- Revlon // Quick Dry Top Coat
- Born Pretty // Stamping Polish #4
- Born Pretty // Stamping Plate BP-75
SHARE:

Monday, 8 October 2018

Days Like These... // Birchbox October 2018 Beauty Box Nails

Days Like These... // Birchbox October 2018 Beauty Box Nails // Flower Autumn Nails

Days Like These... // Birchbox October 2018 Beauty Box Nails // Flower Autumn Nails

Time for another Beauty Box nail design! Birchbox is quite possibly one of my favourite beauty boxes on the market (I'm subbed to 4 currently...) due to it's beautiful design each month and interesting products. I've been subbed for a year now and never had a repeat product in my boxes and it's the subscription that I've bought the most full sizes from after trialling.

This months design embraced autumn with a beautiful light blue/grey lined box decorated with orange, red and blue leaves. Ever since I saw the design I couldn't wait to try and recreate it however, I came up short with the leaves. I have about a bazillion flower decals but only a few were the orange shade. I currently have a set of autumnal decals in my cart on eBay but I've spent my beauty budget for this month so they'll have to wait for next month. 

Instead I had to make do with some oranges and tropical/esque leaves.

Days Like These... // Birchbox October 2018 Beauty Box Nails // Flower Autumn Nails

Days Like These... // Birchbox October 2018 Beauty Box Nails // Flower Autumn Nails

Compared to the box, it doesn't look like too much of a change and the lines turned out perfectly. Rain Washed was such a good match and because it wasn't a stamping polish it's softer and more pastel; just like the box design.

Days Like These... // Birchbox October 2018 Beauty Box Nails // Flower Autumn Nails

Days Like These... // Birchbox October 2018 Beauty Box Nails // Flower Autumn Nails

Those decals were an absolute bugger though and so fiddly. This look took me way longer than I expected due to the decals sticking to each other or just refusing to stick to anything. Sometimes they would break up as I was trying to slide them off, however they did cost around 75p per sheet so it wasn't exactly breaking the bank.

This is definitely one of those looks though where I wish I could've been bothered to do it on the other hand.

Days Like These... // Birchbox October 2018 Beauty Box Nails // Flower Autumn Nails

Polishes/Tools Used:
- Essie // Blanc (white)
- Revlon // Quick Dry Top Coat
- Avon Mark. Gel Shine // Rain Washed (light blue pastel)
- Barry M Molten Metal // Bronze Bae (metallic gold)
- Revlon // Colorstay Diamond Top Coat
SHARE:

Sunday, 7 October 2018

Hidden Gems // Look Fantastic October 2018 Beauty Box Nails

Hidden Gems // Look Fantastic October 2018 Beauty Box Nails

Hidden Gems // Look Fantastic October 2018 Beauty Box Nails

So I started doing nail designs based off beauty boxes in my last blog (which I've now deleted because I just got sick of reviewing skincare/makeup, I just want to do nails lol) and I'm continuing that trend in this blog because some beauty boxes (like Birchbox) just scream NAILS. Look Fantastic used to, however in January they stopped doing different designs every month in favour of these boring block colour looks. 

I hate them. This nail look isn't one of my favourites however, this box did highlight just how few greens I have so that did stump my creativity a little. I ended up having to use a stamping polish as the base and whereas they're super opaque (that's just one coat) they have a habit of staining the cuticle and just being quite messy when used as a base coat.

Hidden Gems // Look Fantastic October 2018 Beauty Box Nails

Hidden Gems // Look Fantastic October 2018 Beauty Box Nails

That Nails Inc polish I ended up sponging on as it it tends to look a little streaky when applied normally. I applied it on top of the green base but I'm thinking I should've done black now to give it a little more contrast.

Hidden Gems // Look Fantastic October 2018 Beauty Box Nails

So, not my favourite (perhaps I'll post last months LF box nails in a throwback thursday or something, that was much better) but hey ho, what can you do? On another note, I'm enjoying the box contents (for once). The blusher is a beautiful mauve shade and it's nice to see Dr. Lipp release a new product for the first time in ever.

Hidden Gems // Look Fantastic October 2018 Beauty Box Nails

Polishes/Tools Used:
- Born Pretty // Stamping Polish #12 (Primary Green)
- Revlon // Quick Dry Top Coat
- Nails Inc Easy Chromes // It's all Elementary (metallic moss green)
- Born Pretty // Stamping Polish #1 (Gold)
- Revlon // Colorstay Diamond Top Coat
SHARE:

Thursday, 4 October 2018

Things To Do // Green Leaf Print

Things To Do // Green Leaf Print using Born Pretty, Avon, Harunouta & MoYou London

Things To Do // Green Leaf Print using Born Pretty, Avon, Harunouta & MoYou London

The last few posts were a bit pink heavy (but pink is a great colour) so I decided to finally dive into a recreation of this sticky pad note book I've had on my desk for the last few weeks. I got it from The Works for £1.99 and I knew the second I saw it that I wanted to do a nail look based on it. Unfortunately though, I don't have that many green stamping polishes but I think I did quite well considering!

Things To Do // Green Leaf Print using Born Pretty, Avon, Harunouta & MoYou London

Things To Do // Green Leaf Print using Born Pretty, Avon, Harunouta & MoYou London

This was actually quite simple to do and if I had the time, I would've done my other hand (I know right? Nail Art? On the other hand???) It's basically, a white base coat and then multiple layers of leafs in different colours. I had to use a few different stamping plates to get similar leaf patterns but the result is that my nails almost blend into the design.

Things To Do // Green Leaf Print using Born Pretty, Avon, Harunouta & MoYou London

To spice things up, I used one of my colour shifting stamping polishes. That darker olive green looking print at the bottom is a deep blue which shifts into a beautiful olive/gold shade, It's part of the Born Pretty Universe Series. I have three of them so far but they're £3/4 a pop and I can't find them cheaper on eBay so they'll have to wait for the moment. Not that that's expensive compared to MoYou but still, I'm used to buying Born Pretty polishes in sets of 6/7 for £6.

Things To Do // Green Leaf Print using Born Pretty, Avon, Harunouta & MoYou London

Also, to even out the green shades I used an Avon polish which I think I got in 2011/2012. It had completely separated but a good shake and it stamped quite well; I was most surprised.

Polishes/Tools Used:
- Essie // Blanc (white)
- Born Pretty // Leo BPU01 (blue with olive/gold shift)
- Born Pretty // Stamping Polish #12 (Primary Green)
- Born Pretty // Stamping Polish #18 (Teal)
- Born Pretty // Stamping Polish #379 (Light Yellow/Green)
- Avon Arabian Glow // Electric Green (Mottled Green) (discontinued now)
- Revlon // Colorstay Diamond Top Coat
- Harunouta // Stamping Plate 17
- MoYou London // Tropical Stamping Plates 25 & 36
SHARE:

Tuesday, 25 September 2018

Hippy Sailor // Mandala Dreamcatchers & Nautical Stuff

Hippy Sailor // Mandala Dreamcatchers & Nautical Stuff

This design came about because I couldn't decide if I wanted to go nautical or bohemian....So I did both. Thanks to the Rose Quartz & Serenity pairing (I swear that wasn't intentional) this doesn't look to bad. It's not the best stamping skills in the world but I'm getting better every time I do it.

For the Mandala/Dreamcatcher nails I started out with one layer of Sweet Memories then followed that up with 4 sponged layers of Alanala & Breanna ombre'd together. I then stamped the design on top and hey presto!

I love the colour of those two W7 polishes however on their own they're not great, sponging solved that problem. They almost had a chrome effect by the 4th layer and the subtle colour shift looked beautiful when the light hit it in the right way:

Hippy Sailor // Mandala Dreamcatchers & Nautical Stuff

I didn't get the best photos of this design but I'm definitely going to be doing it again, perhaps using a stamp that doesn't cover up the nail so much. 

The nautical design isn't the best and the lines are a little wonky but it's still cute and I think I'll try to improve it. Especially since I now have a stamping plate with ye olde map lines on it.

Hippy Sailor // Mandala Dreamcatchers & Nautical Stuff

- Born Pretty // Stamping Plate BP L051 mandala dream catcher

Here are the polishes I used:
- OPI // Sweet Memories (light pastel pink)
- W7 // Alanala (blue to lilac/pink colour shift)
- W7 // Breanna (pink to blue colour shift)
- Born Pretty // Stamping Polish #4 (white)
- Essie // Blanc (white)
- Born Pretty // Stamping Polish #284 (blue)
- Born Pretty // Stamping Polish #3 (black)
- Revlon // Colorstay Gel Envy Diamond Top Coat
- Born Pretty // Liquid Latex
- Born Pretty // Stamping Plate BP L051 & BP 33
SHARE:
Blog Design Created by pipdig