A Nail Art/Nail polish blog by a really nerdy software Engineer

Wednesday, 27 September 2023

Tropical Terracotta // Tropical Leaves with Nude Background

Tropical Terracotta // Tropical Leaves with Nude Background

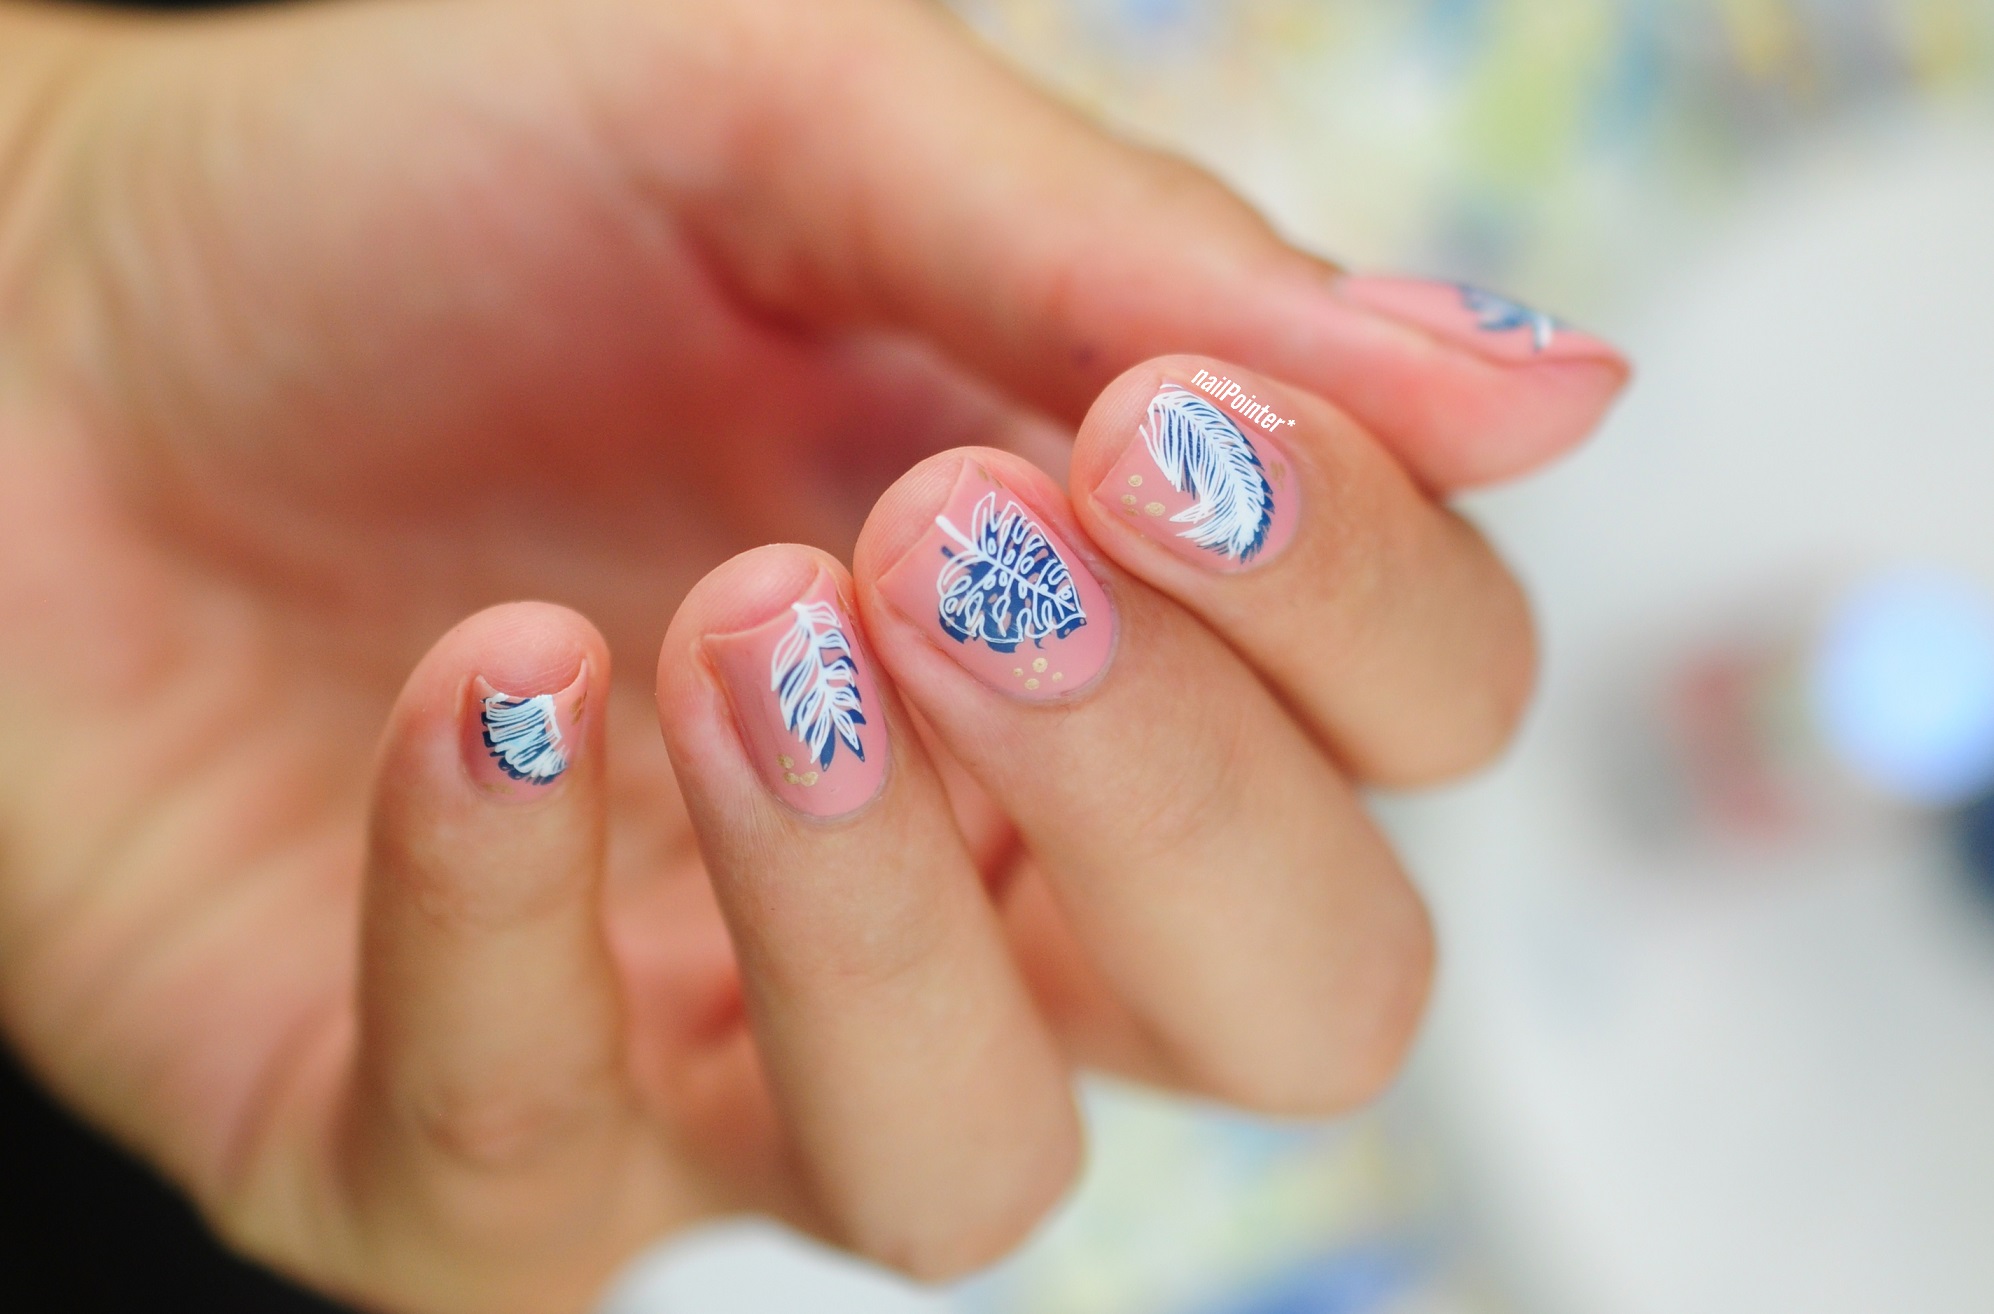
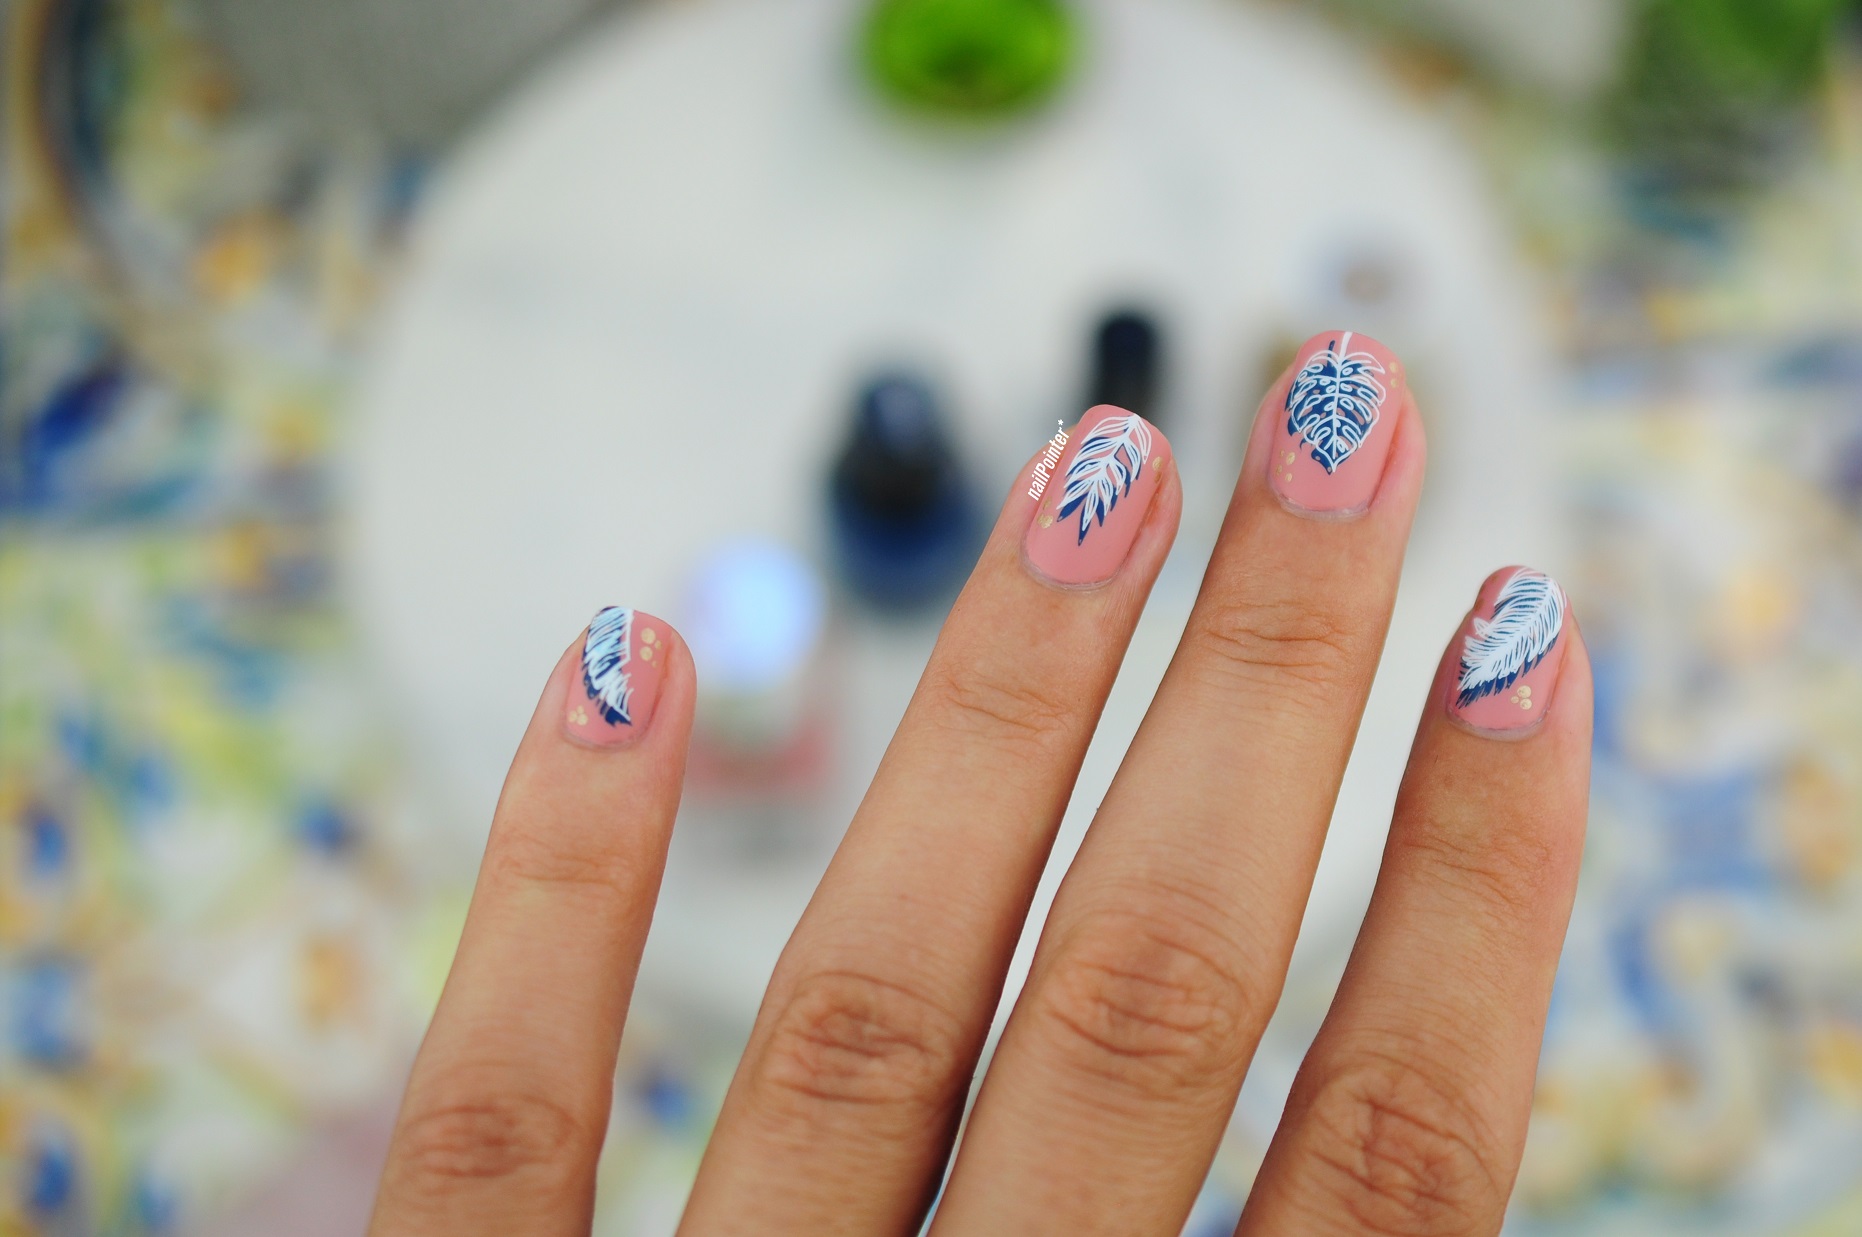
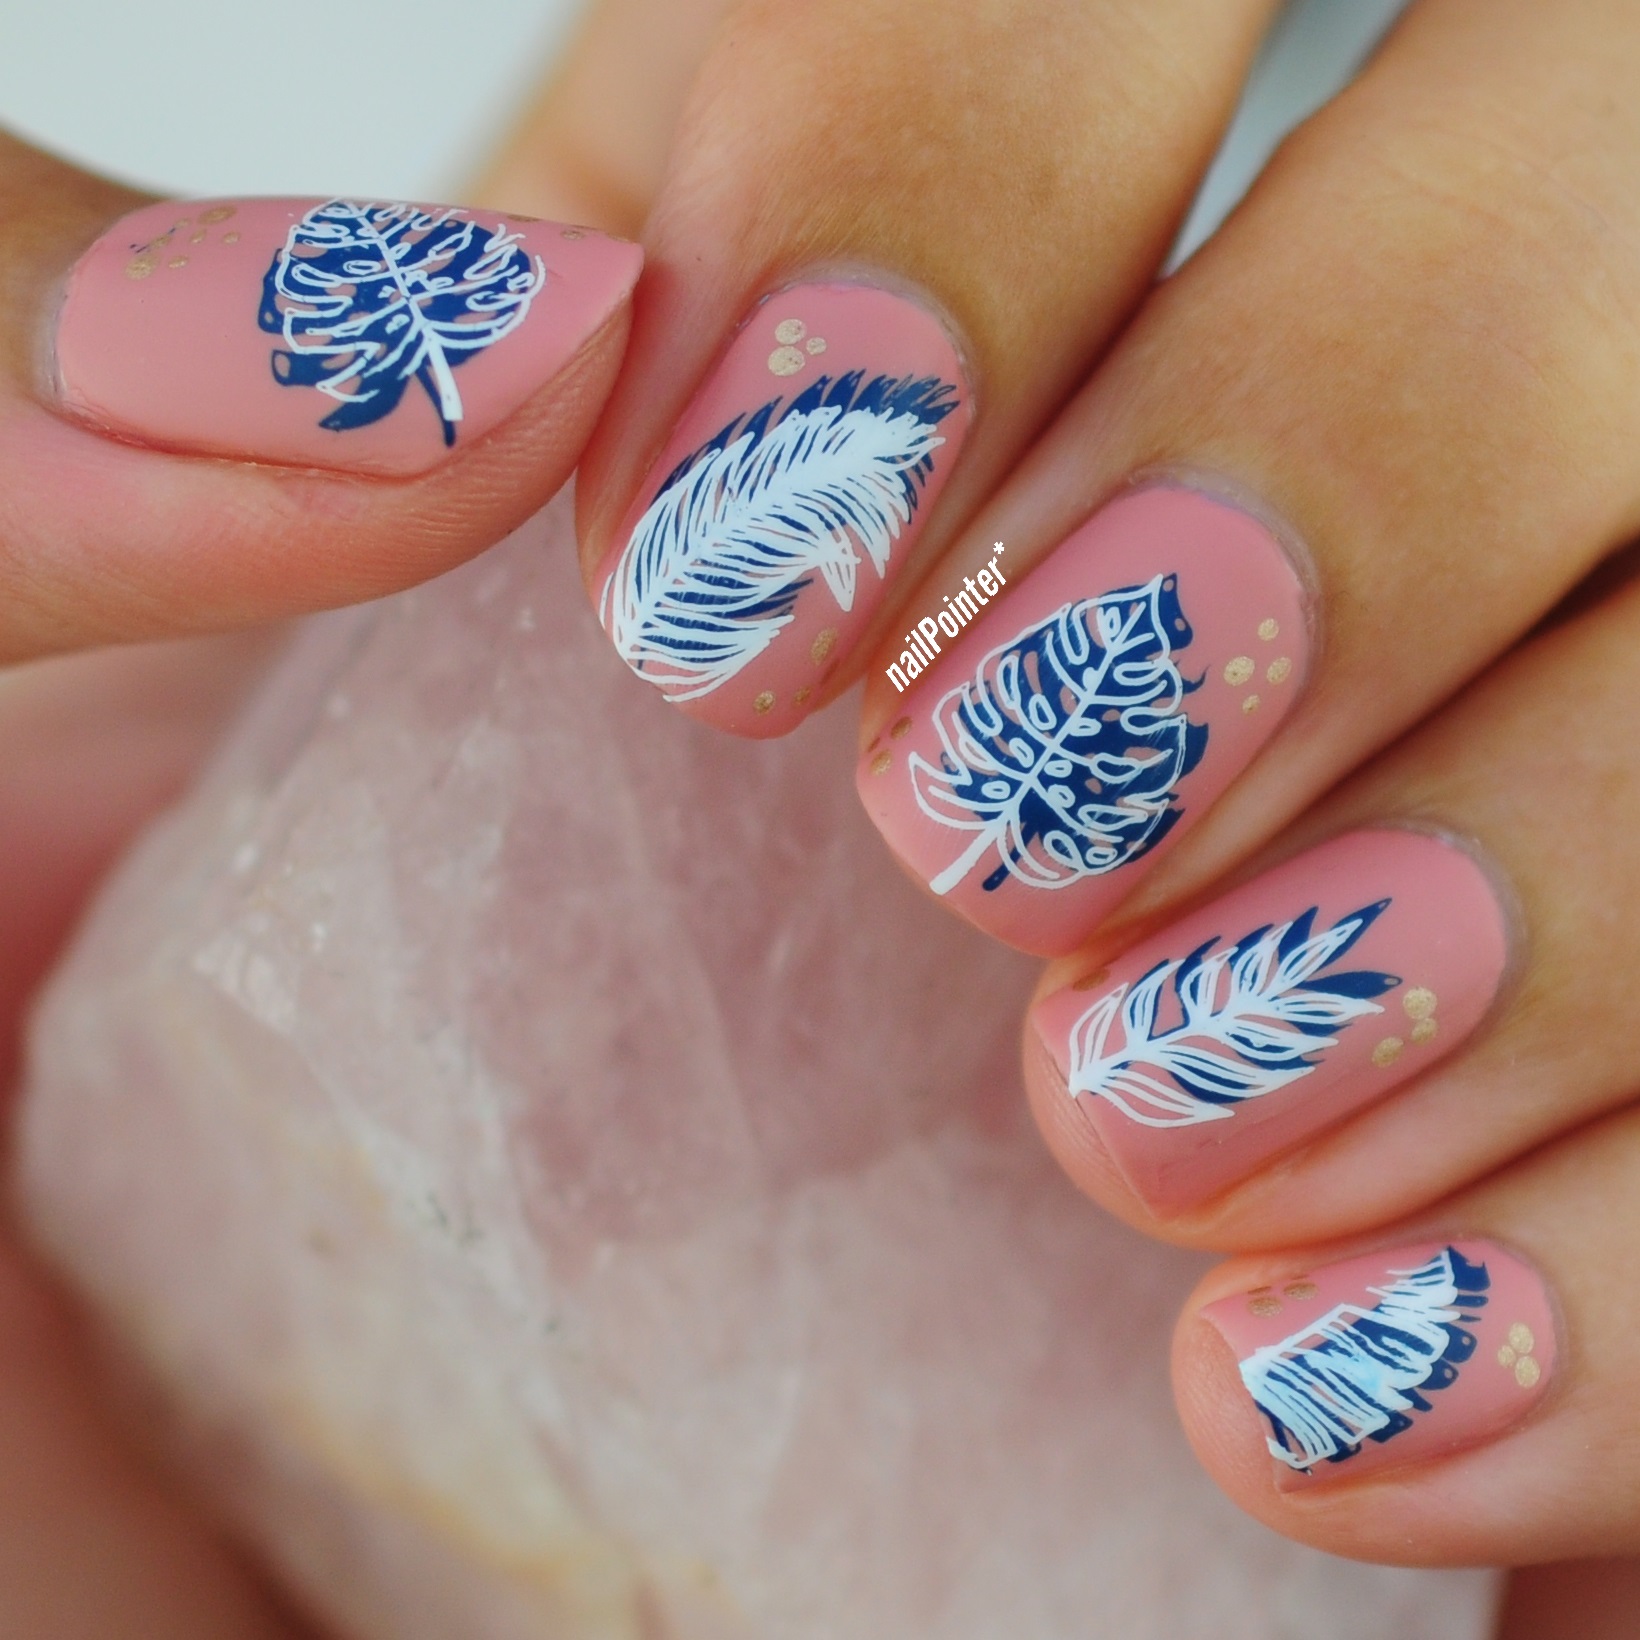
This look was inspired by a painted plant pot I saw on pinterest! I was swatching some new Barry M shades I got and I thought Honeysuckle would make the perfect background for the dark blue and white and I was right! It's just neutral and soft enough to provide the perfect contrast.

Tropical Terracotta // Tropical Leaves with Nude Background


I started off with Honeysuckle as the base then stamped on the designs from one my favourite paradise plates. Followed by some gold dots and topped off with a matte top coat.

Tropical Terracotta // Tropical Leaves with Nude Background

Tropical Terracotta // Tropical Leaves with Nude Background

Polishes/Tools Used:
Base:
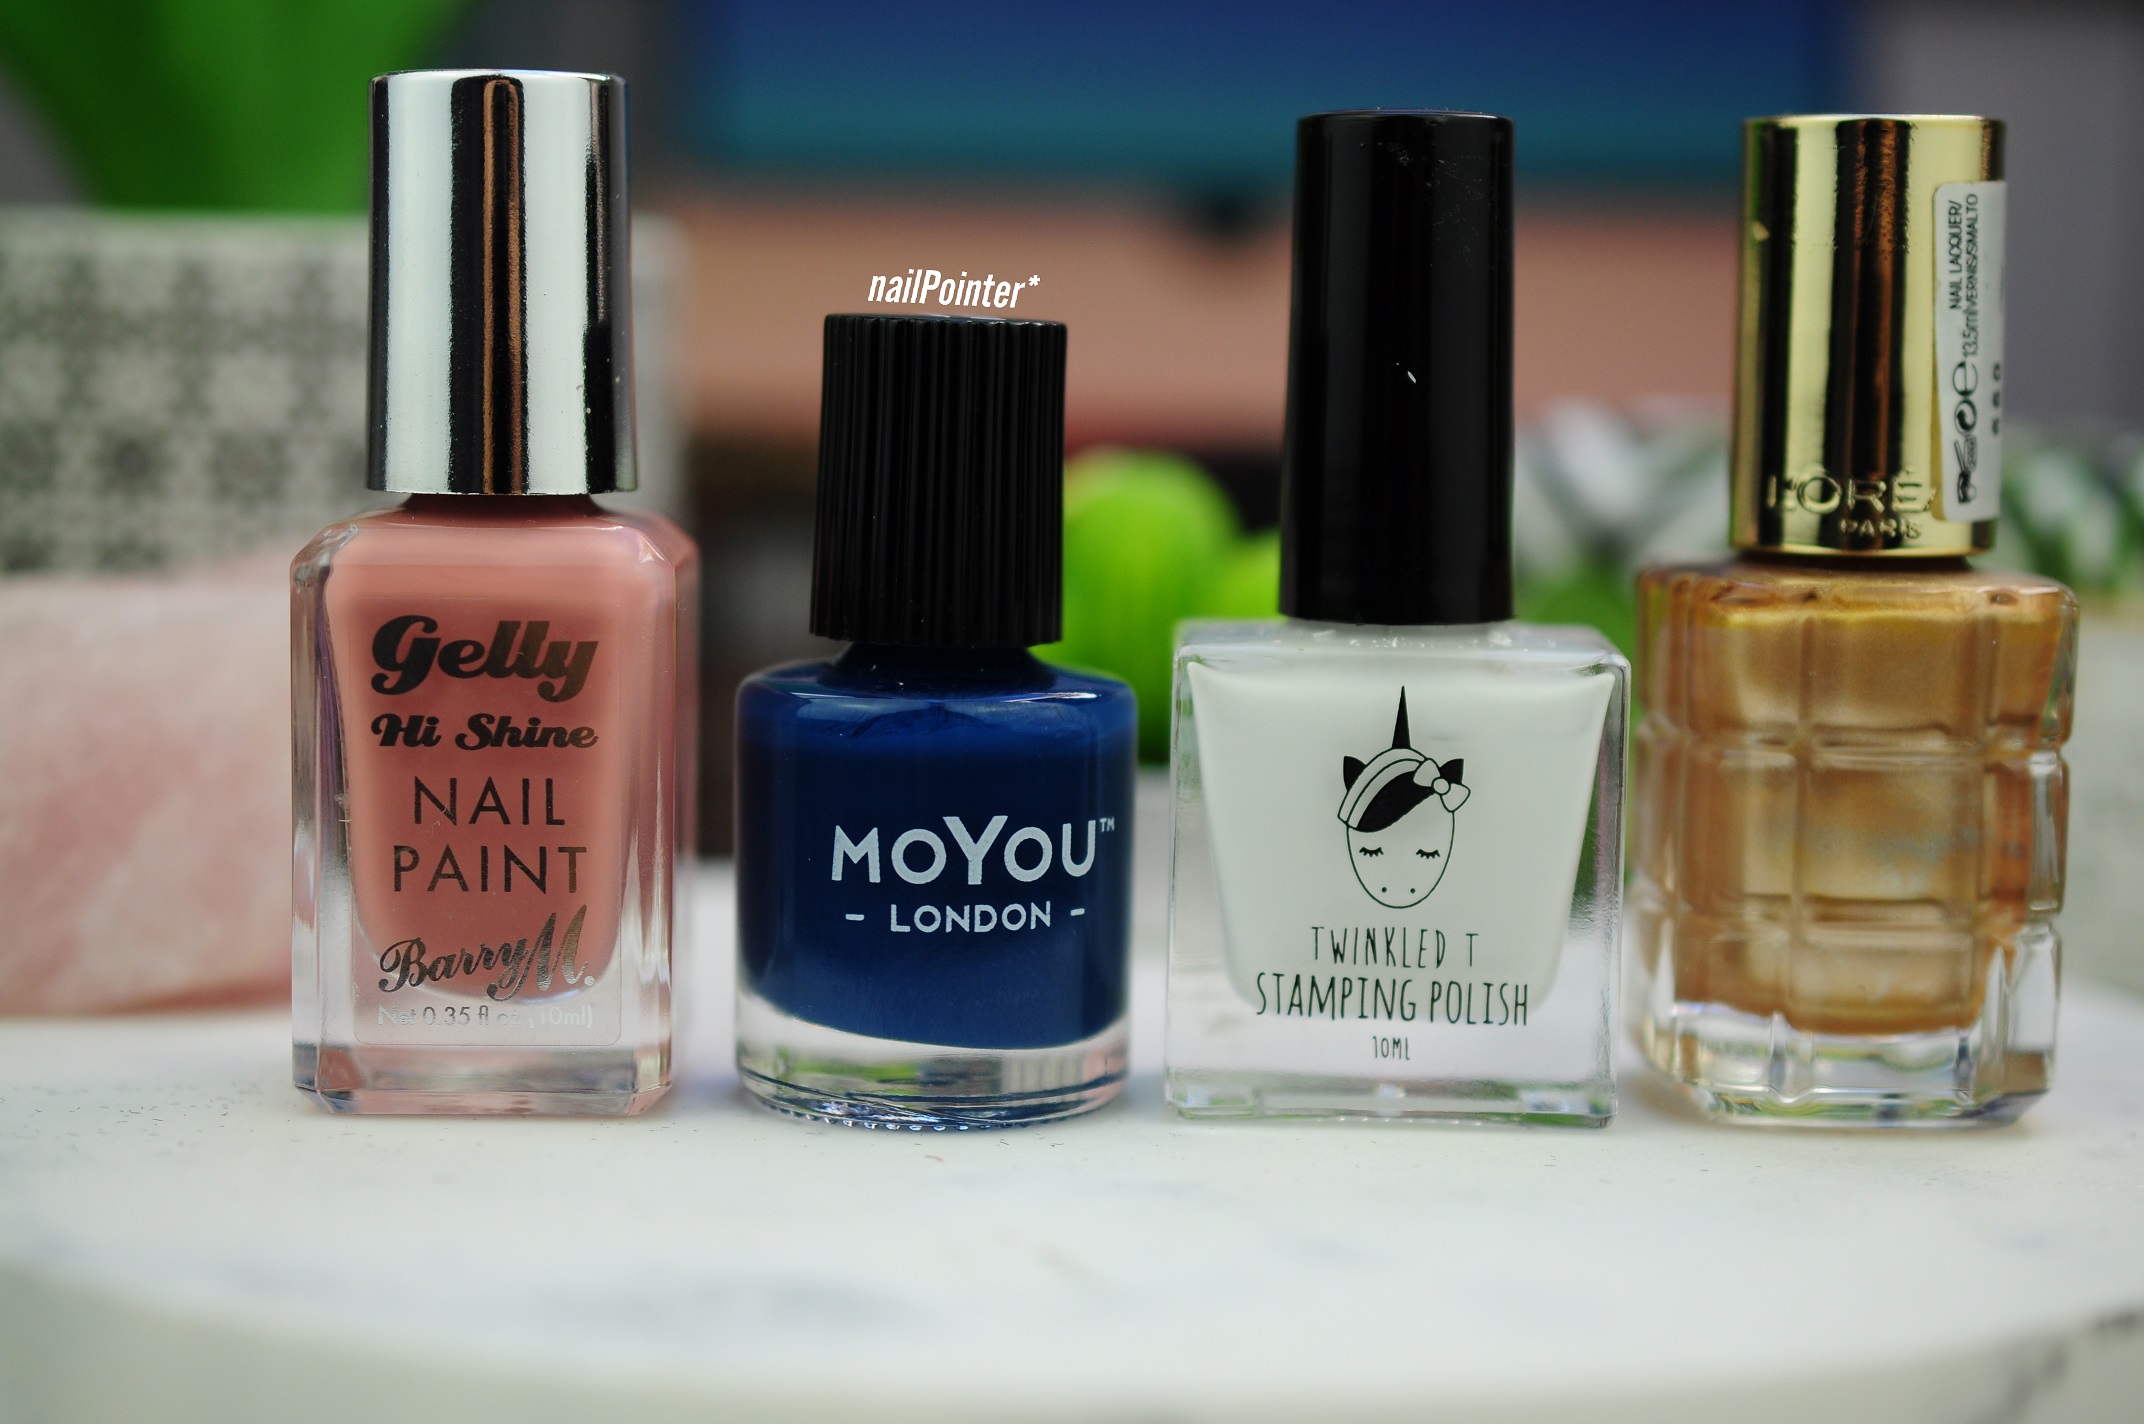
- Barry M Gelly Hi-Shine // Honeysuckle (terracotta)

Stamping:
- MoYou London // Midnight Madness (dark blue)
- Twinkled T // Glow Up (white)
- L'Oreal Color Riche // L'Or (gold)
- MoYou London // Paradise 01 Stamping Plate

Top:
- Barry M // Matte Top Coat
 
SHARE:

Tuesday, 26 September 2023

Pastel Paradise // Tropical Summer Nail Look

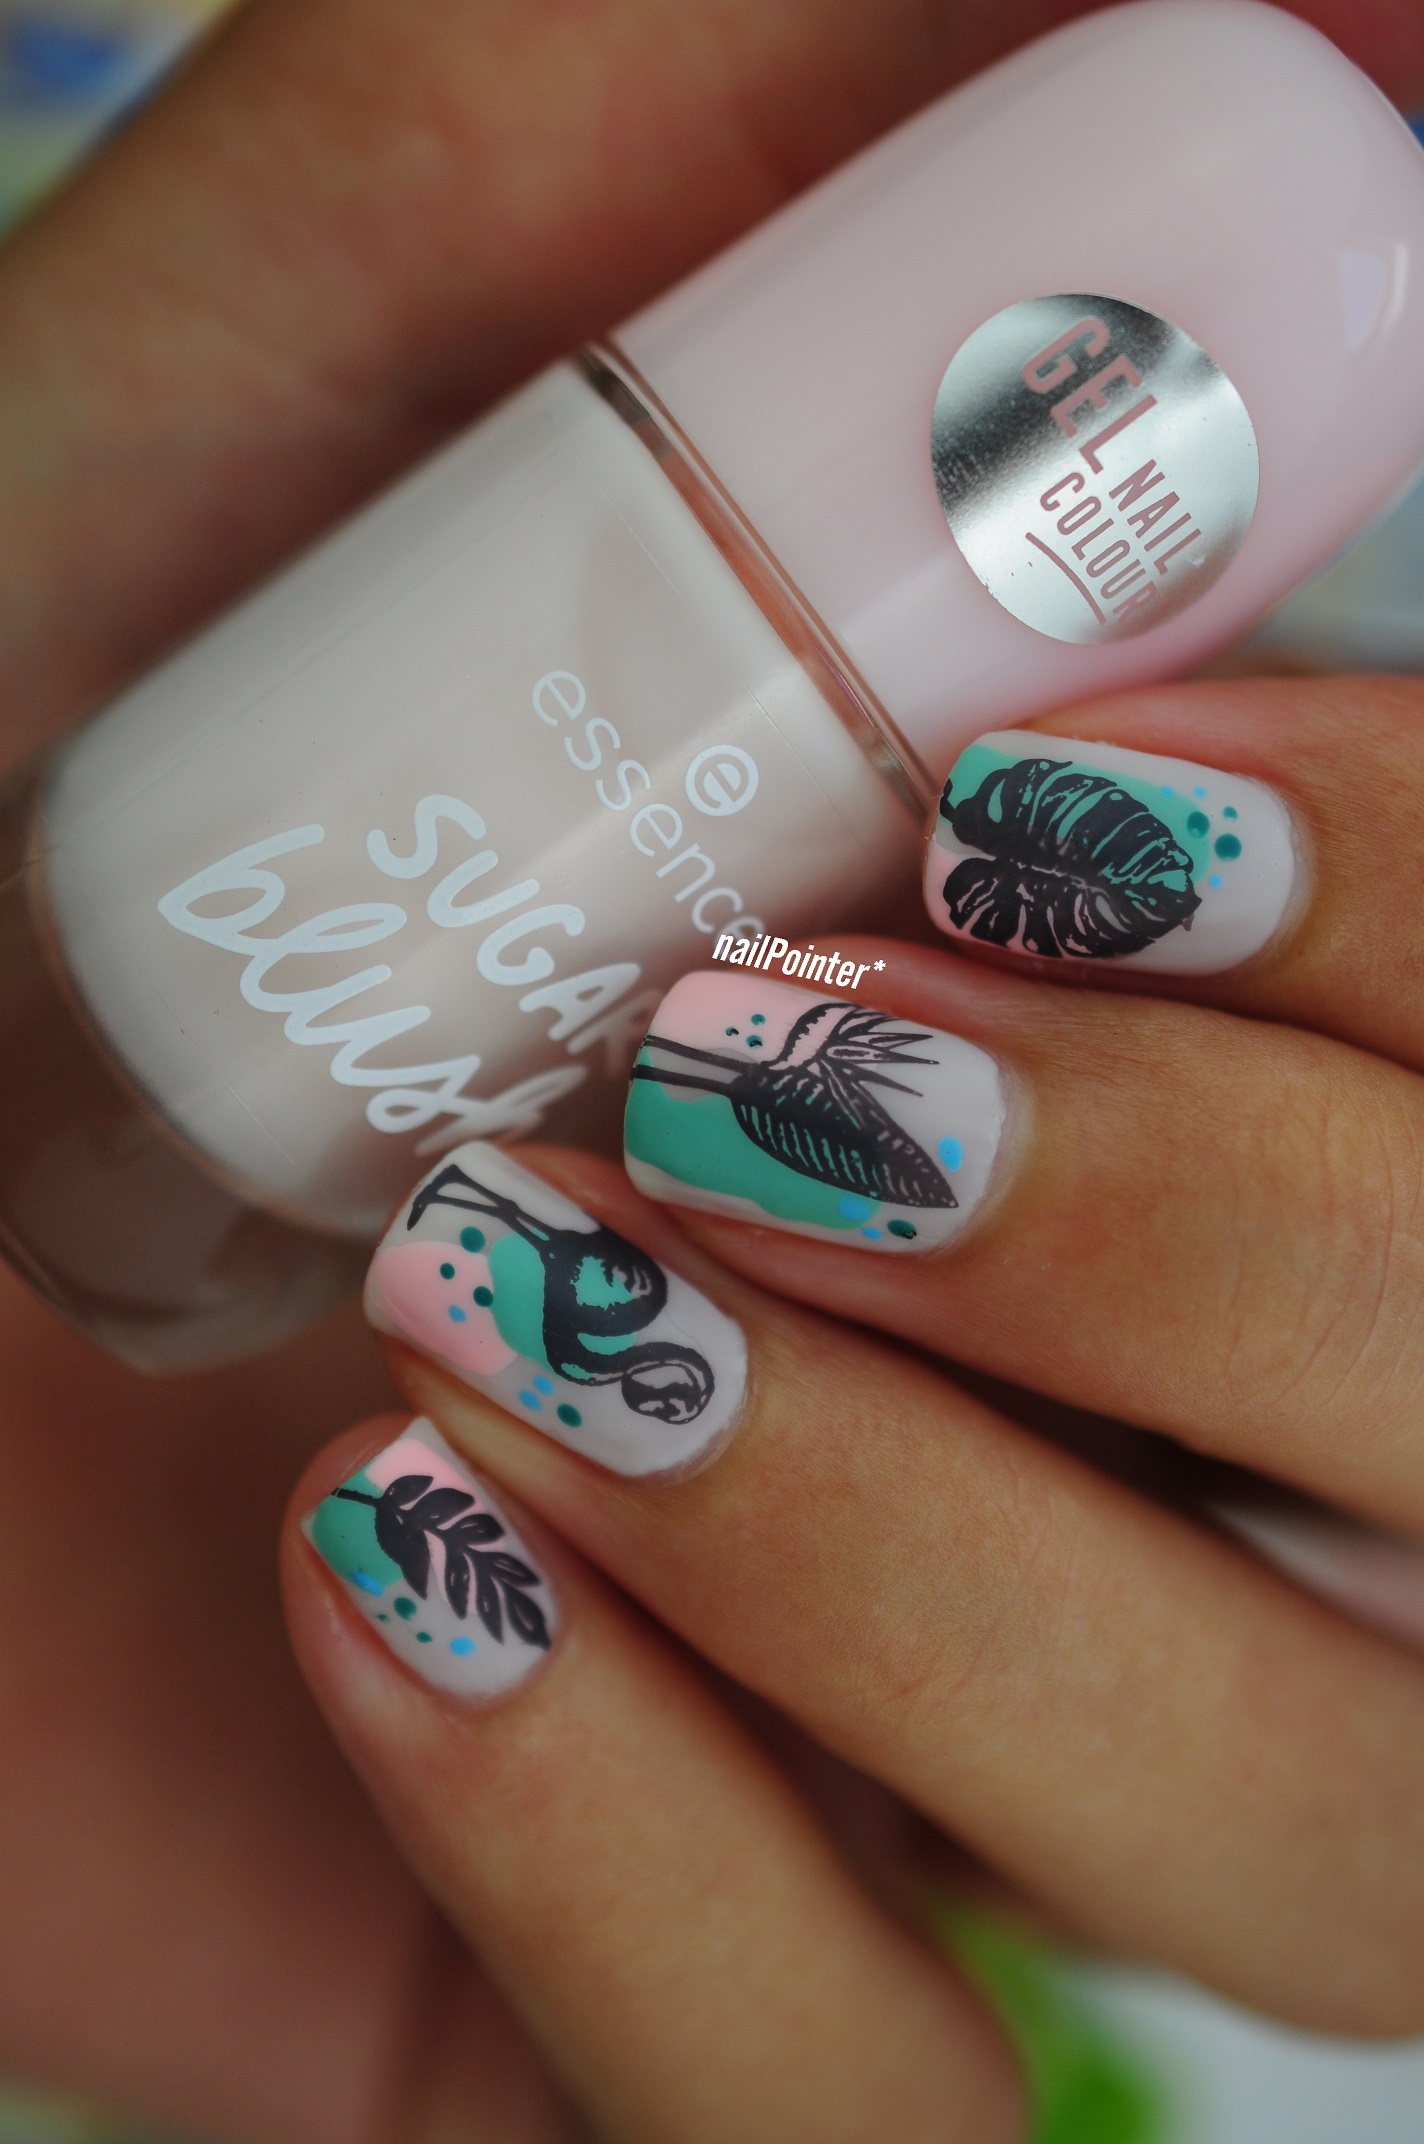
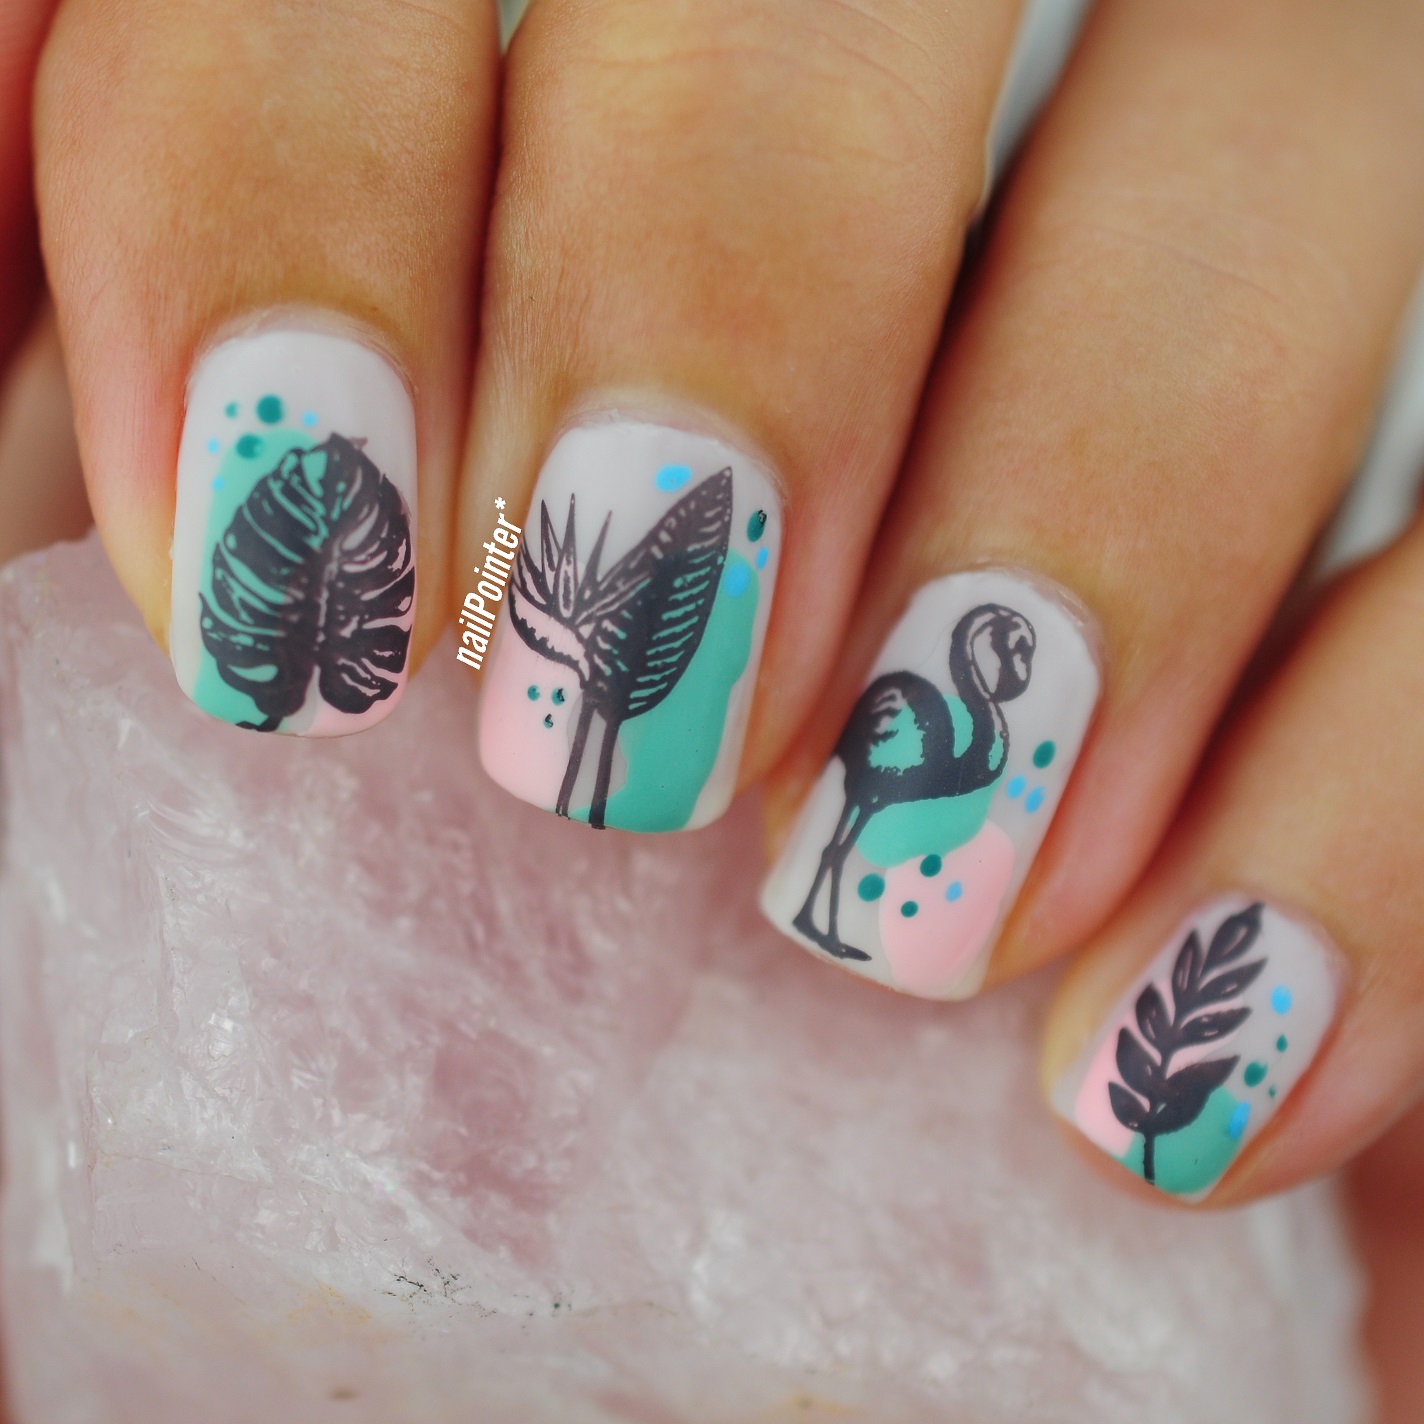
Pastel Paradise Tropical Summer Nail Look using Essence, Twinkled T and MoYou London Paradise Plates

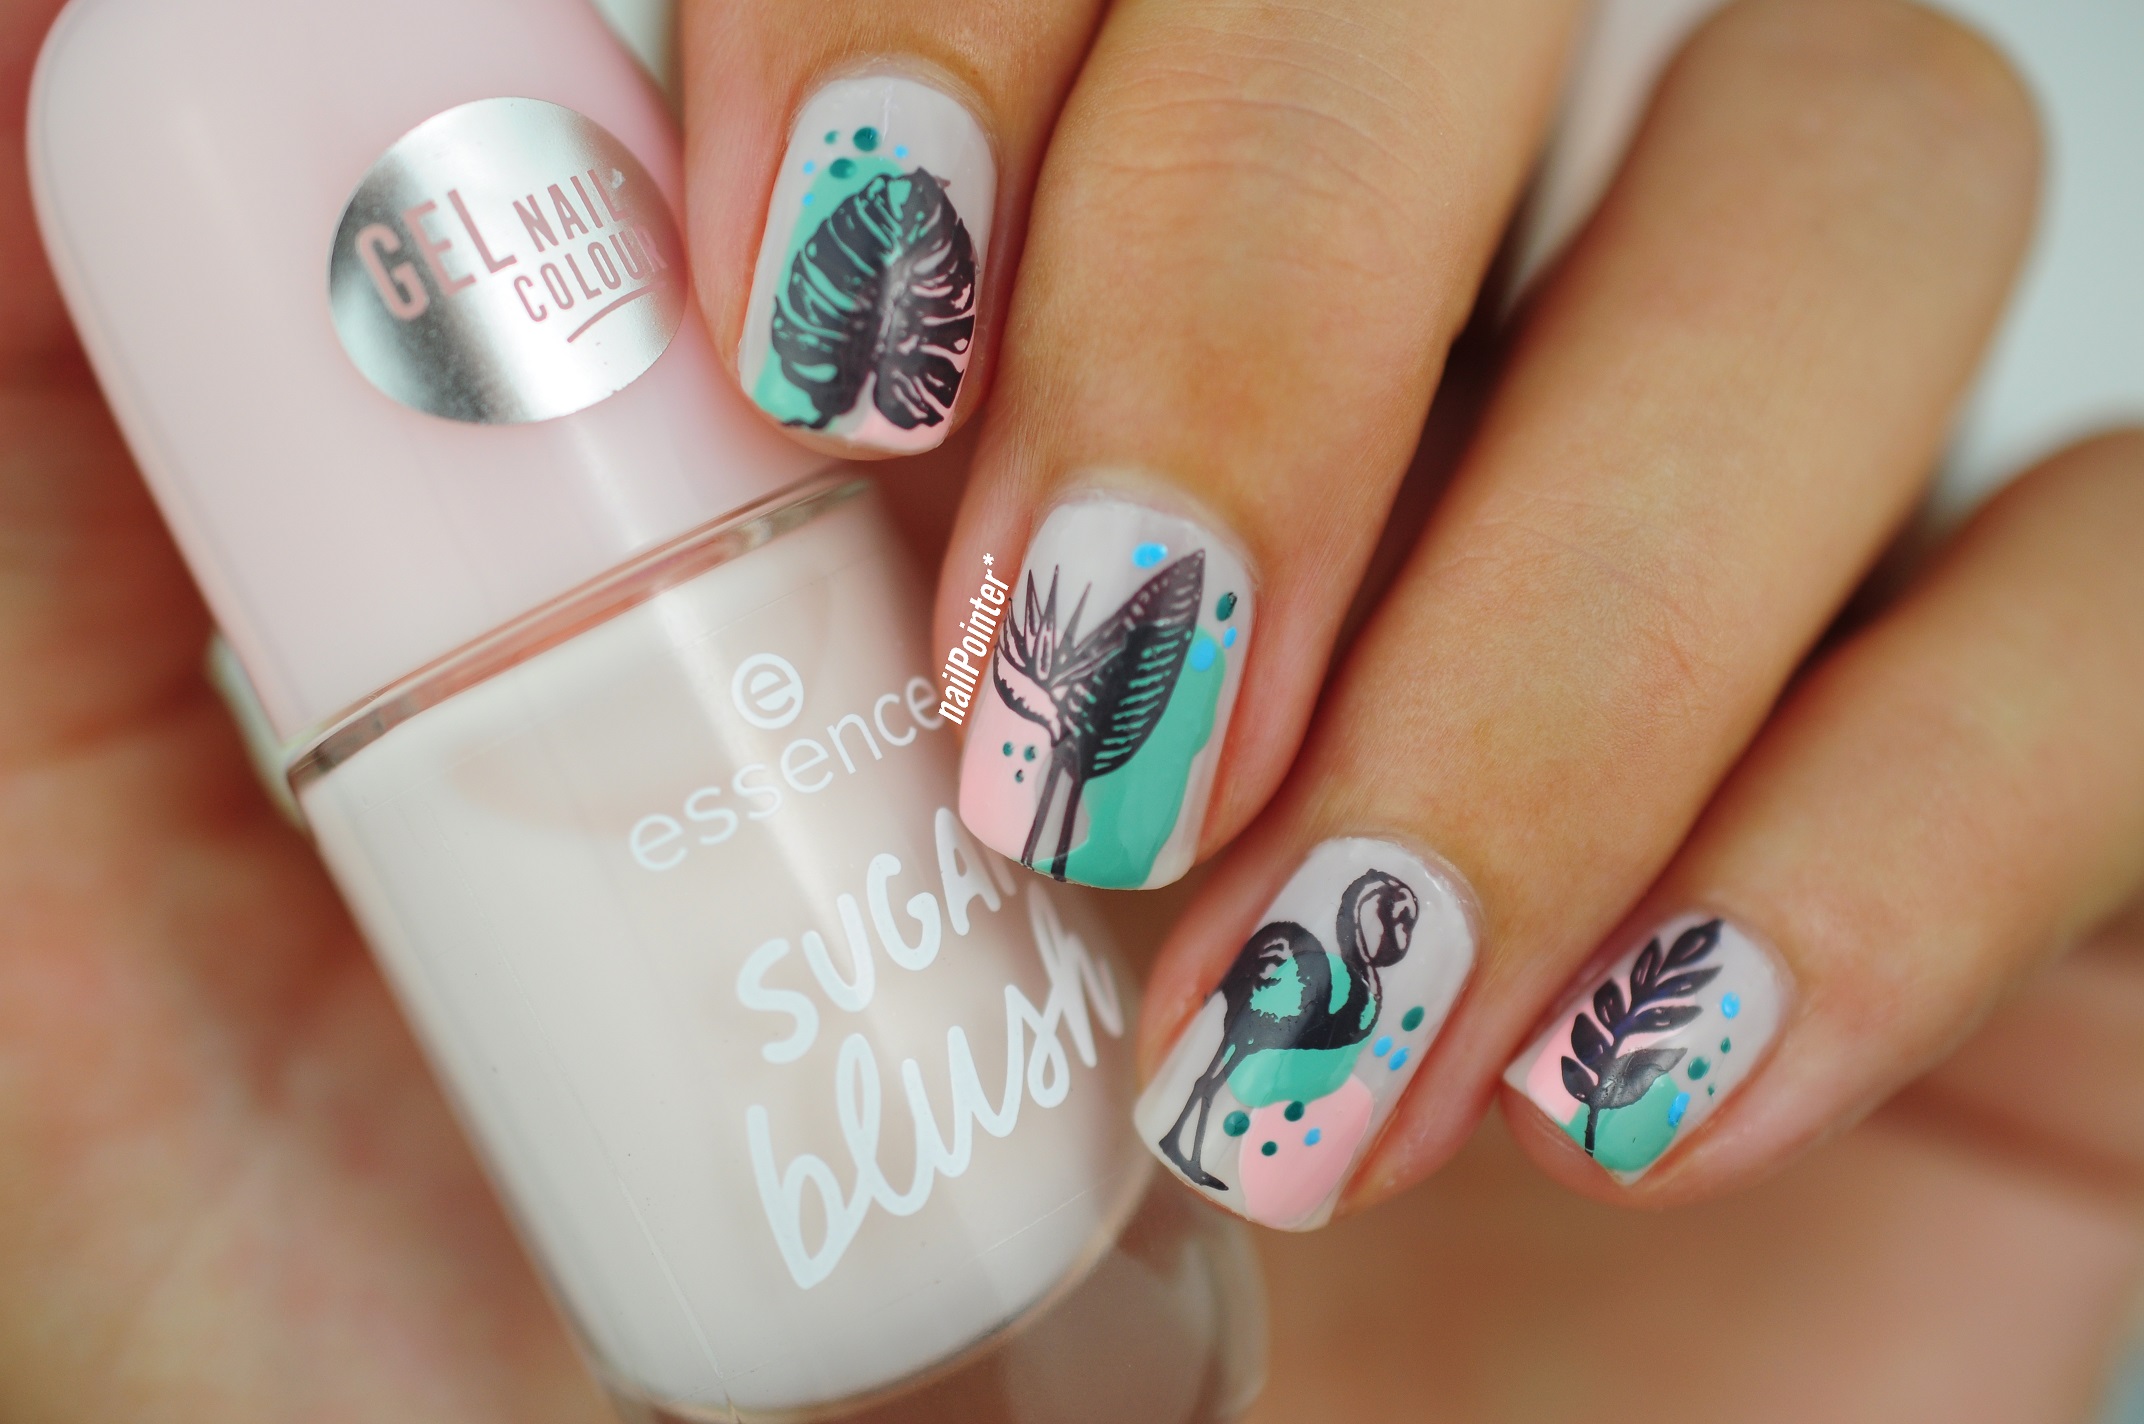
So I did these nails whilst swatching my latest Essence haul (swatches here) and I knew they'd all go beautifully together to create some wonder tropical looks; including this one!

This was pretty easy but the large brush on Essence polishes make it hard to free-hand circles and shapes cleanly (especially as the formula is a bit gloopy). But it turned out fine in the end.

Pastel Paradise Tropical Summer Nail Look using Essence, Twinkled T and MoYou London Paradise Plates

I started off with 2 layers of Sugar Blush, then placed random splotches of Bubble Trouble followed by Isn't She Minty. The stamps are from Paradise 01 using Ghosted and then I used a dotting tool to place random dots of Don't Leaf Me and Swirl Pool. I topped it off with a layer of Smudge Proof top coat, and then a matte top coat.

I think using a dark grey instead of black made this much better.

Pastel Paradise Tropical Summer Nail Look using Essence, Twinkled T and MoYou London Paradise Plates

Polishes/Tools Used:
- Essence // 05 Sugar Blush (sheer pink), 40 Isn't She Minty (light green), 04 Bubble Trouble (pastel pink)
- Essence // 42 Swirl Pool (blue), 19 Don't Leaf Me (teal green)
- Twinkled T // Smokey (dark grey)
- MoYou London // Paradise 01 Stamping Plate
- MoYou London // Smudge Proof Top Coat
- Barry M // Matte Top Coat
SHARE:

Monday, 11 September 2023

Match That Mani // Strange Bird Cleanser

Match That Mani // Strange Bird Cleanser - nail Art Design of the Strange Bird Cleanser

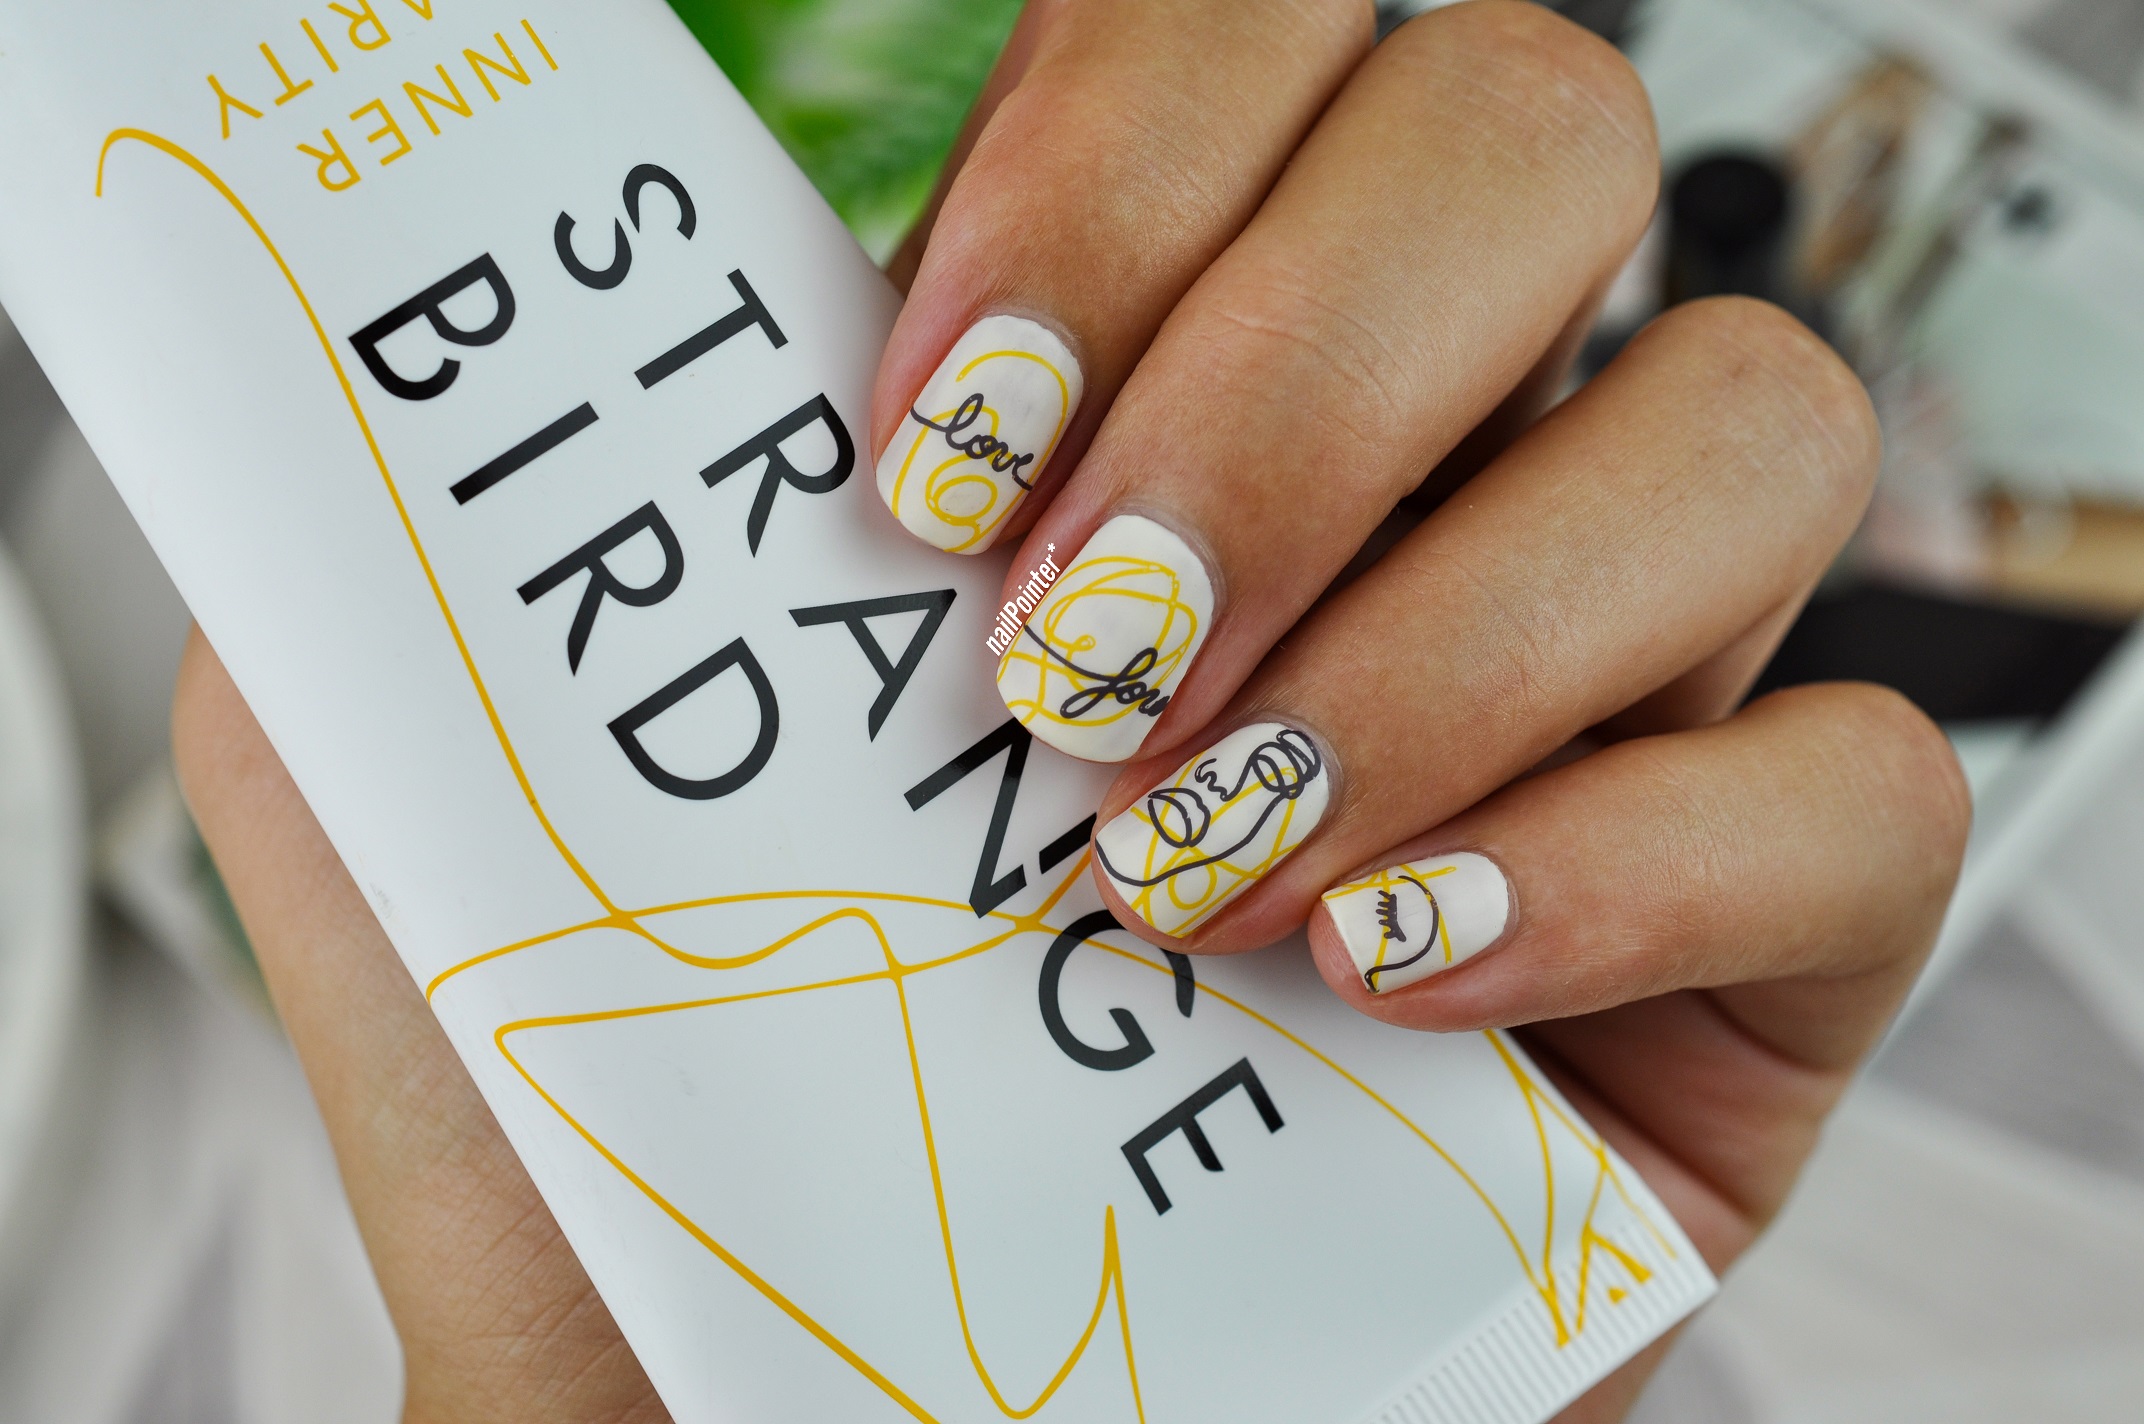
This look came about when I was in the shower one day and using my favourite cleanser. I've always loved the design on the bottle and have been wanting to do a matching look for a while.

Match That Mani // Strange Bird Cleanser - nail Art Design of the Strange Bird Cleanser

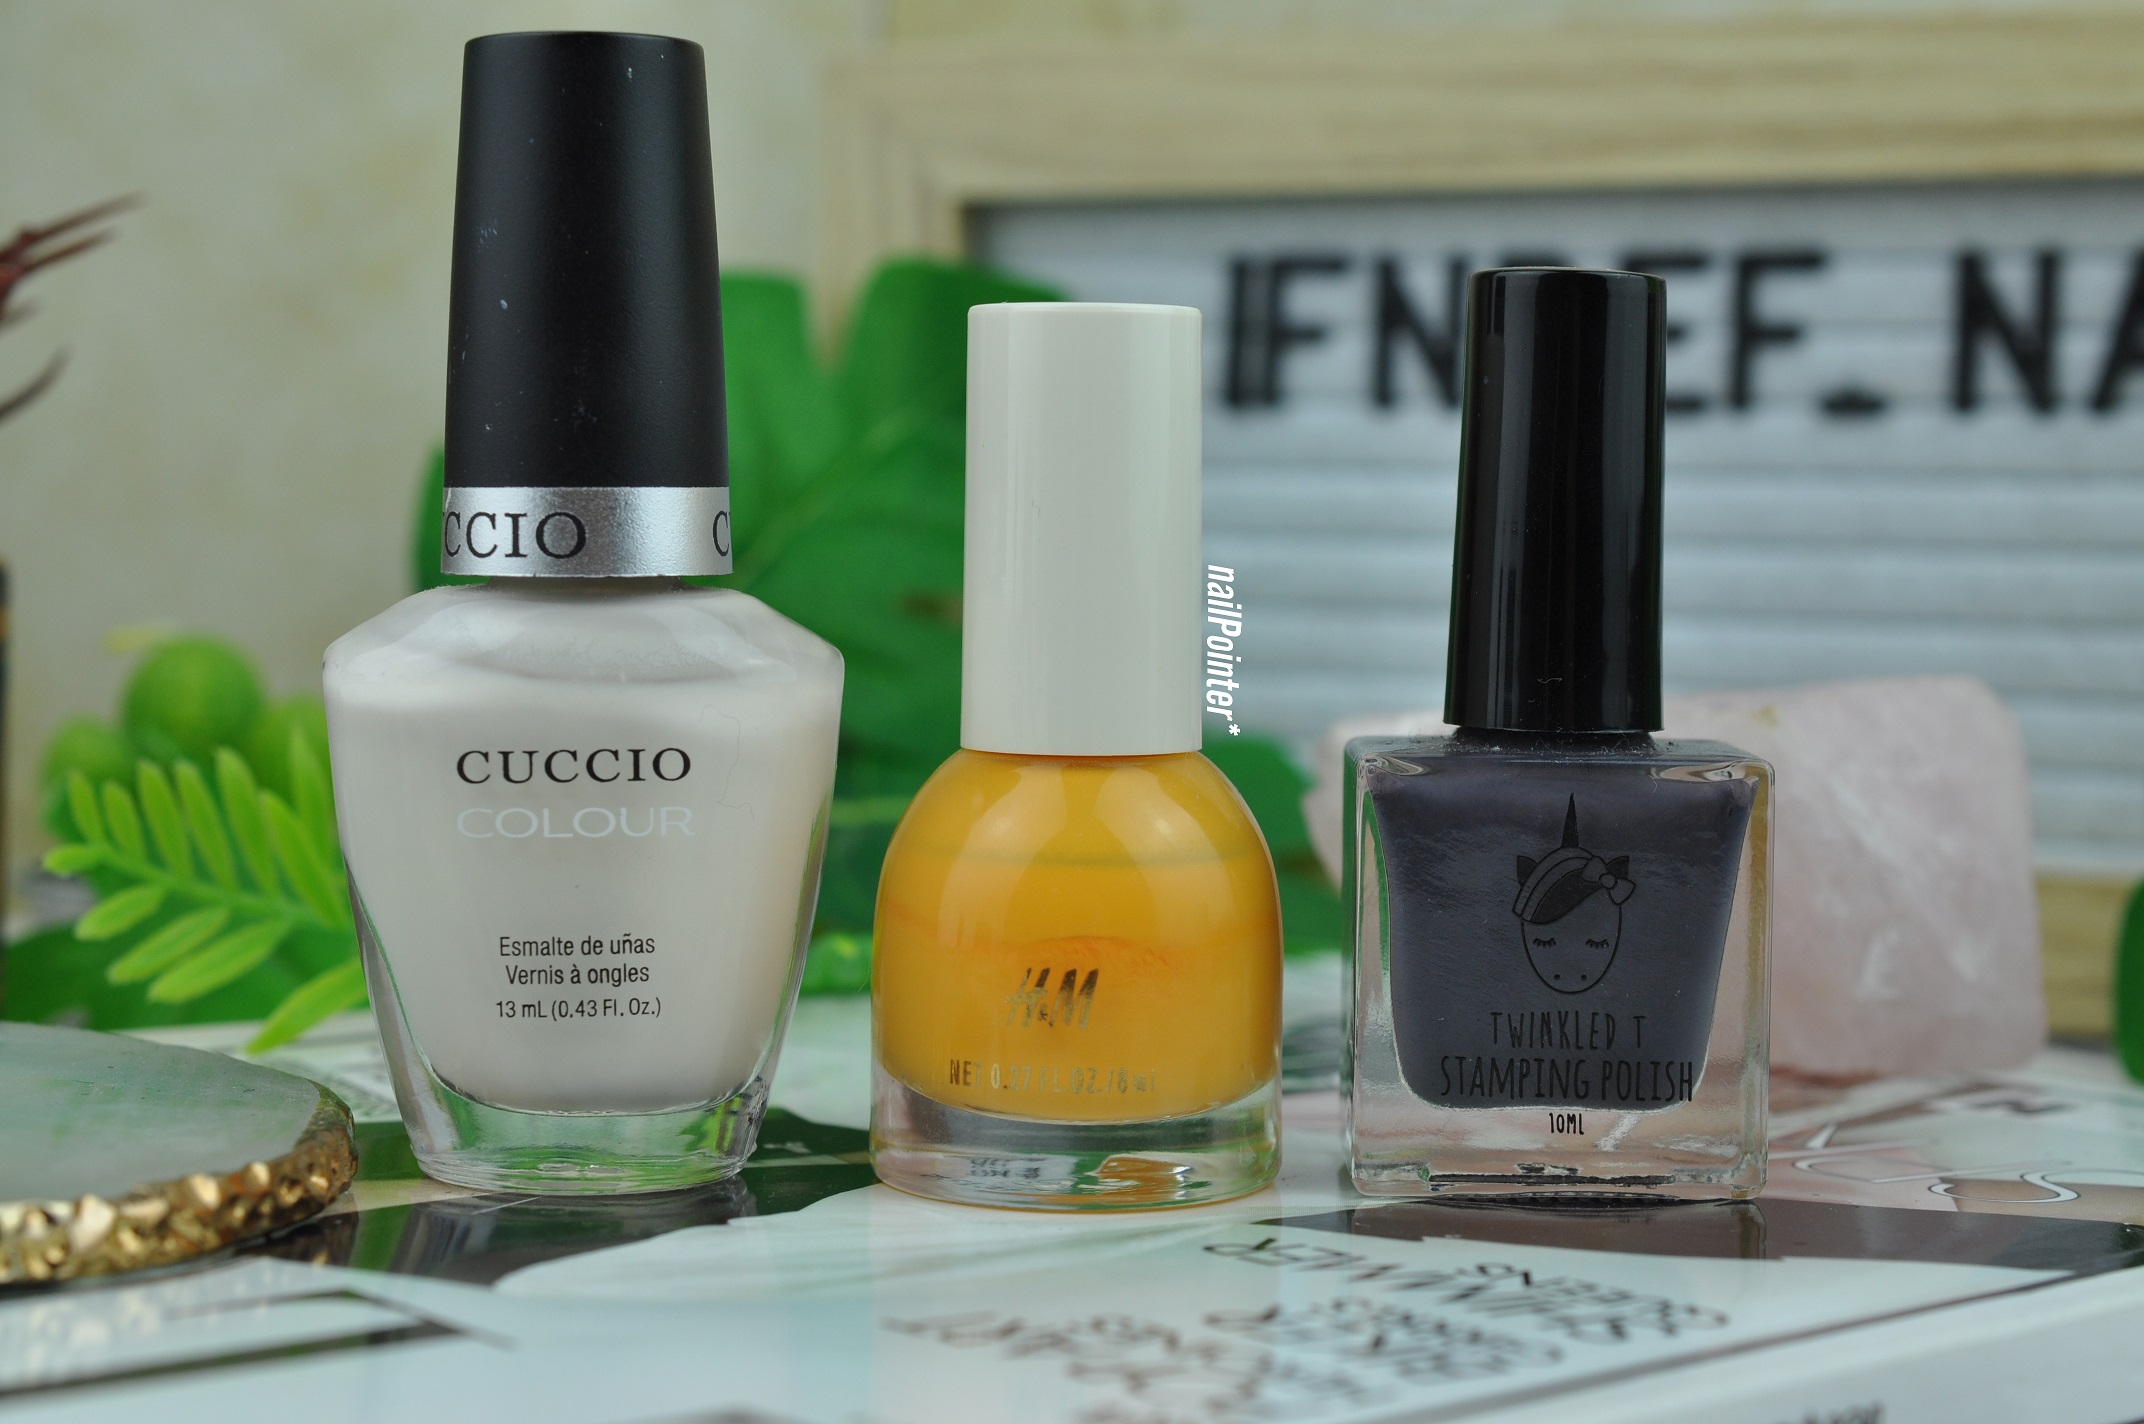
I didn't want an all white base for this look and finally settled on Cuccio - Mystery in Milan however as I started painting I could smell the tell tale sign of formaldehyde. I managed to peel back the little on sticker on the bottom and yep, it's barely even 1 free. The shade isn't even that old. It's a shame as I like the shade and it doesn't have the black specks in it that all new Cuccio shades have but I hate the smell.

Match That Mani // Strange Bird Cleanser - nail Art Design of the Strange Bird Cleanser

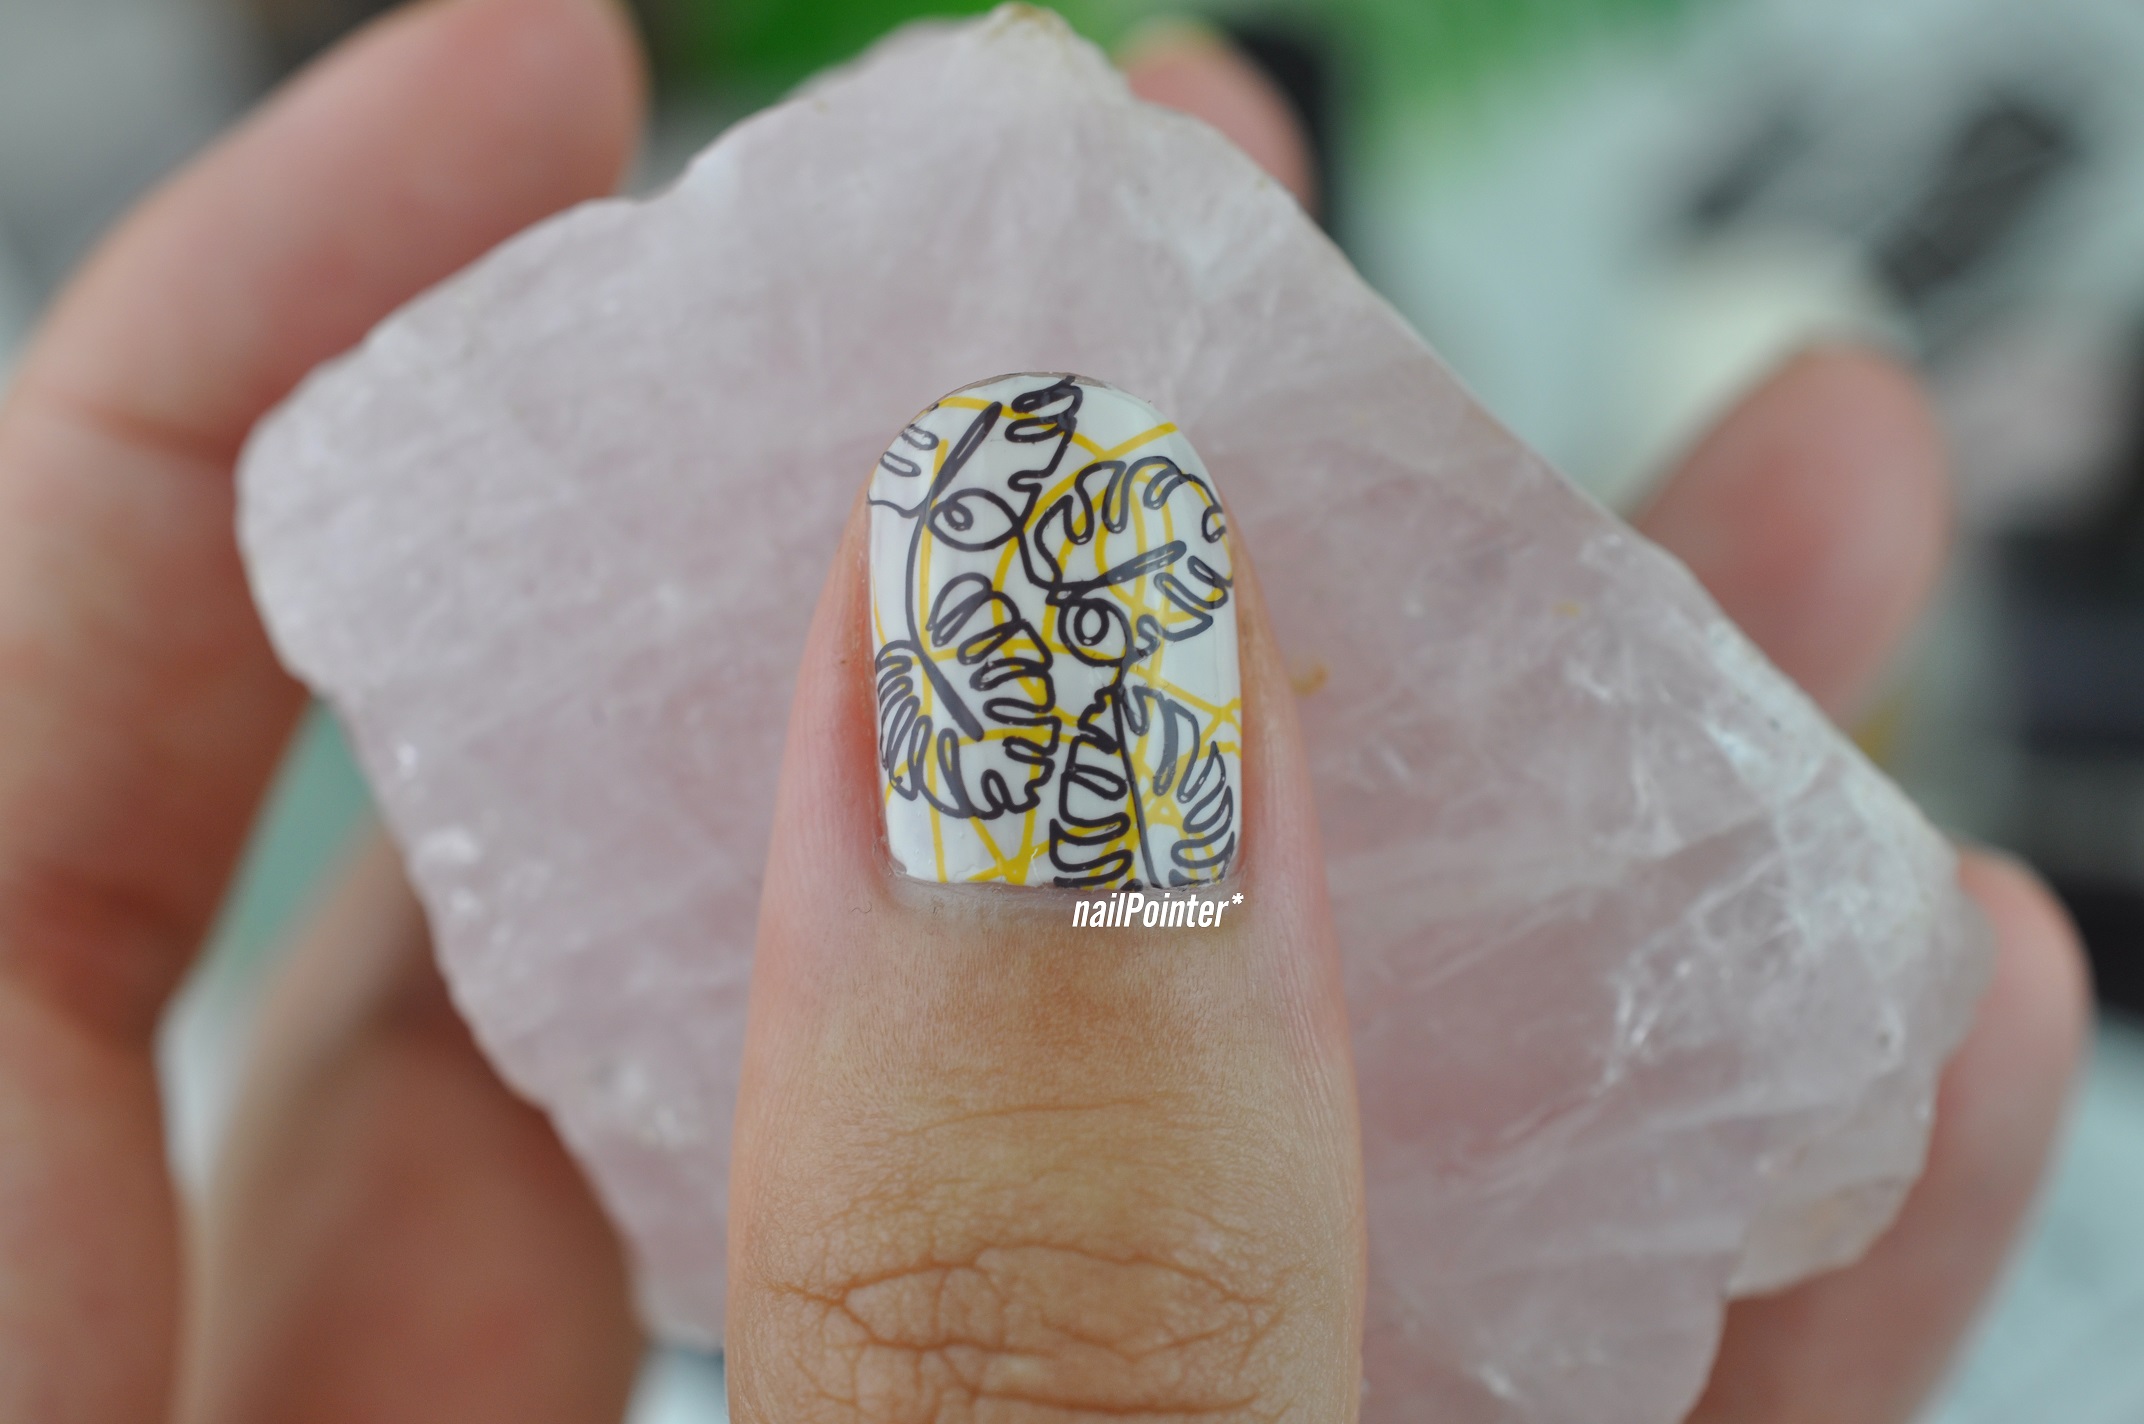
Anyway, this was a super quick look to do. Just 2 coats of Mystery in Milan followed by some lines in Cantaloupe first, then some more detailed stamps in Ghosted. I topped it off with a smudge proof top coat. 

I then added a matte top coat as I can never decide between matte or glossy. 

Match That Mani // Strange Bird Cleanser - nail Art Design of the Strange Bird Cleanser

I'm glad I went with an off-white base though as I think the pure white would of slightly ruined the look. This way it also looks like a chic fall look as well.

Match That Mani // Strange Bird Cleanser - nail Art Design of the Strange Bird Cleanser

Polishes & Tools:
Base:
- Cuccio // Mystery In Milan (off white)

Stamping:
- H&M // Cantaloupe (orange)
- Twinkled T // Smokey (dark grey)
- MoYou London // Artist 29 Plate

Top:
- MoYou London // Smudge Proof Top coat
- Barry M // Matte Top Coat

SHARE:

Friday, 1 September 2023

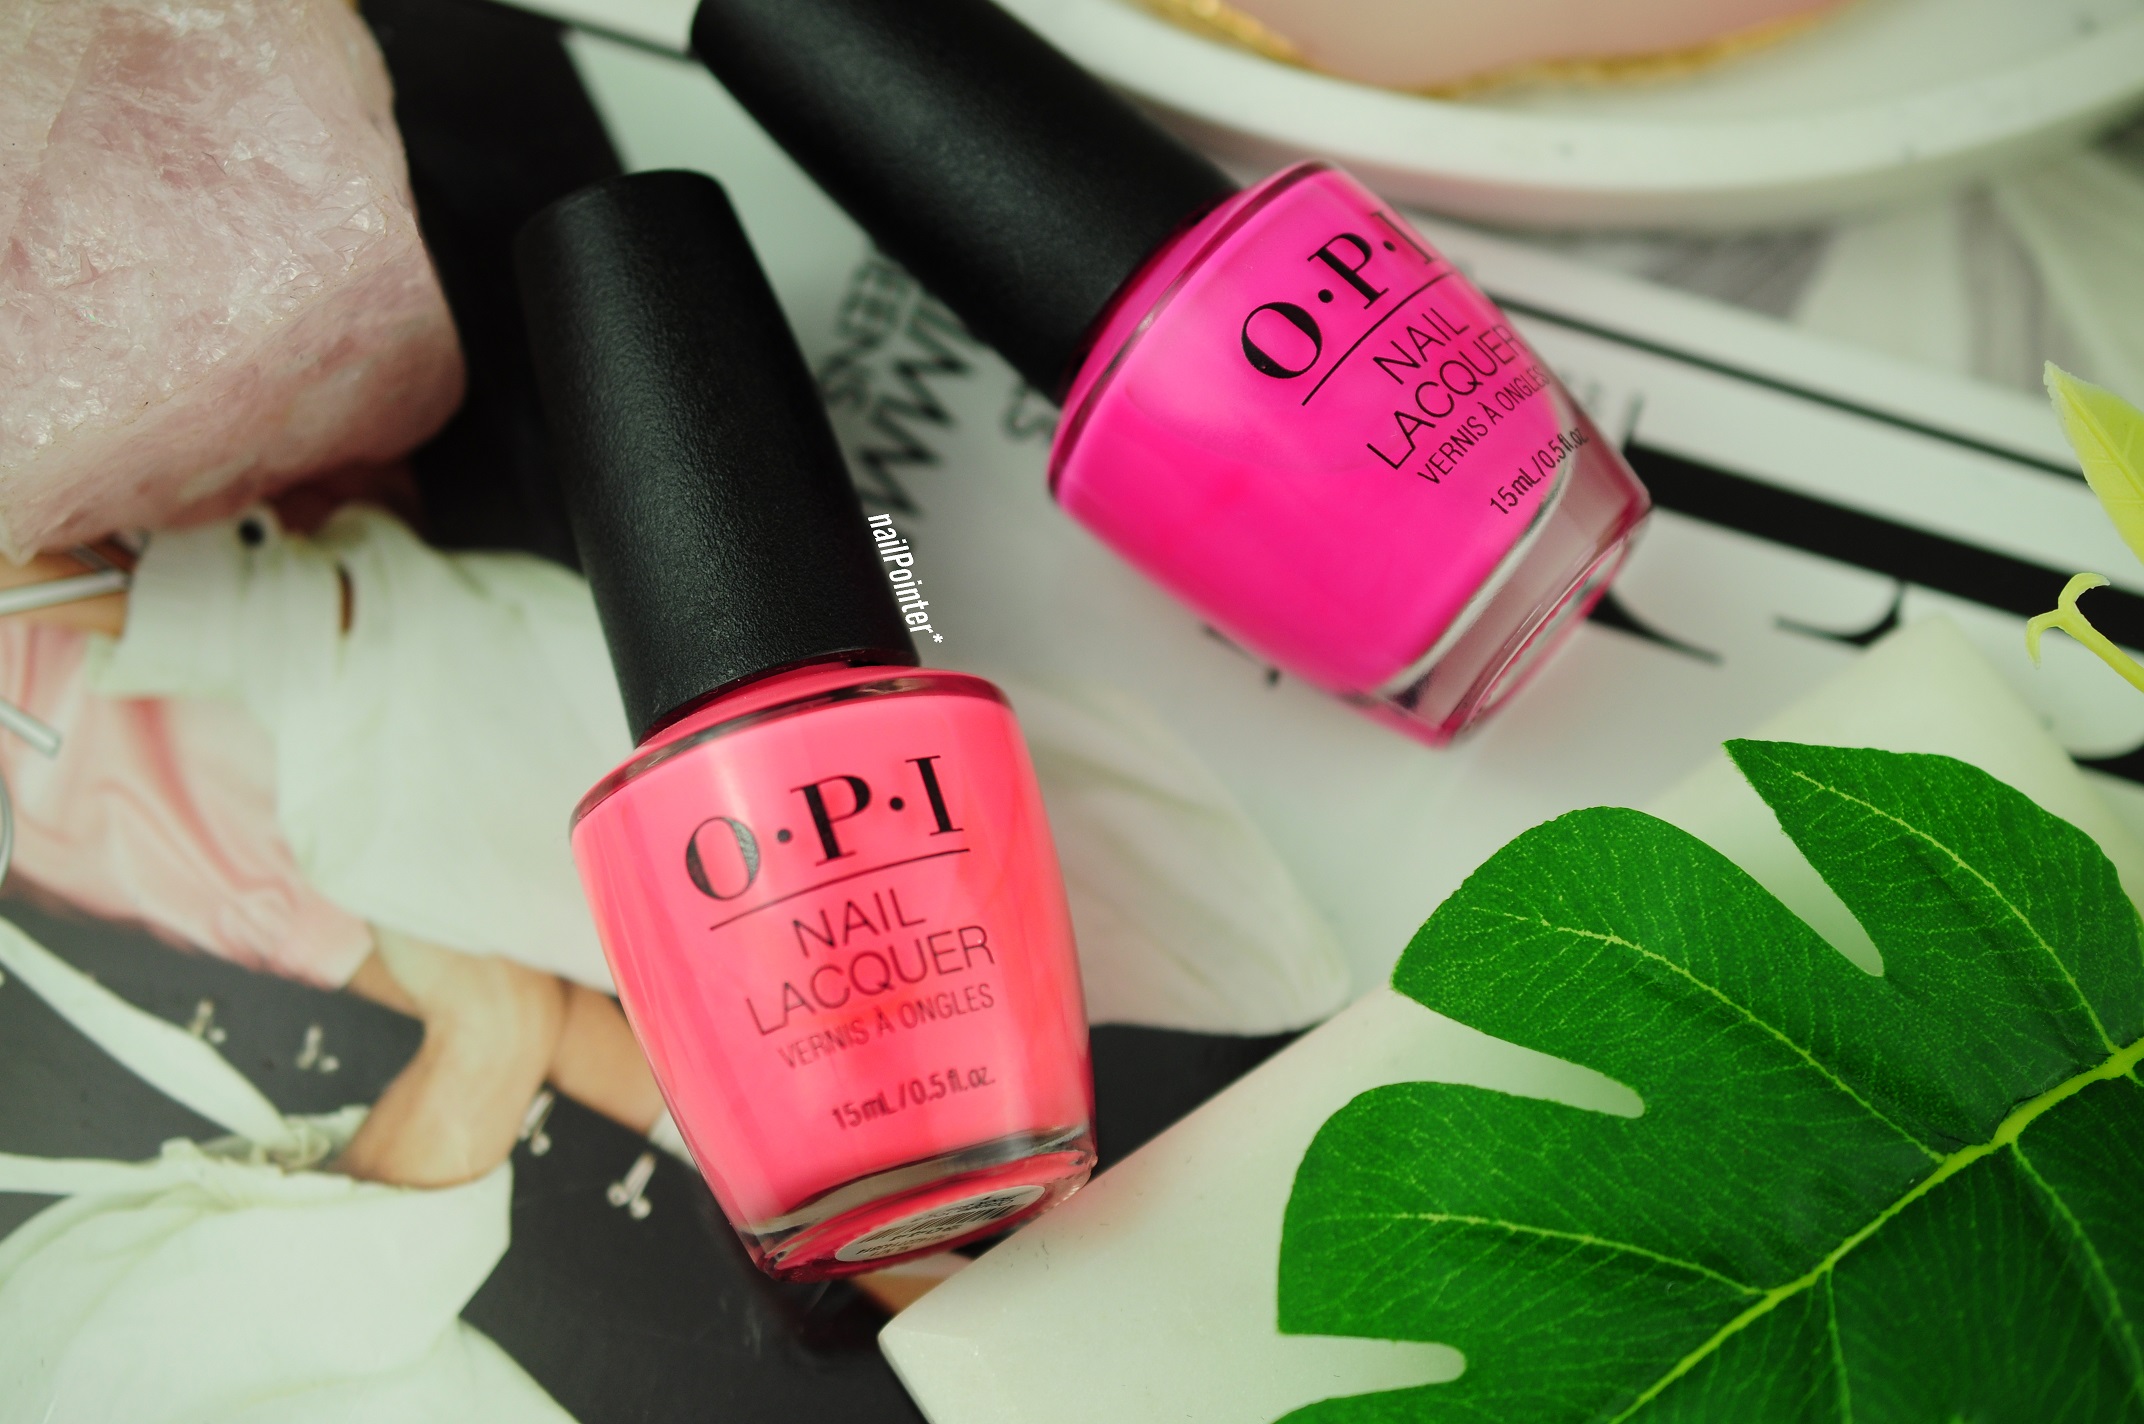
SWATCHES: OPI // Orange You A Rockstar & V-I-Pink Passes

SWATCHES OPI Orange You A Rockstar & V-I-Pink Passes

Found recently in TK Maxx for £2.99 each. I already have what feels like 1000 pink/peach polishes but I just can't stop buying them.

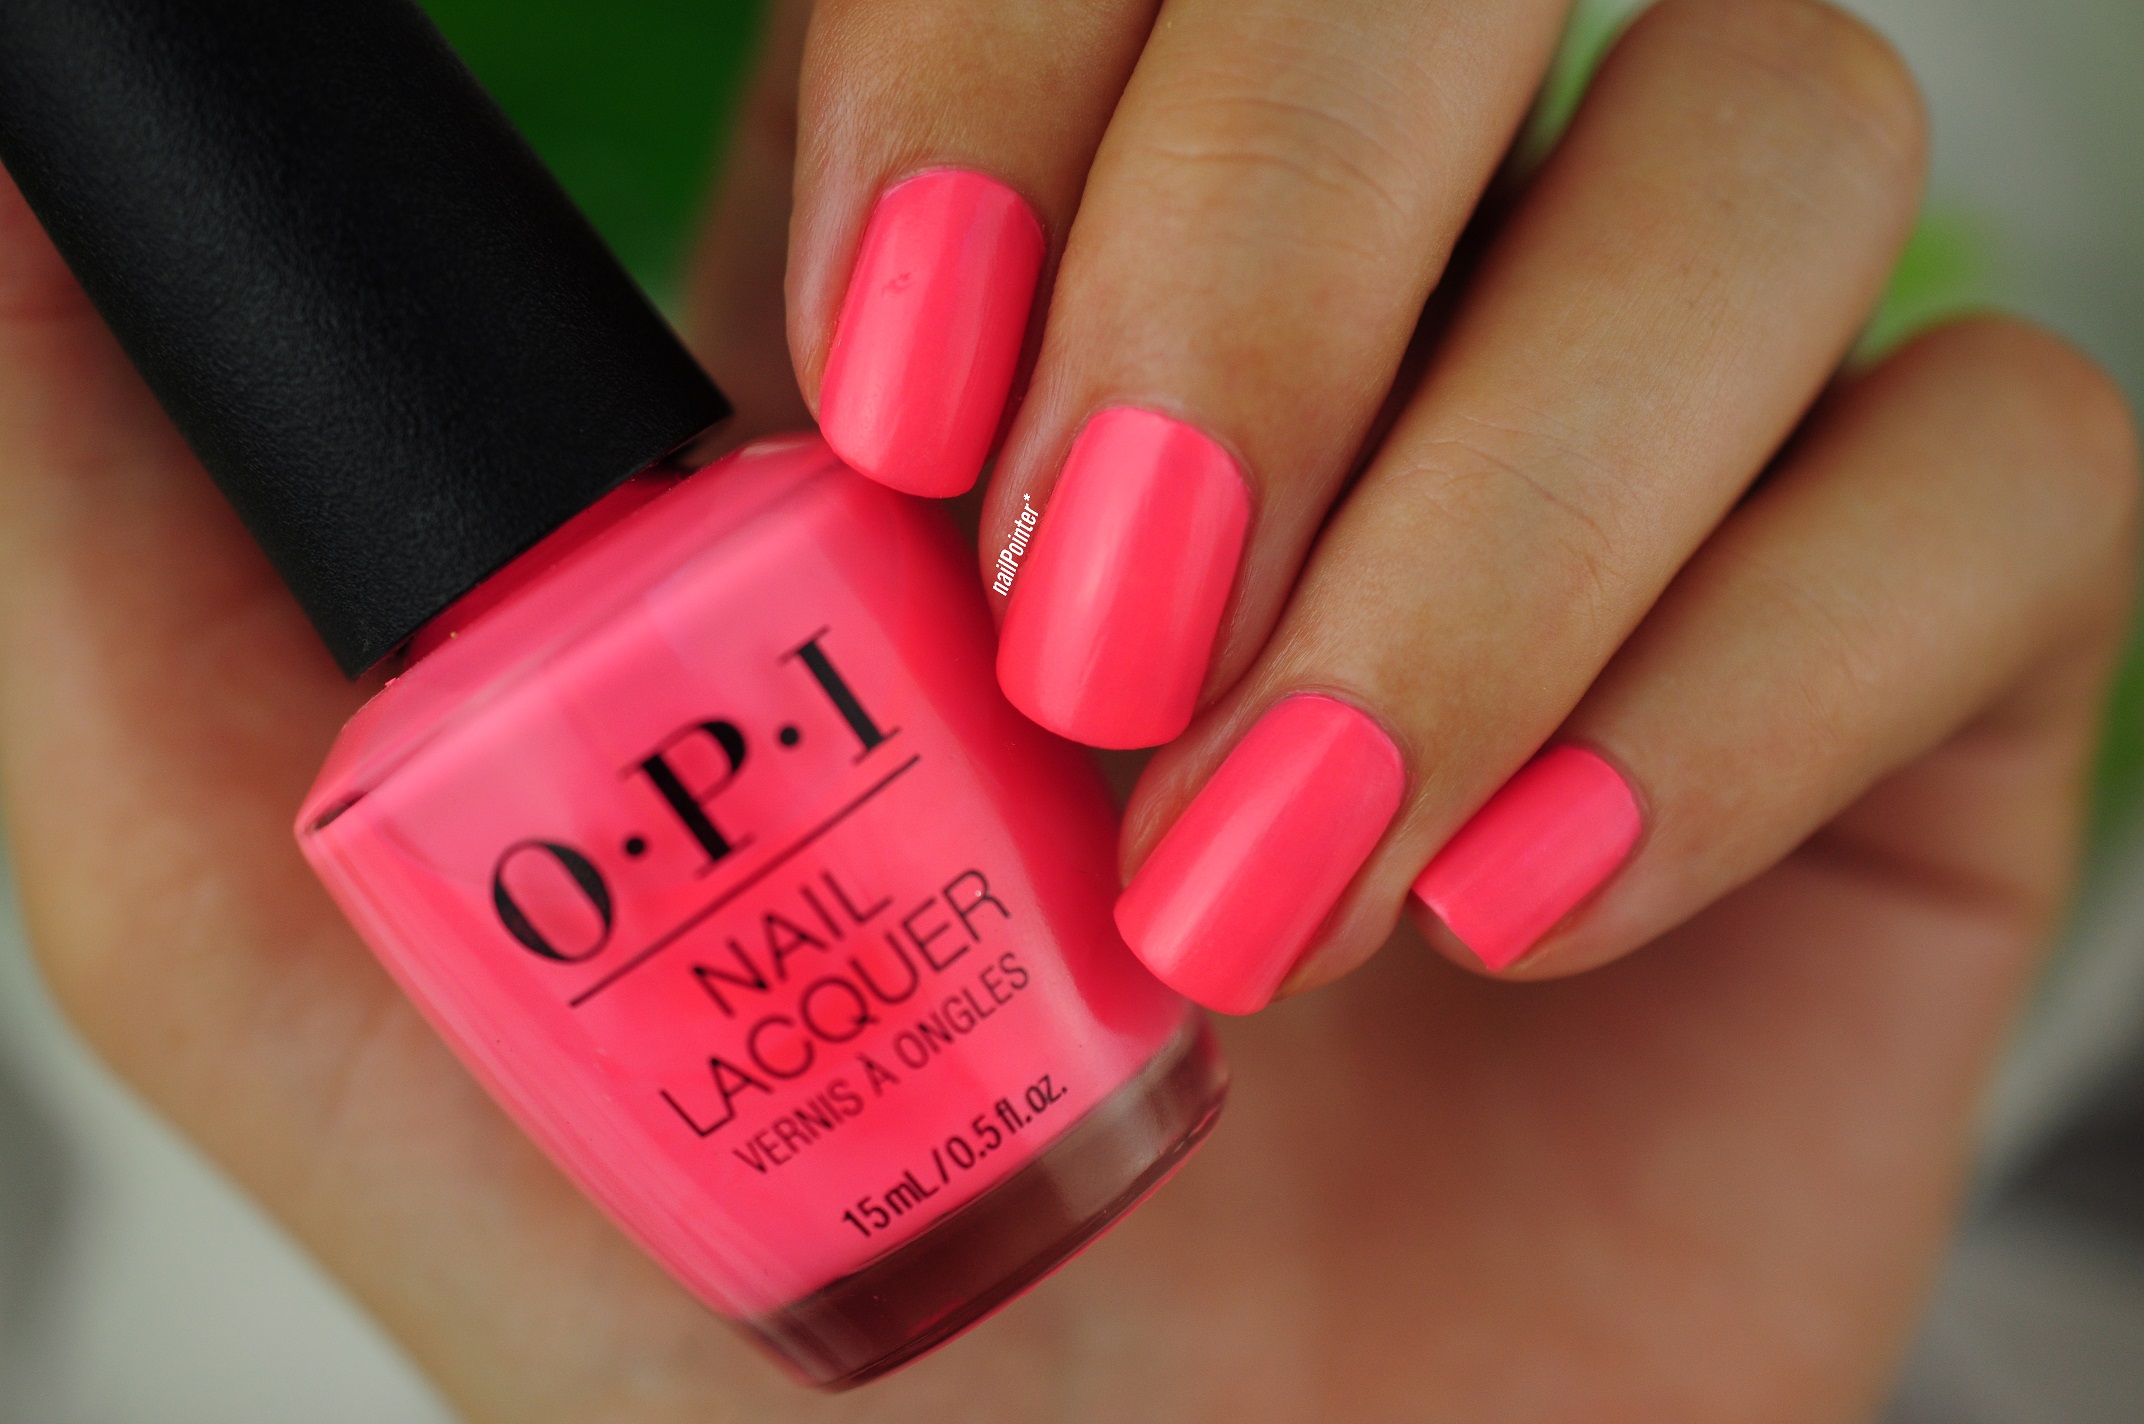
Orange You A Rockstar // pink/peach satin crelly
Collection: Neon
Release: Summer 2019
Coats: 3
OPI Orange You A Rockstar Swatch

I love the formula on this; it's a crelly and super easy to apply but it has a satin finish so it can leave streaks if you overwork it.

I wouldn't really call this a neon due to how sheer it is. After 3 coats I can still see my nail tips slightly peaking through. I think the satin finish is a disservice to this polish though; I love it with a super plumping top coat.

V-I-Pink Passes // magenta satin crelly
Collection: Neon
Release: Summer 2019
Coats: 3
OPI V-I-Pink Passes Swatch

This one is much brighter and more in the neon realm. It also has a crelly satin formula which I think all of them in this range do. I also have Dance Party Teal Dawn which I swatched here.

Watch out when removing as this really stains the skin and edges of the nails. It took me a while to get it all off.
SHARE:

Wednesday, 30 August 2023

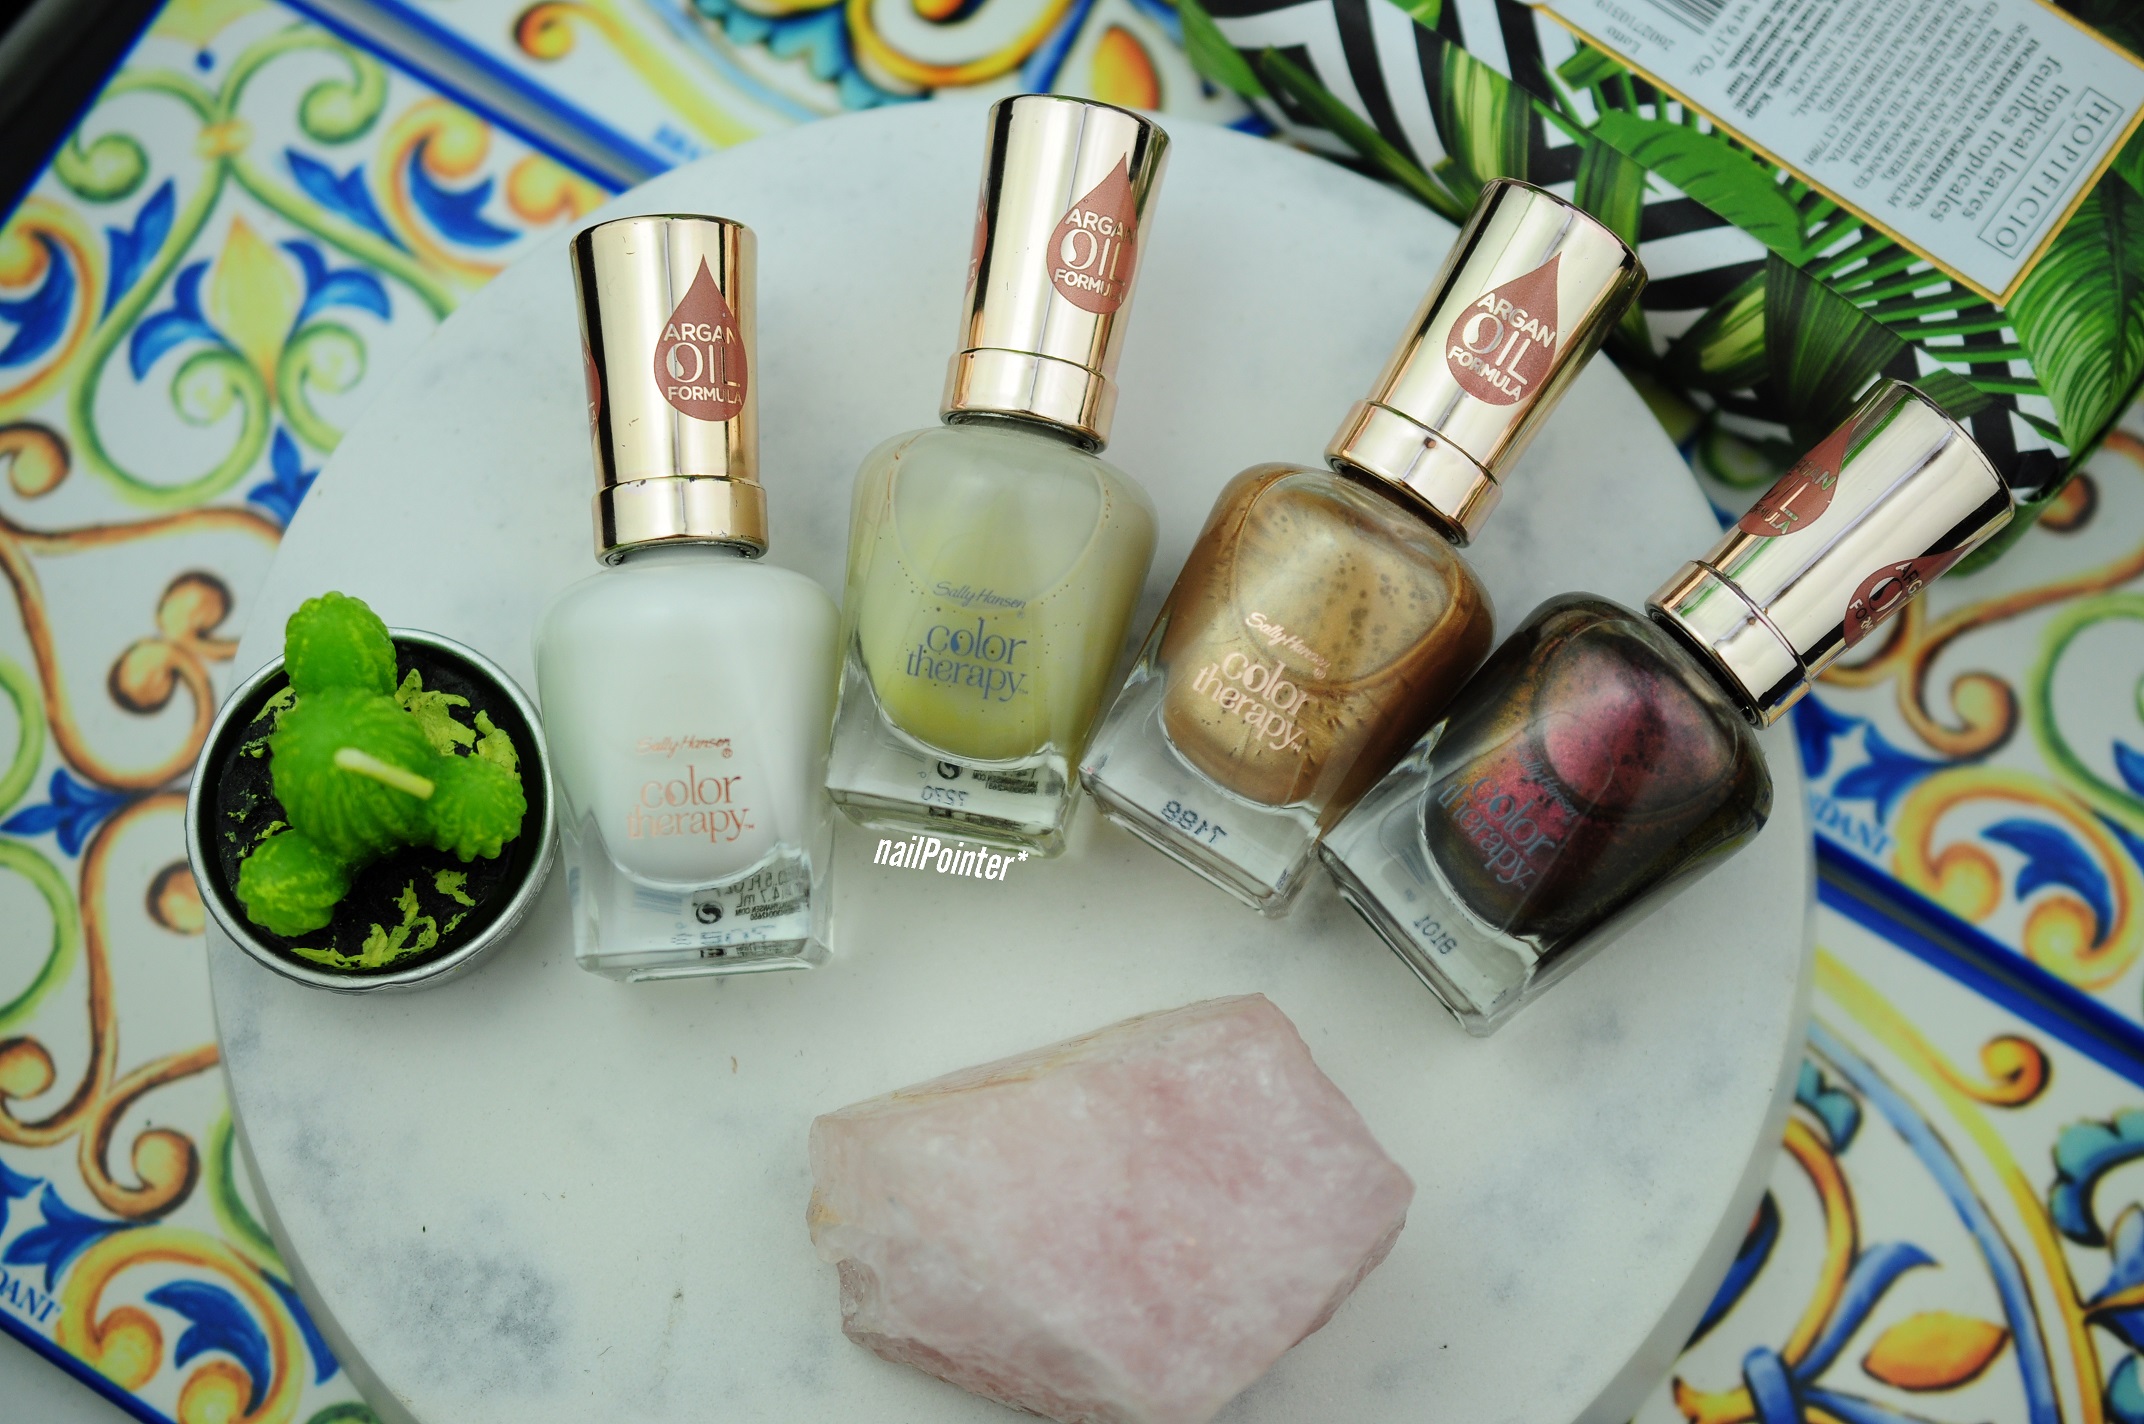
SWATCHES: Sally Hansen Color Therapy // Well Well Well, Make My Clay, Glow What Fun & Bronze Reflection

SWATCHES Sally Hansen Color Therapy Well Well Well, Make My Clay, Glow What Fun & Bronze Reflection

SWATCHES Sally Hansen Color Therapy Well Well Well, Make My Clay, Glow What Fun & Bronze Reflection

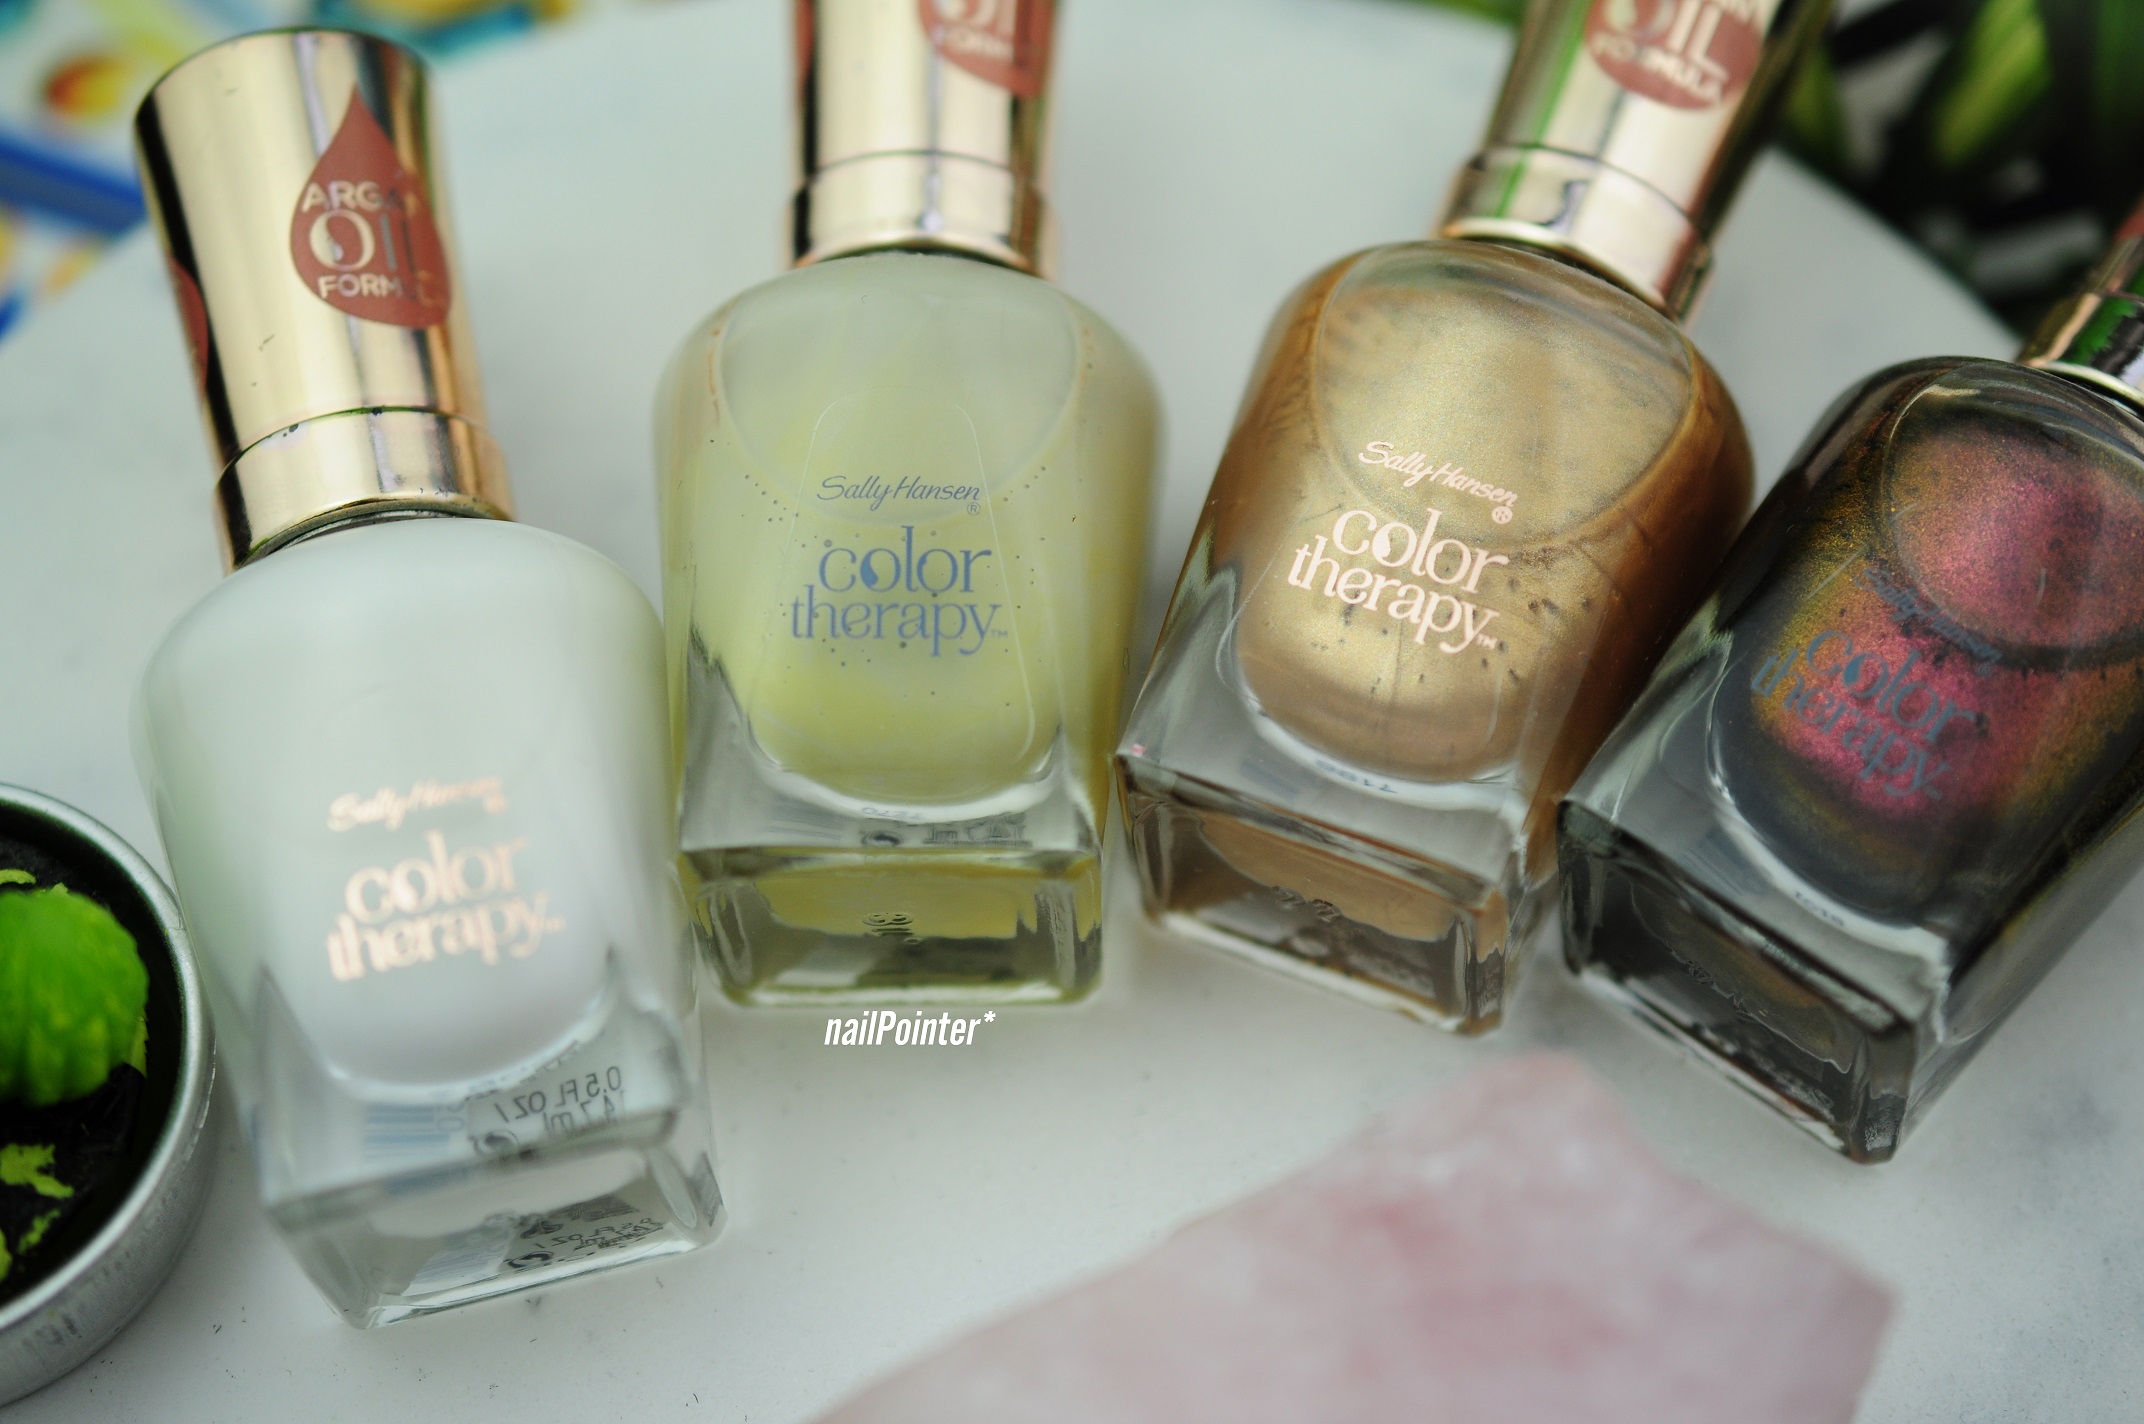
I bought these many years ago in a beauty outlet shop for £1.99 each. I was enticed by the bottles and low price. I had never actually used any of them because when swatching them on sticks just after purchasing, I noticed how slow they were to dry so I put them in my "if nothing else matches the colour I'm after, check these" cabinet.

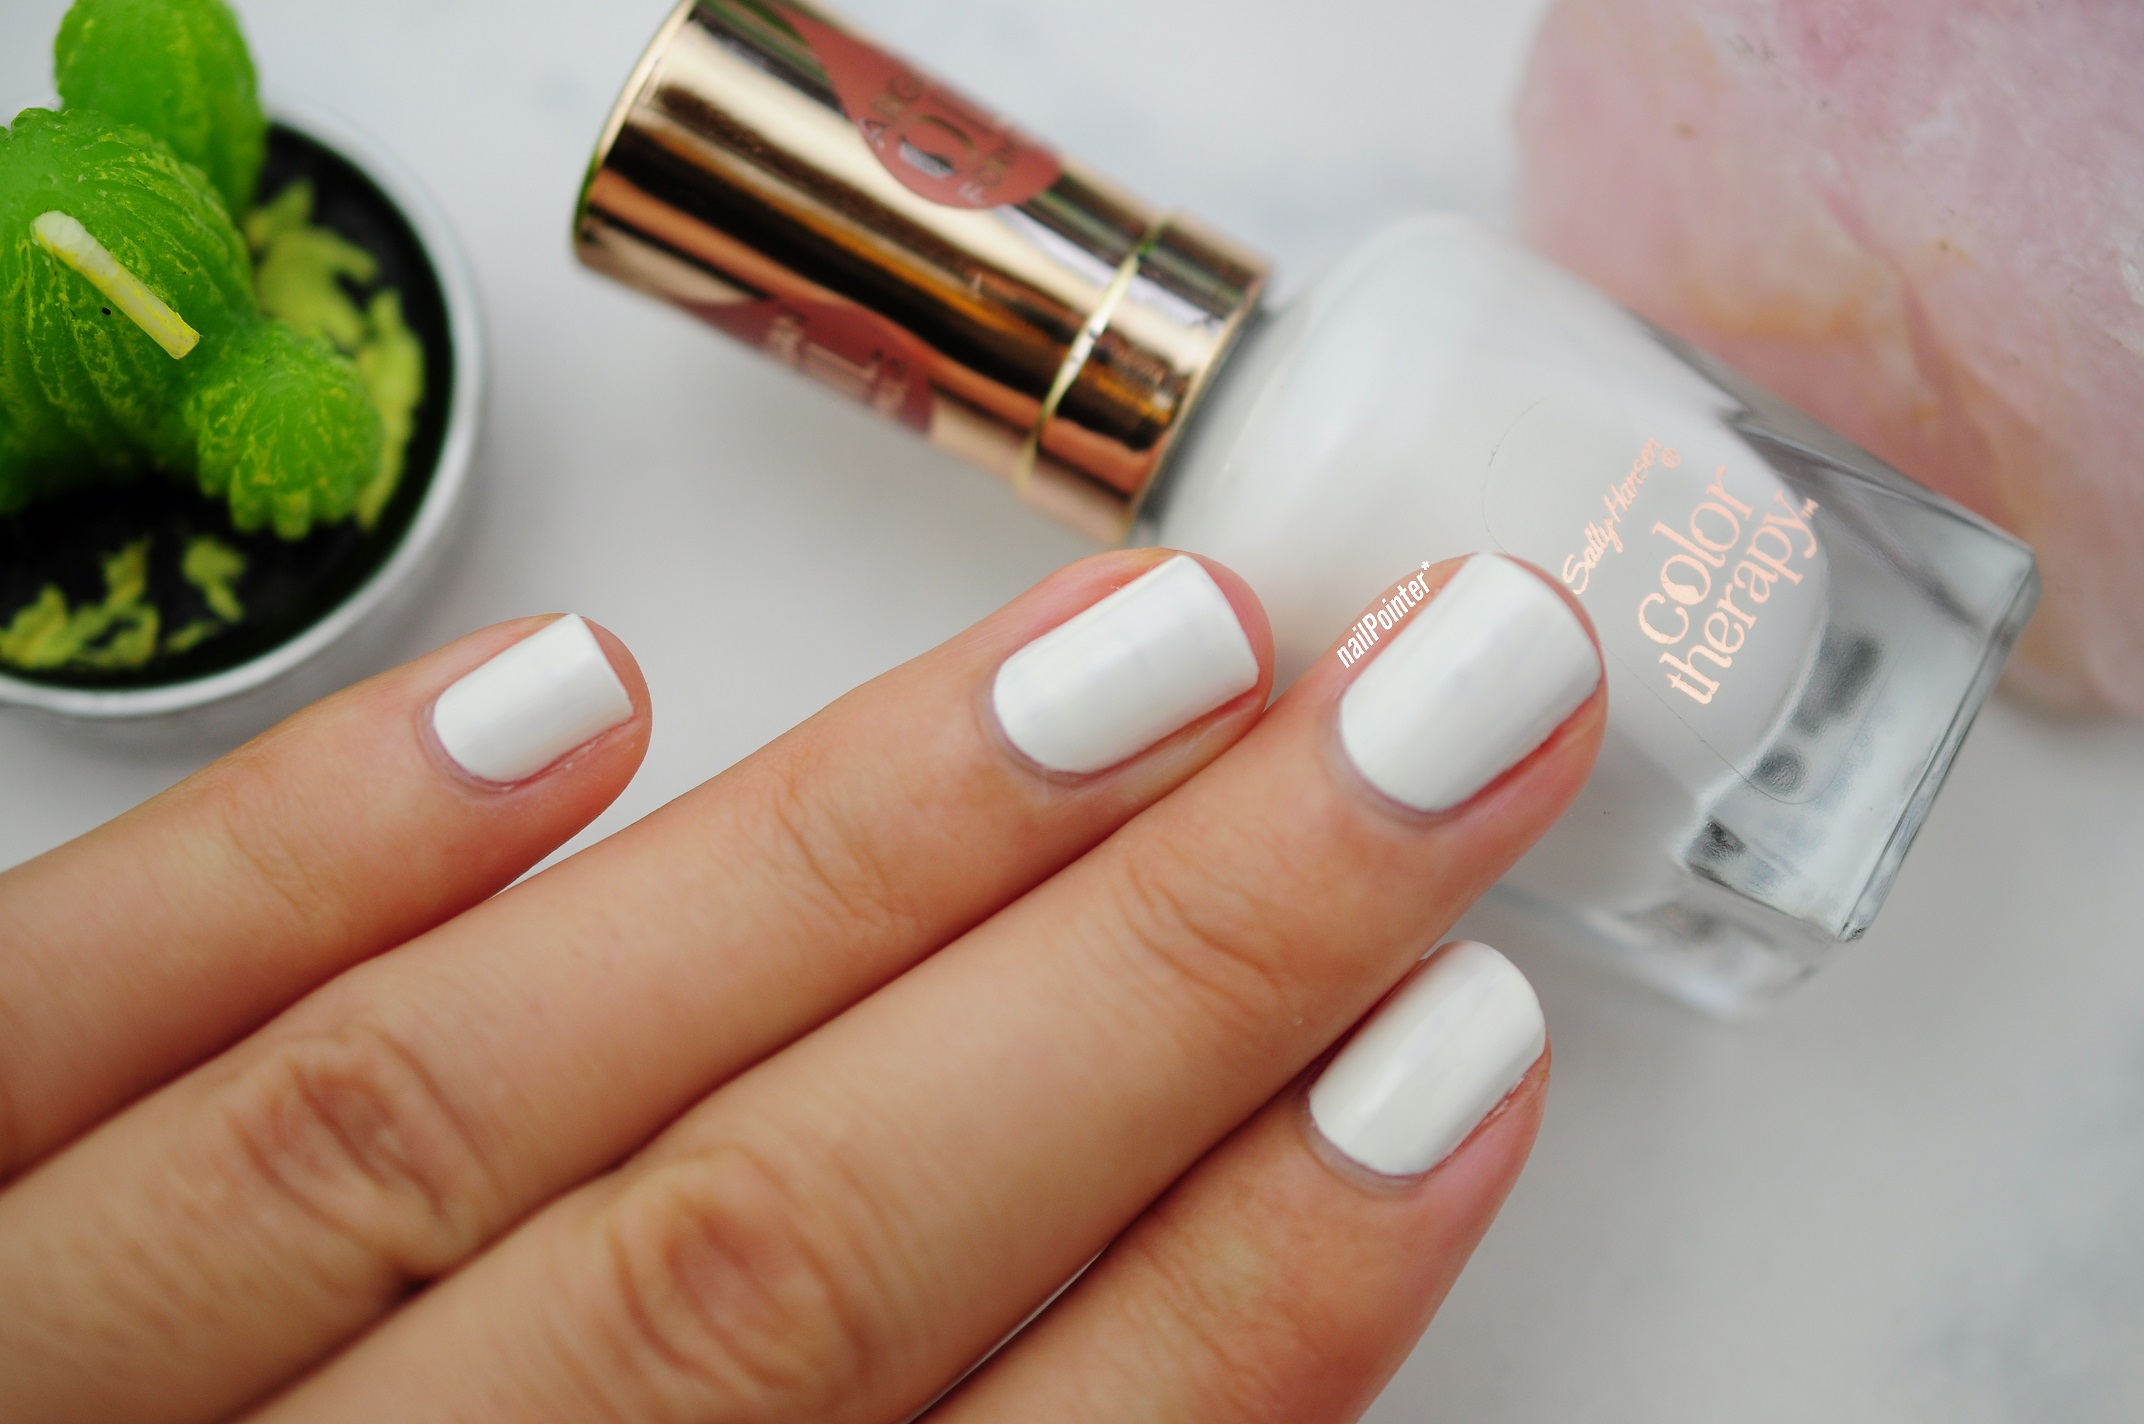
That day finally came when I was after an off-white that wasn't too beige, not too pink but not too white and I ended up choosing Well, Well, Well. 

Well well well, I did not have a good time with this polish. So I decided to swatch the rest of this range I bought properly to see if it was a bad formula or just that shade.

The entire color therapy line was released back in Summer 2016, later than I thought. I bought these around 2018, I'm surprised they were discounted so heavily after only 2 years.

Well, Well, Well // Off-white creme
Coats: 3
Sally Hansen Color Therapy Well Well Well Swatch

Sally Hansen Color Therapy Well Well Well Swatch

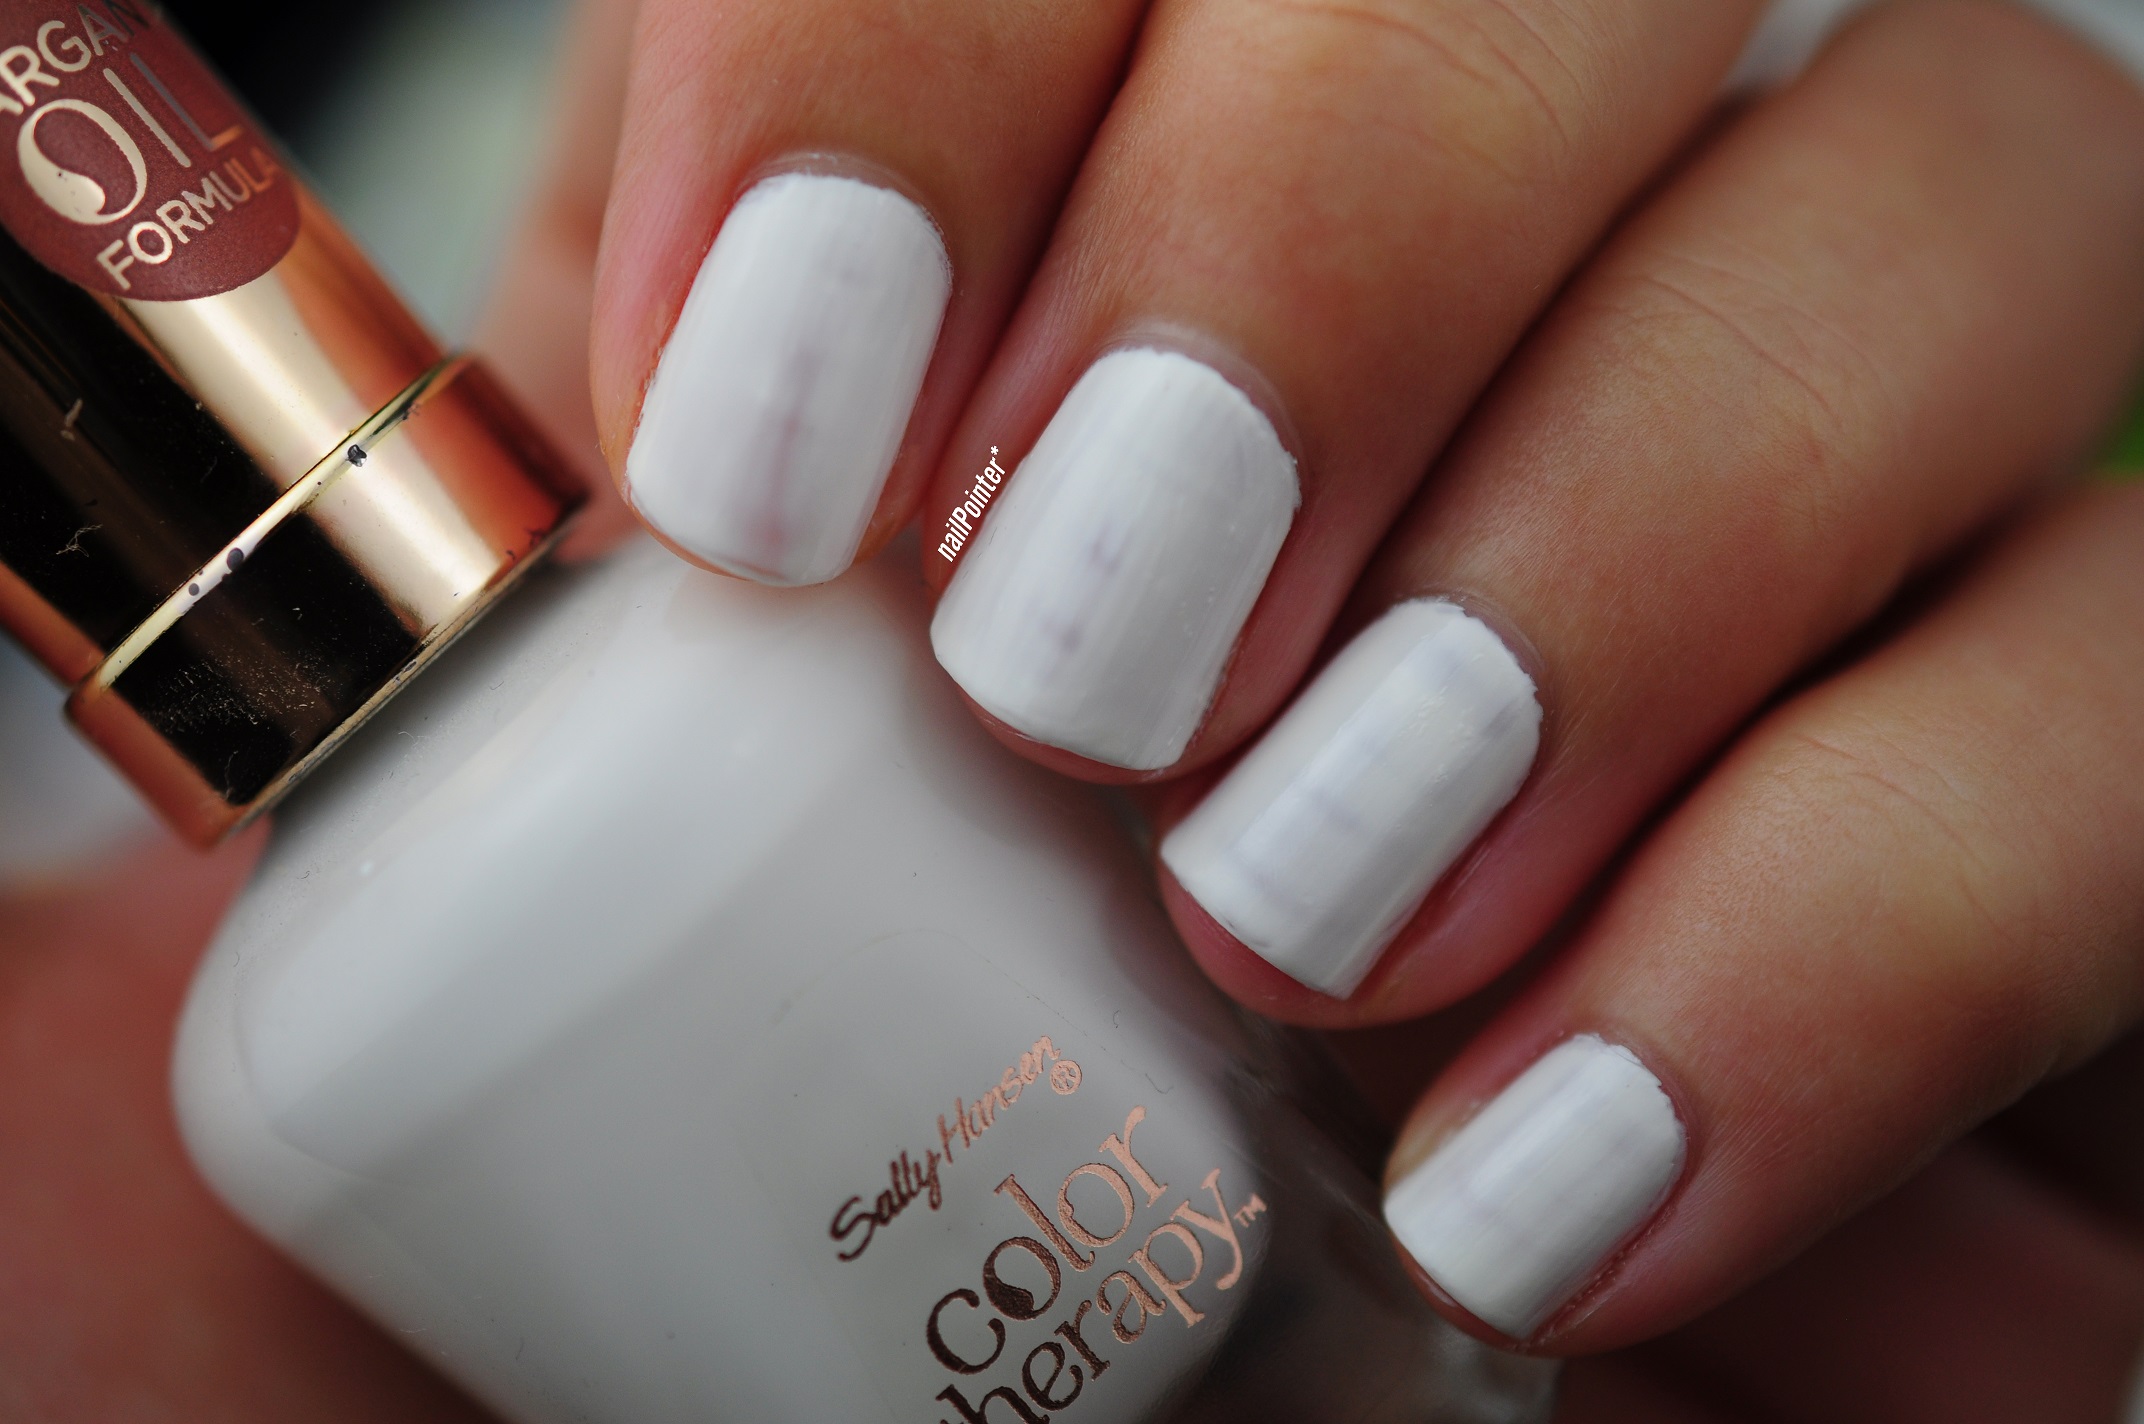
The first coat of this was extremely patchy and dragged. It also doesn't self-level and towards the tips it separated. The second coat was worse, this polish does not like being applied on top of itself and it felt like I was scraping the polish along the bottom layer. Again it pulled away from the tips to create even worse dark patches.

I finally left it at 3 coats as it was starting to look lumpy and you could see visible drag marks in it. It's also strange that on me this is definitely an off-white, slightly beige shade but on others it looks stark white.

I was not impressed with this formula. It clung to the brush stick and then ran down in large blobs just when you didn't want it to. I found it difficult to control and probably won't use it again.

Make My Clay // Light Olive Creme
Coats: 2
Sally Hansen Color Therapy Make My clay Swatch

This one has more of a thin jelly formula and was much easier to apply. I does some dragging at the tips but no where near as much.

I absolutely love the colour though. It's a beautiful, pale muted Olive that would suit anyone. This is such a great background for christmas nails, I just wish it would dry faster.

Glow What Fun! // Warm Gold Shimmer
Coats: 2
Sally Hansen Color Therapy Glow What Fun Swatch

This is much thinner than I was expecting. I'd almost class it as a shimmer topper. First I wore it on top of Make My Clay and it worked surprisingly well. That turned out to be the perfect base for it and you could tell how thin the polish actually is. Also made the gold a bit darker and richer.

Bronze Reflection // Green to Purple Duochrome Shimmer
Coats: 3
Sally Hansen Color Therapy Bronze Reflection Swatch

Without a black base coat this is a weak brown shimmer that goes slightly garbage-river-green at the tips; lovely. Ok, I'm being to harsh on this shade. After 3 coats is ok, better when you're outside and the shift is easier to see. With a black base coat you can see the purple more but no matter what, it will never look how it looks in the bottle which is a shame. Because the in the bottle it's beautiful.  It's just a lot of effort to get it looking good when you could just purchase Cowboy, Bye by China Glaze for a space worthy, purple/green/holo shimmer.
SHARE:
Blog Design Created by pipdig